how to dye easter eggs + a video
Into our traditional teacups would go a splash of vinegar and boiling water before the drops of food color. This was the way I grew up coloring eggs, and to this day, it’s the only way that I would consider dying eggs. I want nothing to do with pre-made store bought kits. Those kits don’t hold a candle to what you can create with a few bottles of food color and your imagination. I want my kiddos to have the same memories and that is why I’m teaching them how to dye Easter eggs just the way I learned how – water, vinegar and food color.
I’m such a supporter of the creativity that dyeing Easter eggs with food color fosters, that I’ve made a video demonstrating several simple and stunning egg dyeing techniques that you can make at home using McCormick food color.
Maybe it’s the art teacher in me, or just the girl who is constantly wanting to try something new, but there are so many beautiful effects and endless possibilities with egg dyeing with food color. Techniques such as marbling, stripes, polka dots and even beautiful painted eggs that take on a lovely watercolor appearance are some of my favorite. The remind me of the painterly brushstrokes of the impressionists.
Maybe it is the art teacher in me…
Here are my favorite egg dyeing techniques demonstrated in my latest video:
For full instructions and even more beautiful egg dyeing techniques be sure to check out McCormick’s Easter Lookbook.
Painted Eggs: For painted eggs, simply mix 1/2 teaspoon white vinegar with your desired combination of food color drops and paint a chilled hardboiled egg with a paint brush. I found working on paper plates helped minimize mess and speed clean up.
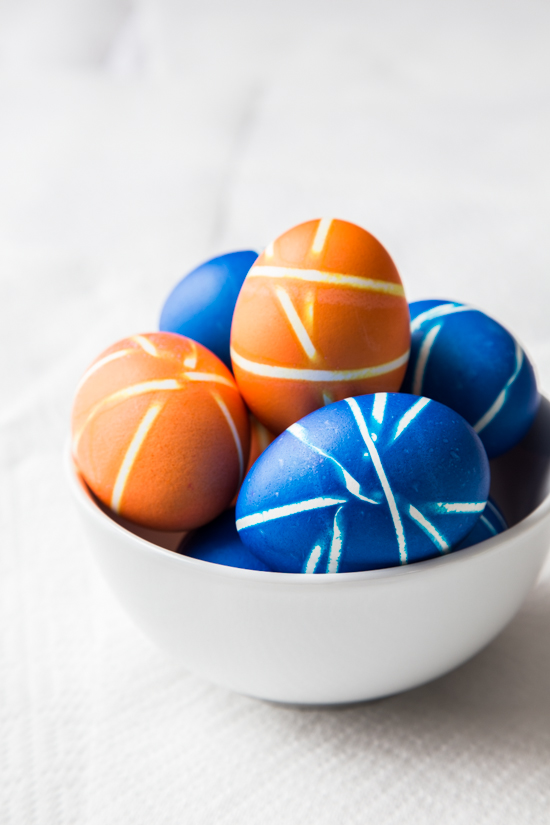
Striped Eggs: Striped eggs are very simple to put together, but create a fun surprise design. Simply place rubber bands around the chilled, hard boiled egg and submerge them in a mixture of 1/2 cup boiling water, 1 teaspoon white vinegar and your desired combination of food color drops. For extremely vivid colors, allow the eggs to sit in the dye for 5 minutes. After the eggs are dry, remove the rubber bands and check out your finished product! I found that using wider rubber bands makes for a more crisp white lines in the end.
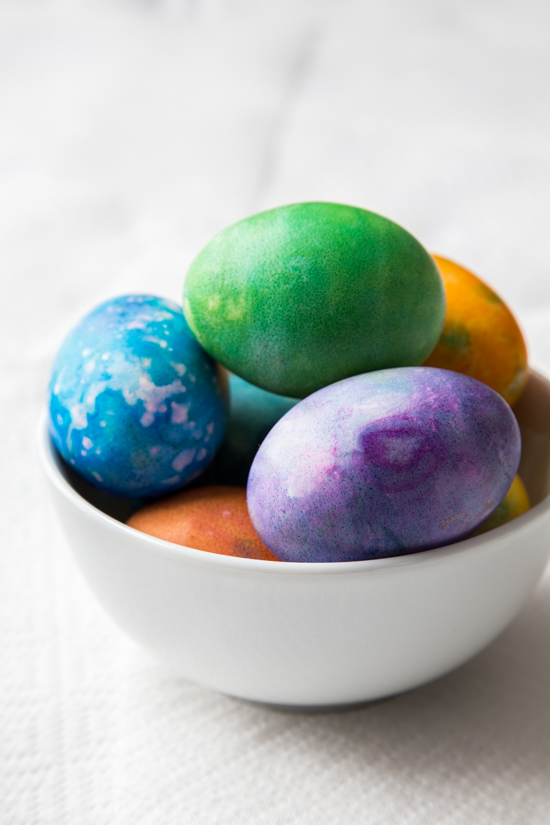
Marbled Eggs: Marbled eggs look complicated, but couldn’t be easier! I like to start with an egg dyed in a solid, light color. Then mix a combination of 1/4 cup of boiling water, 1 teaspoon of vinegar and 1/8 teaspoon of oil in a shallow bowl. Whisk the mixture to allow the oil to separate into small droplets on top of the water. Take your solid colored dyed egg and place it in the shallow bowl, rolling gently for up to 30 seconds, or until the egg is the desired shade. Allow the egg to dry before buffing with a paper towel to remove the excess oil.
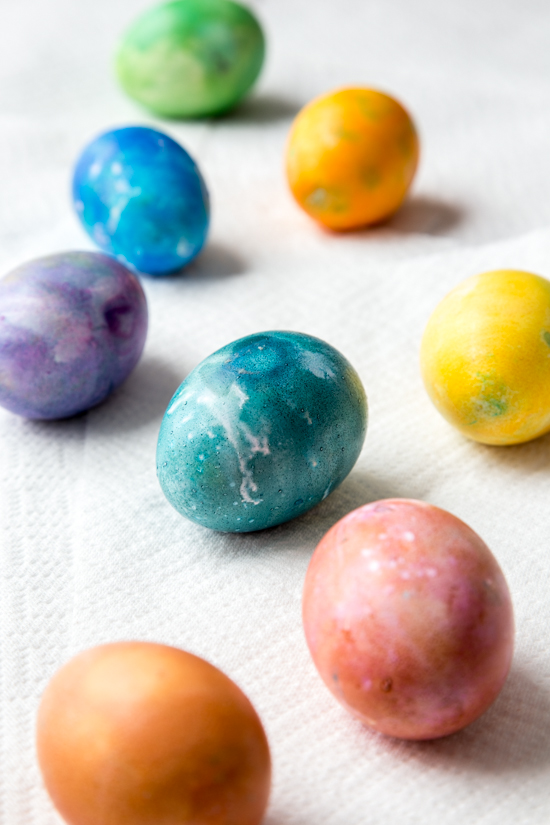
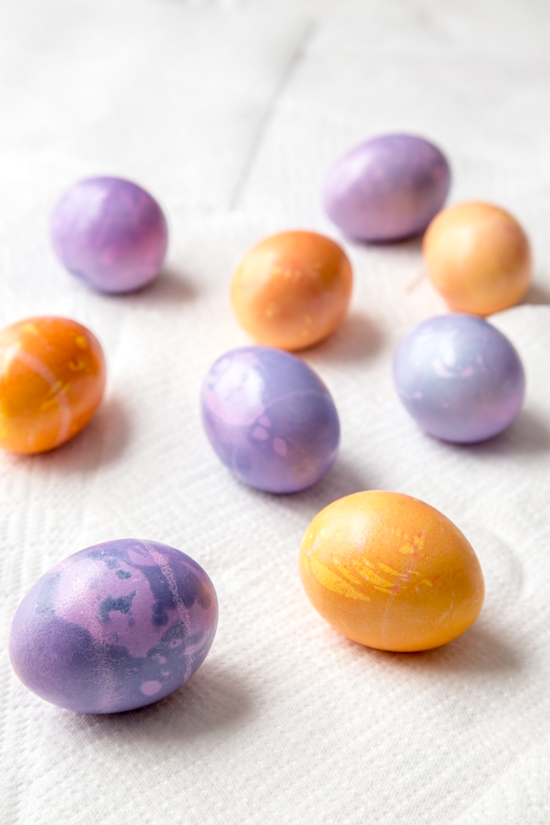
The brilliant minds in the McCormick test kitchens have developed combinations or recipes of food color to create the pantone Spring colors of 2014 and I had a blast trying them all out. Freesia (a sweet, sunny yellow) and Radiant Orchid (the lovely purple seen below) are two of my favorites but they are all amazingly beautiful and a nice update to the standard colors.
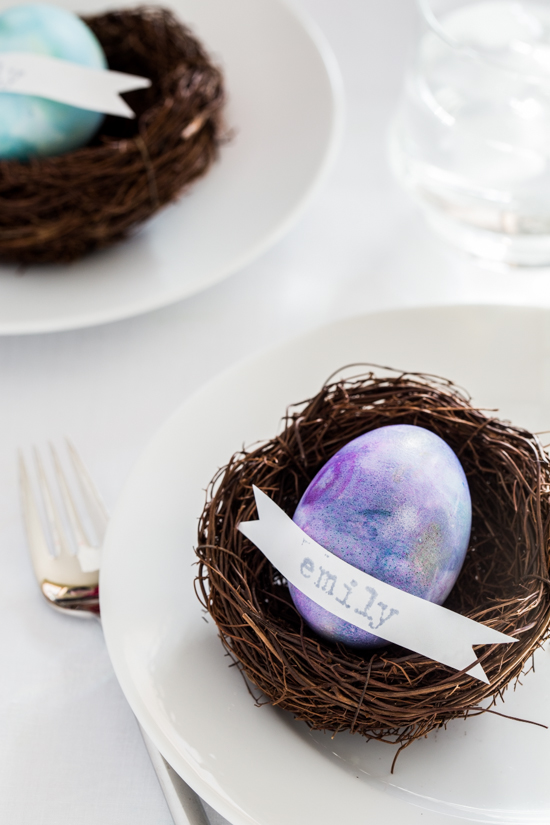
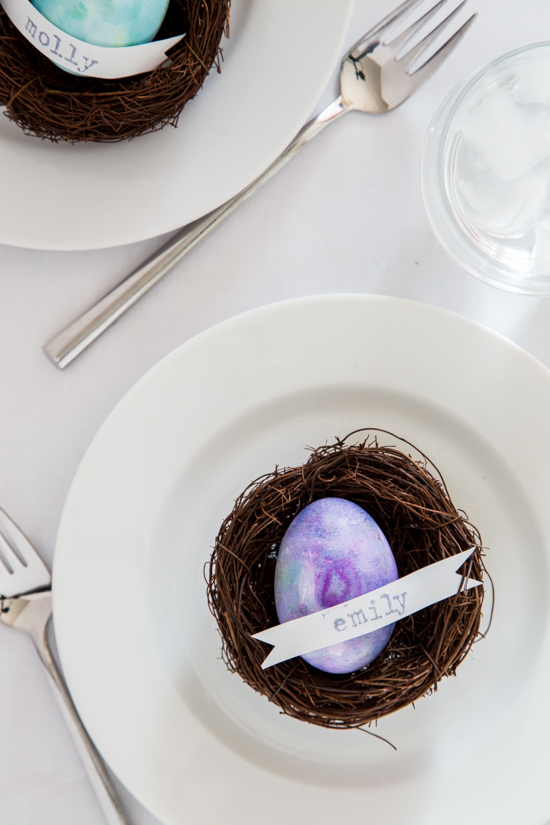
These eggs simply make me happy! Not only are hard boiled eggs delicious, but these gorgeous dyed eggs are impressive enough to grace your Easter table as a center piece or even clever little place cards. For these nest place cards, I went to the craft store and purchased little grapevine bird nests (found in the floral section) and used mini letter stamps and a silver ink pad to create the name of each guest on small slips of paper. Super simple, but perfect for your Easter table!
So, this Easter, forget the egg kits and unleash your egg dyeing creativity with the help of food color and a few simple household supplies. You’ll be amazed at what you can do.
Now, I just need to see if I can get a set of special teacups like my mom’s for egg dyeing day.
**Disclosure: This post was sponsored by McCormick. All thoughts and opinions are, as always, 100% my own.


I just LOVE this post! Your video is not only so helpful and inspiring…it’s visually beautiful! Pinned!
Thank you so much, Caroline!
Pingback: Smoked Salmon Deviled Eggs - Jelly Toast
Pingback: How to Dye Easter Eggs | Addicted 2 Fun: Interesting Pictures, Inspiration , Quotes & Content that Matters!
Pingback: Bright DIY Easter Eggs With Different Patterns | Shelterness
Pingback: Easter Egg Table Setting - Jelly Toast