DIY Brick Kitchen Island + Behind the Scenes of our Kitchen Renovation
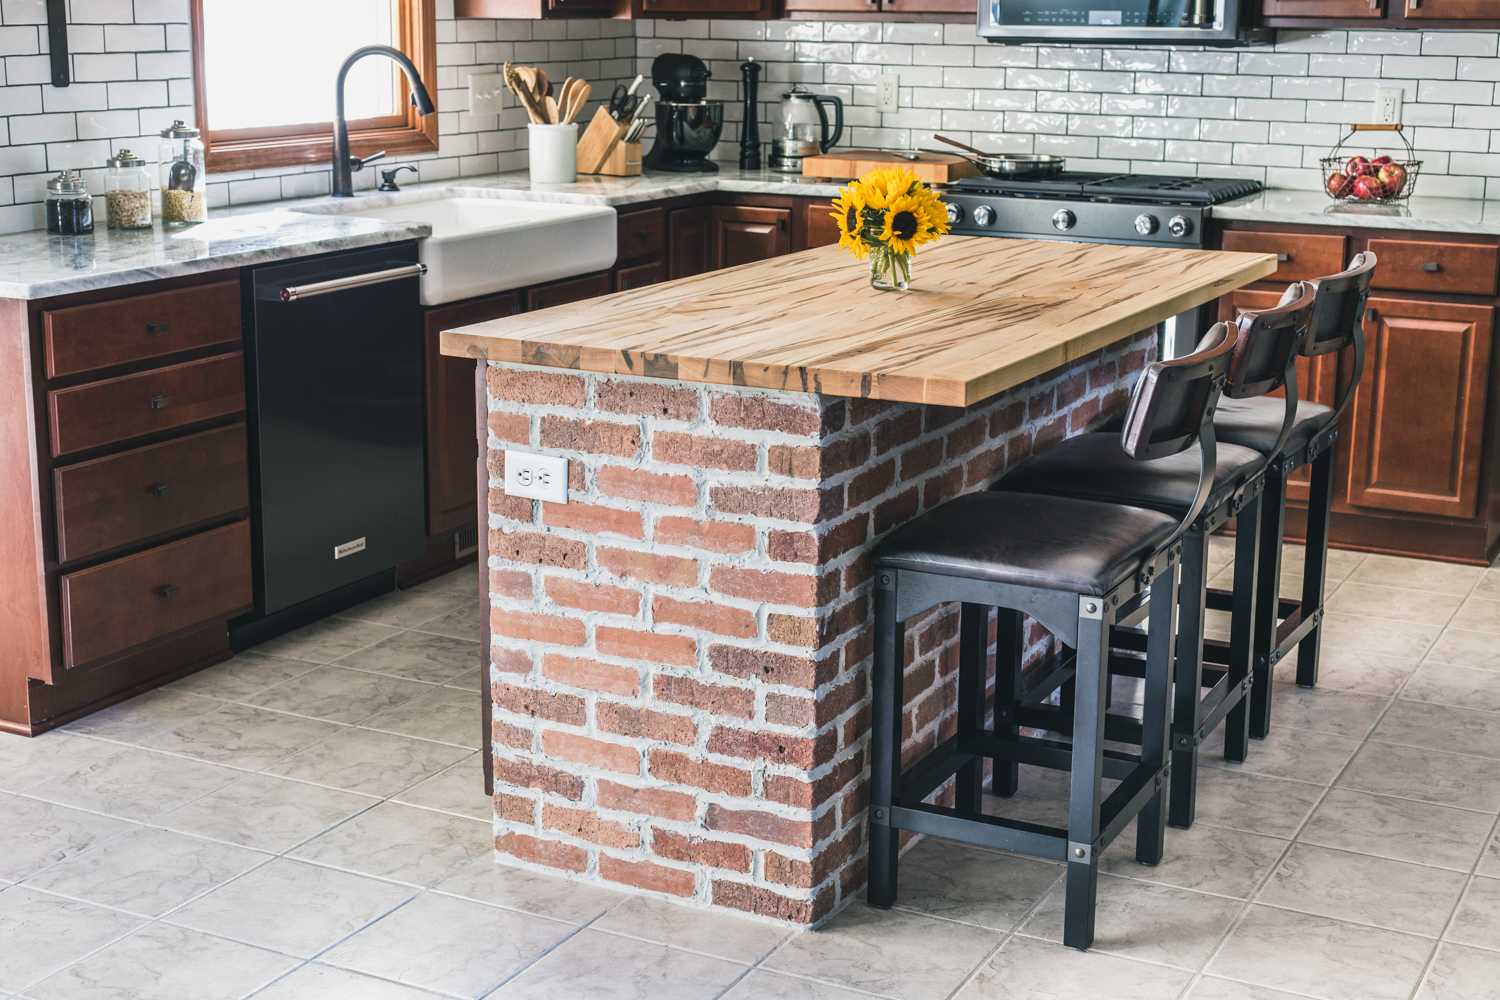
As promised, I am back today with a few more details about how we created our exposed brick island as well as some less than glamorous behind-the-scenes photos of our entire project (the behind the scenes are always my favorite pics!). If you didn’t catch all of the after photos as well as my complete pros AND cons list of each element we added (appliances, countertops, backsplash, sink, etc), be sure to check out the Black Stainless Kitchen Renovation post.
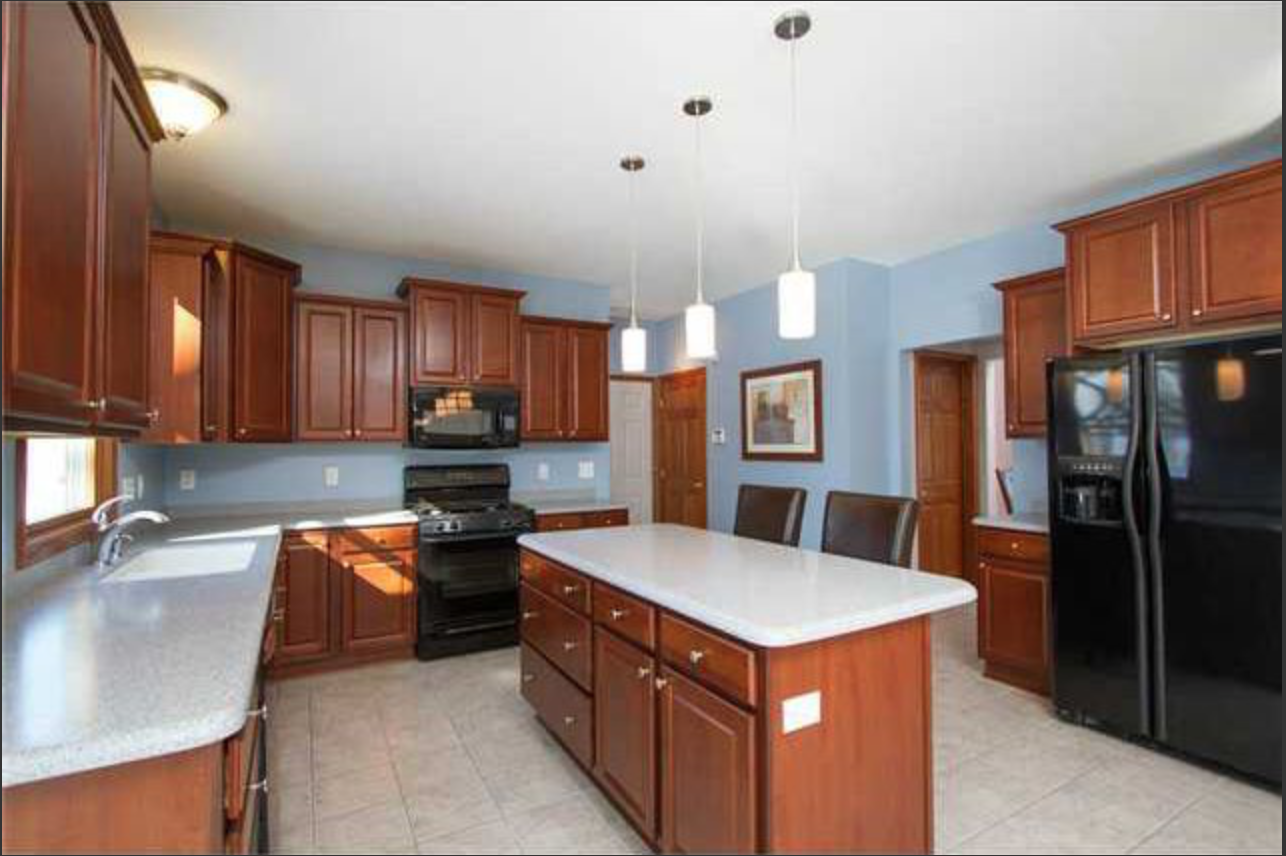
This is our kitchen as it looked when we moved into the house in July of 2015:
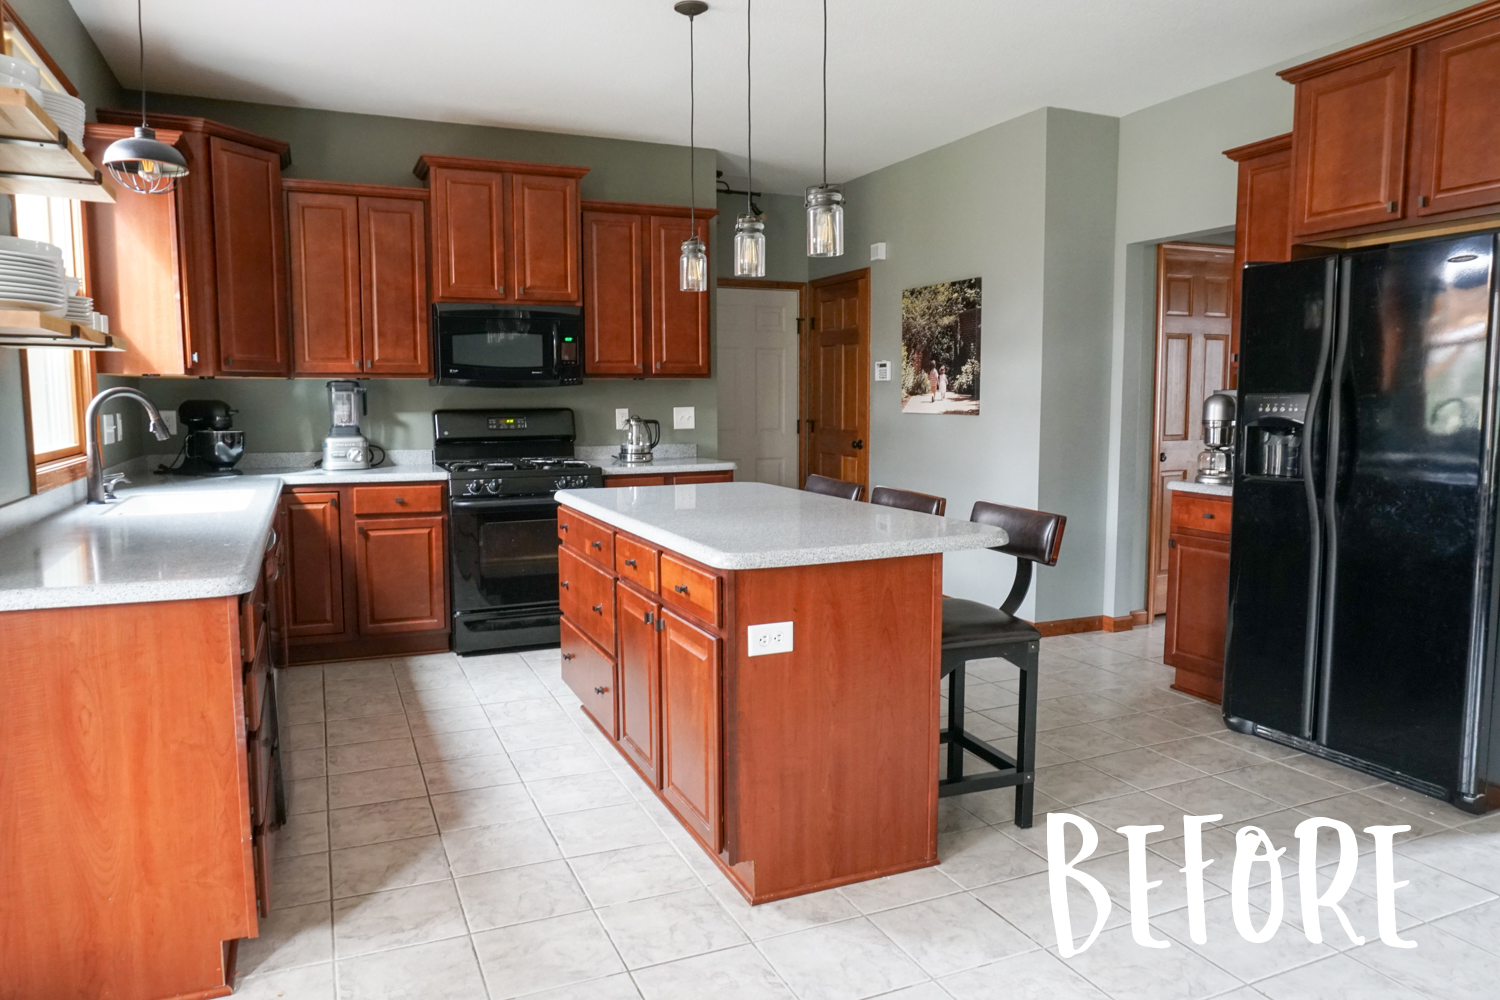
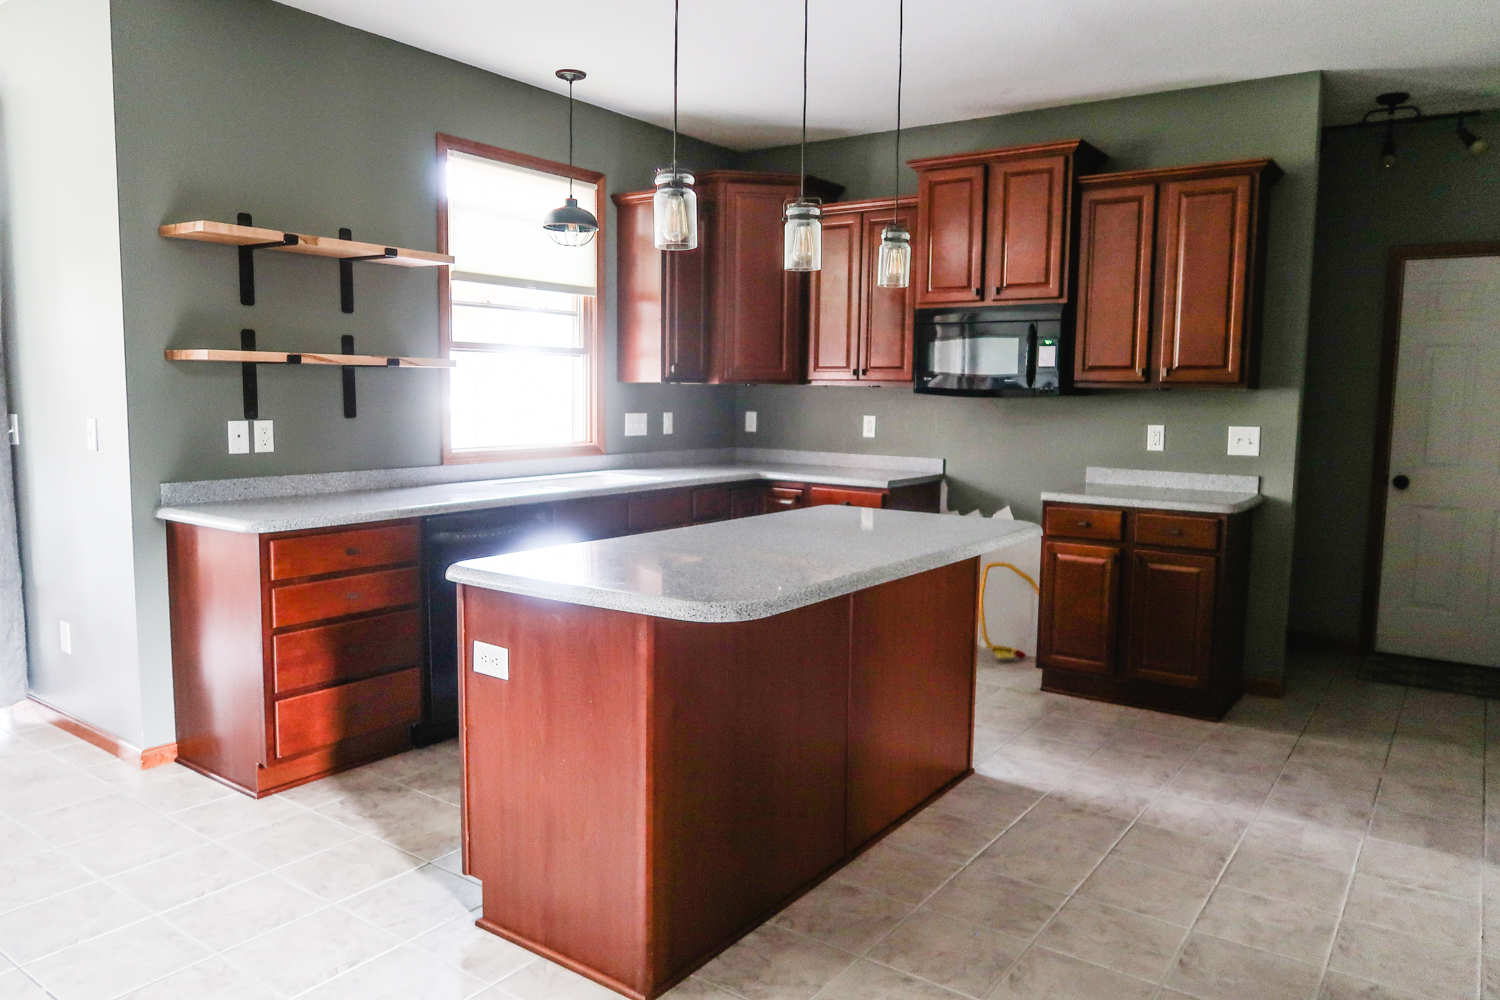
After moving in, we painted the walls and updated the lighting, faucet, hardware, and replaced a wonky cabinet with open shelves by the dishwasher. Here is a photo of the kitchen after these updates and before our most recent renovation:
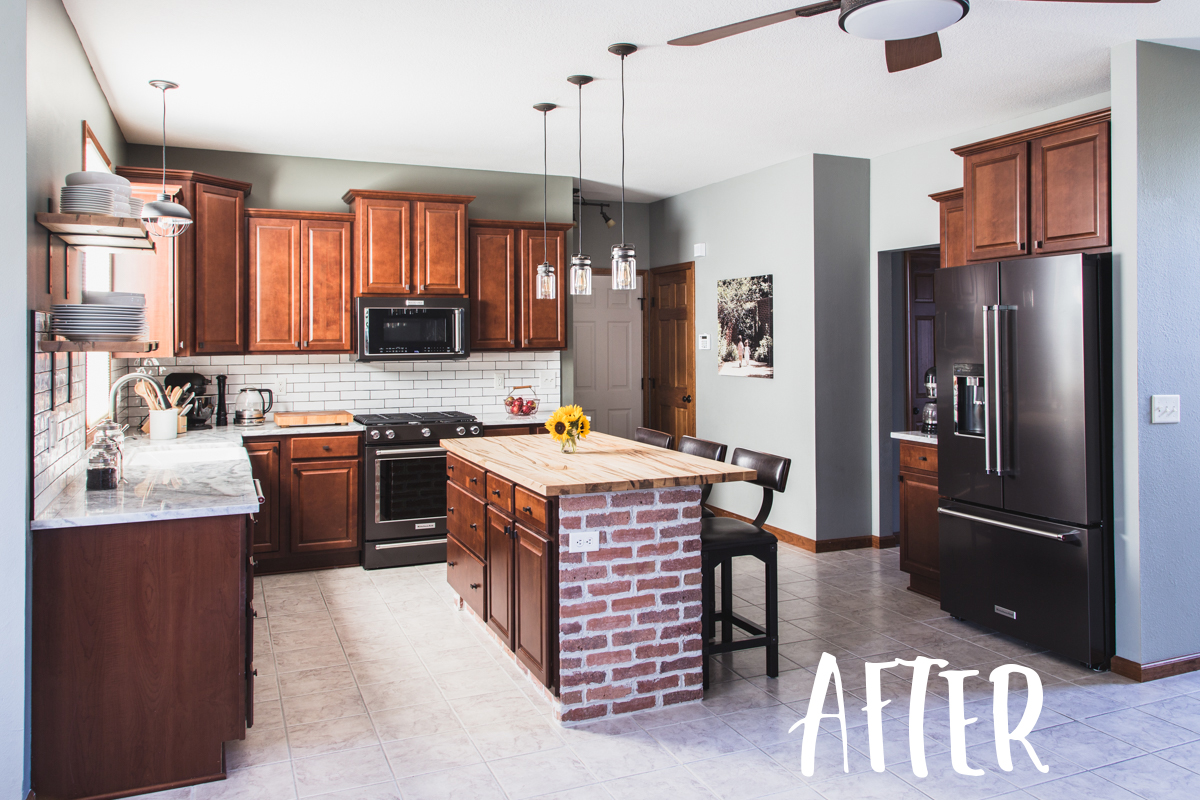
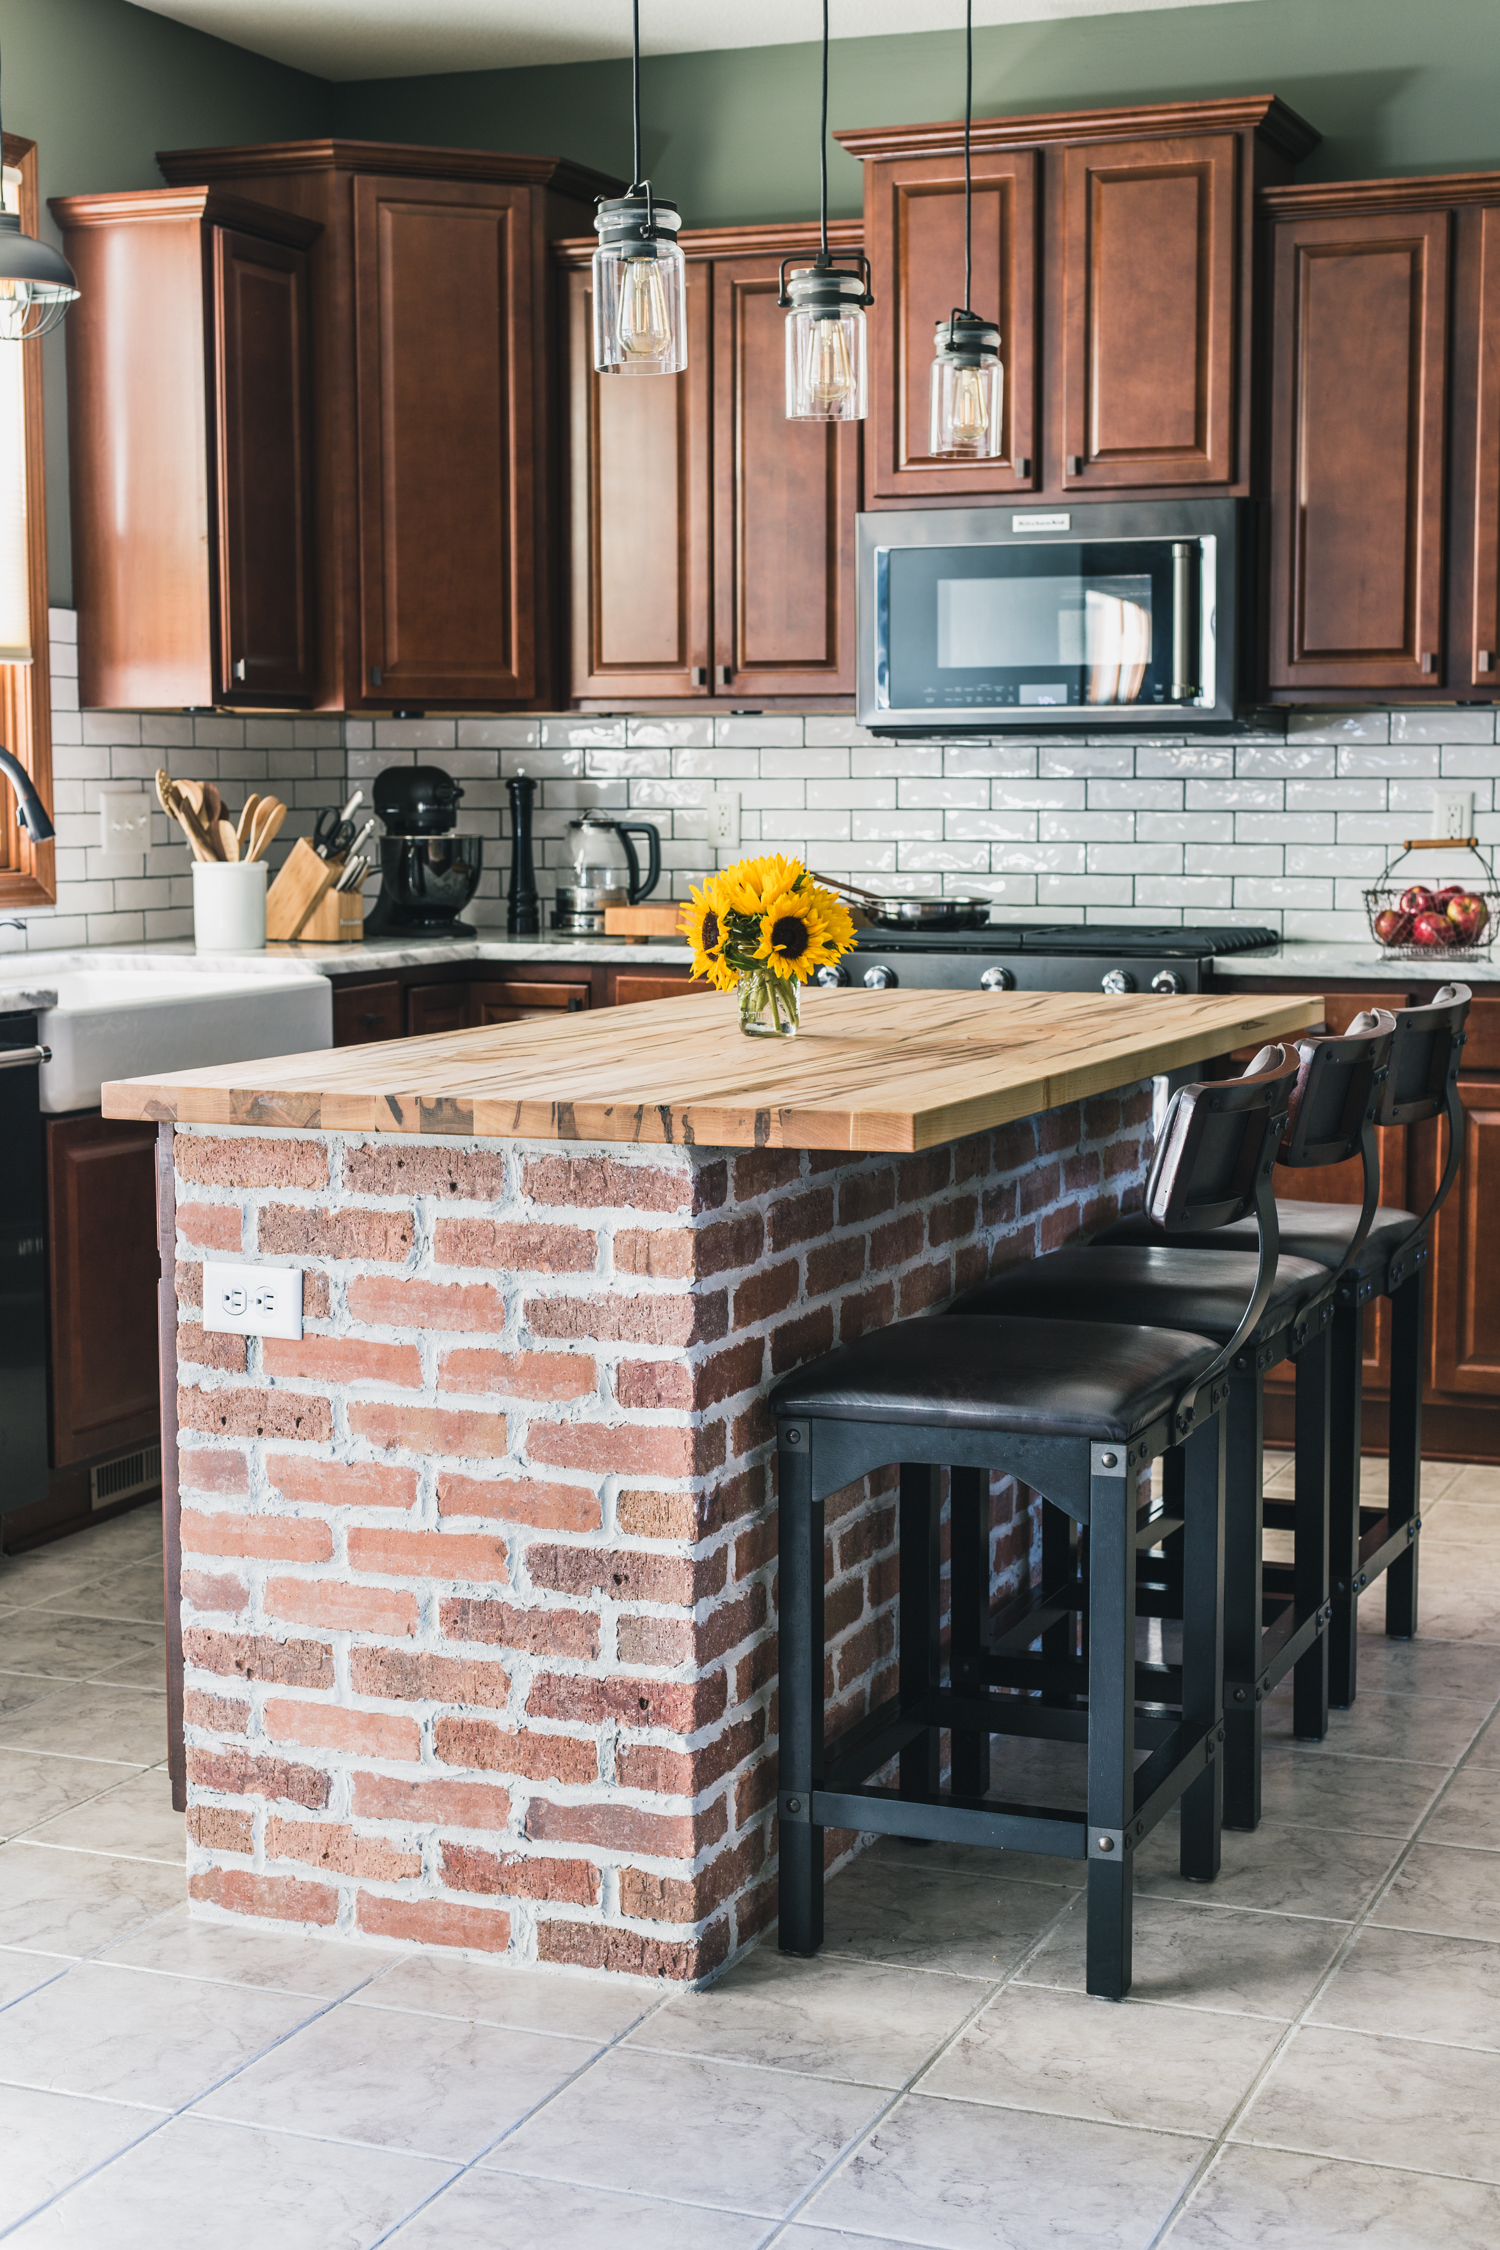
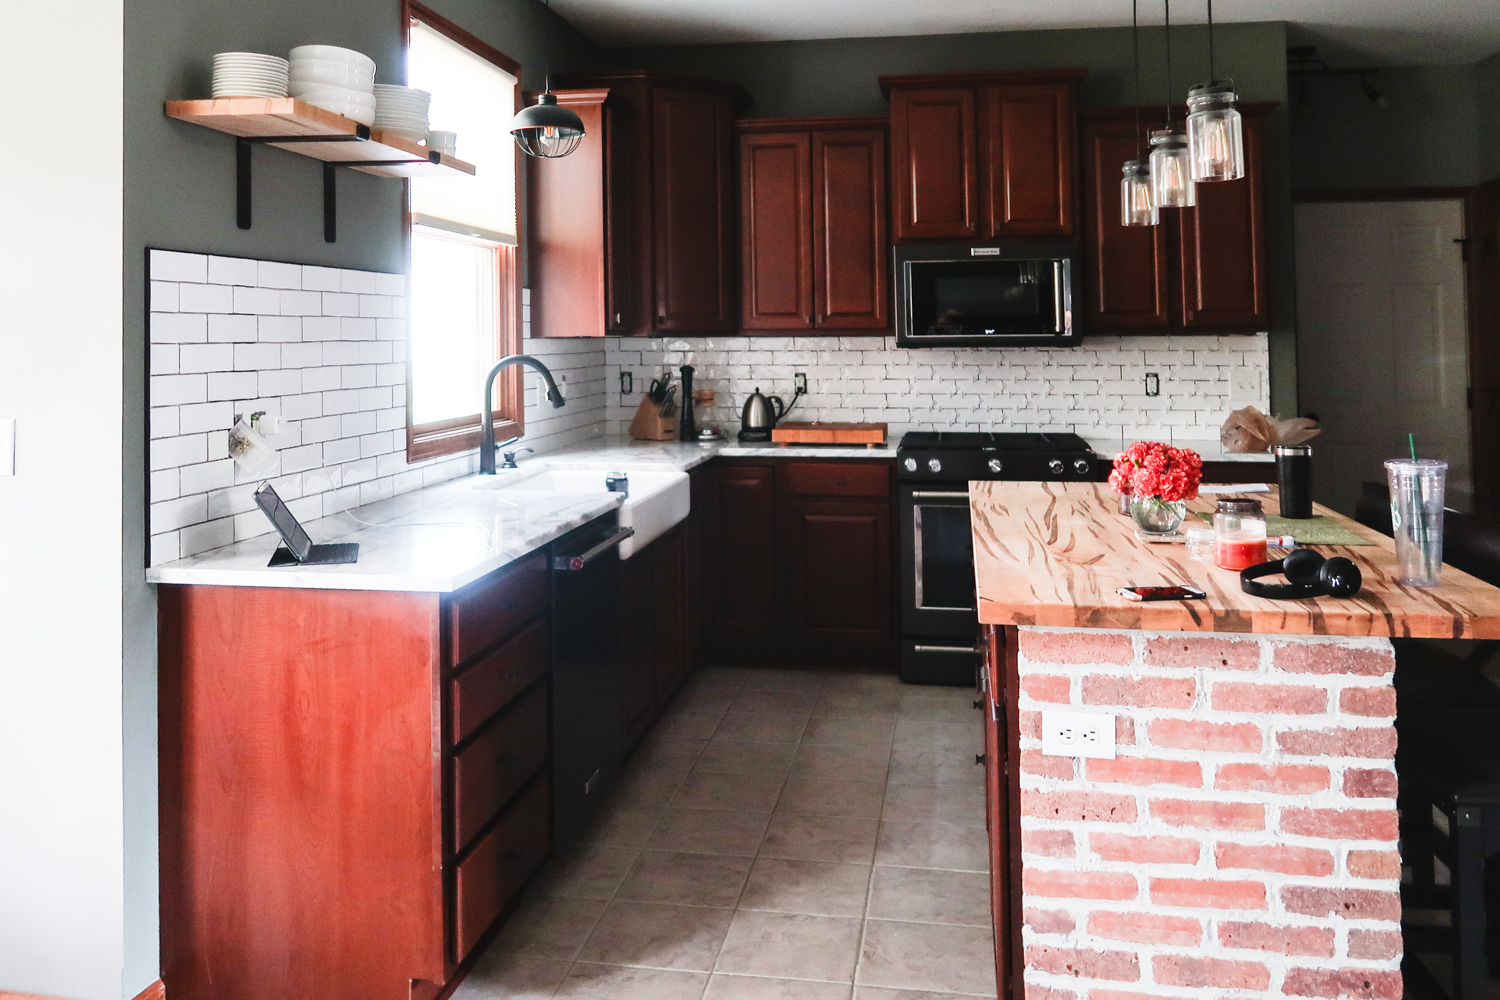
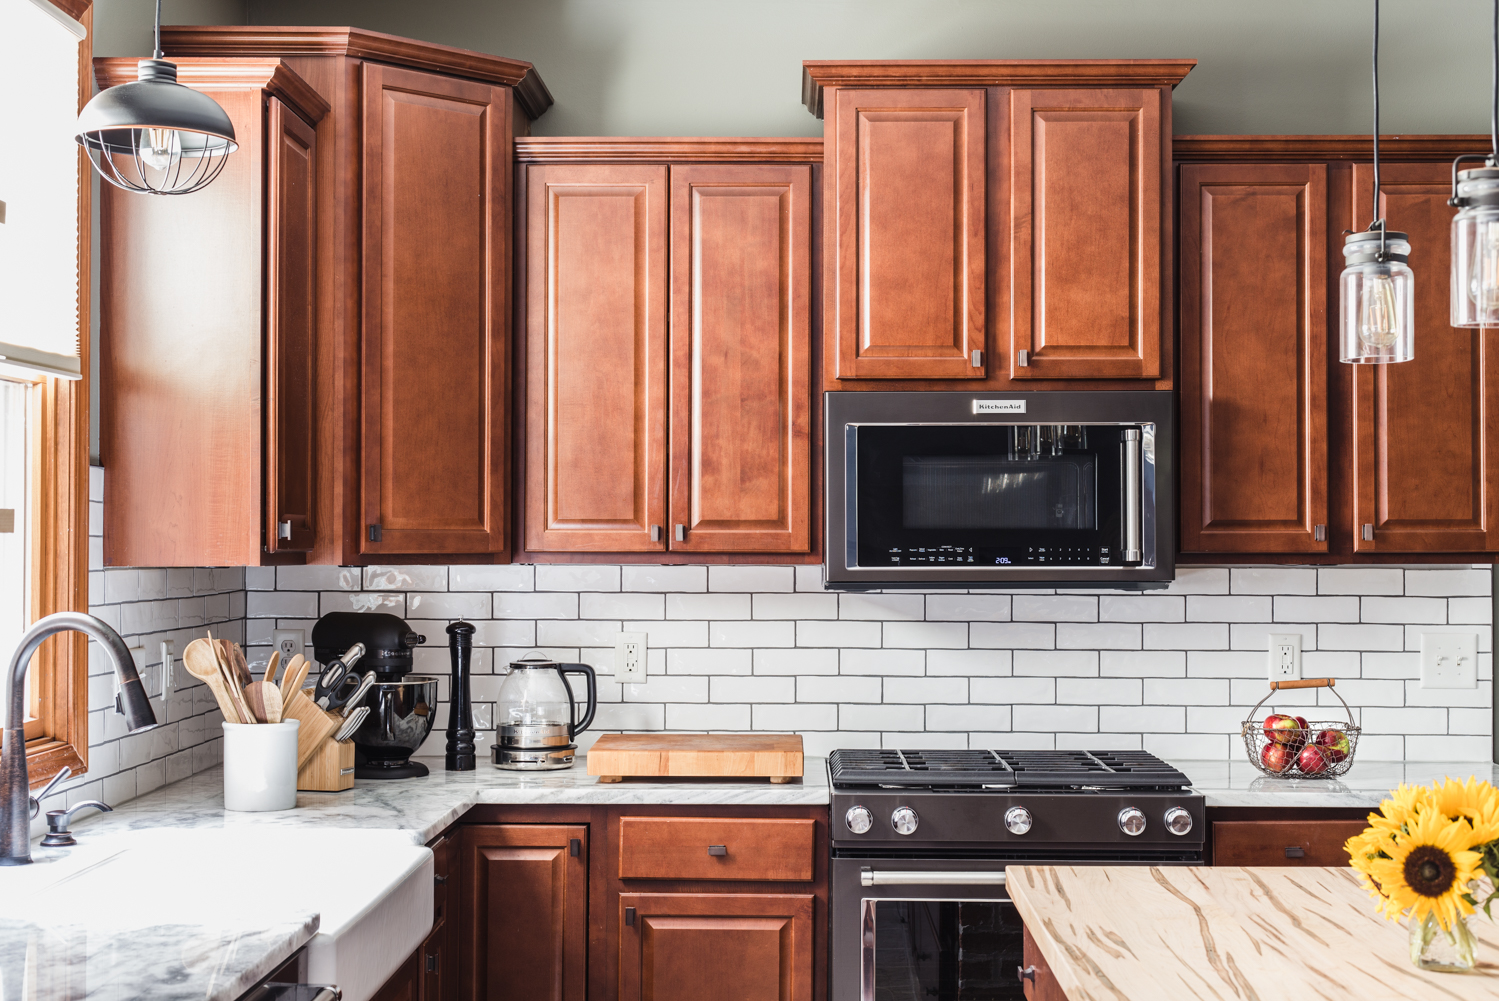
The changes we made after moving in made a world of difference! It just felt like we had put our own touch on the space. We had dreams of updating it further down the road, and as you know this was made a reality this past fall. Here is a photo of the final kitchen as it looks today:
Our kitchen layout is nice and open and one of the reasons I fell in love with our house when we bought it. I knew it wouldn’t take much to turn it into what we wanted, and I was definitely looking to avoid a major gut job in the kitchen.
That being said, even our minor renovations were difficult to deal with at times so I give serious credit to those of you who have lived through a complete and total kitchen renovation! You have to have the patience of a saint, I’m sure of it.
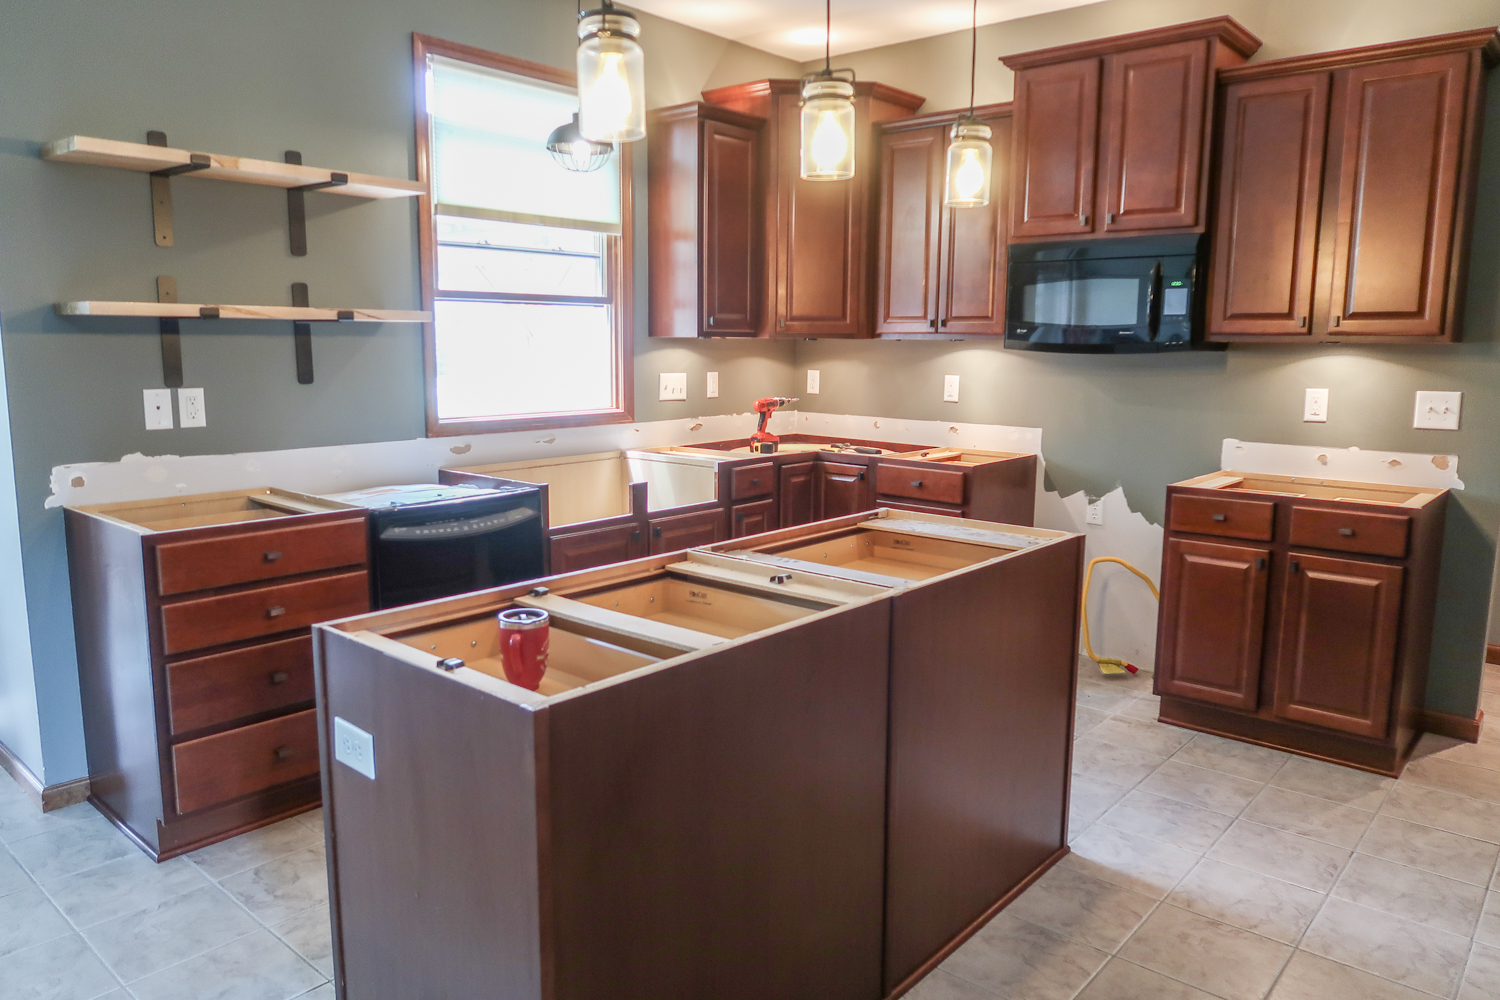
Here are a few crazy behind-the-scenes photos of what it was like to live without appliances, a sink, and countertops for a few weeks/months on and off:
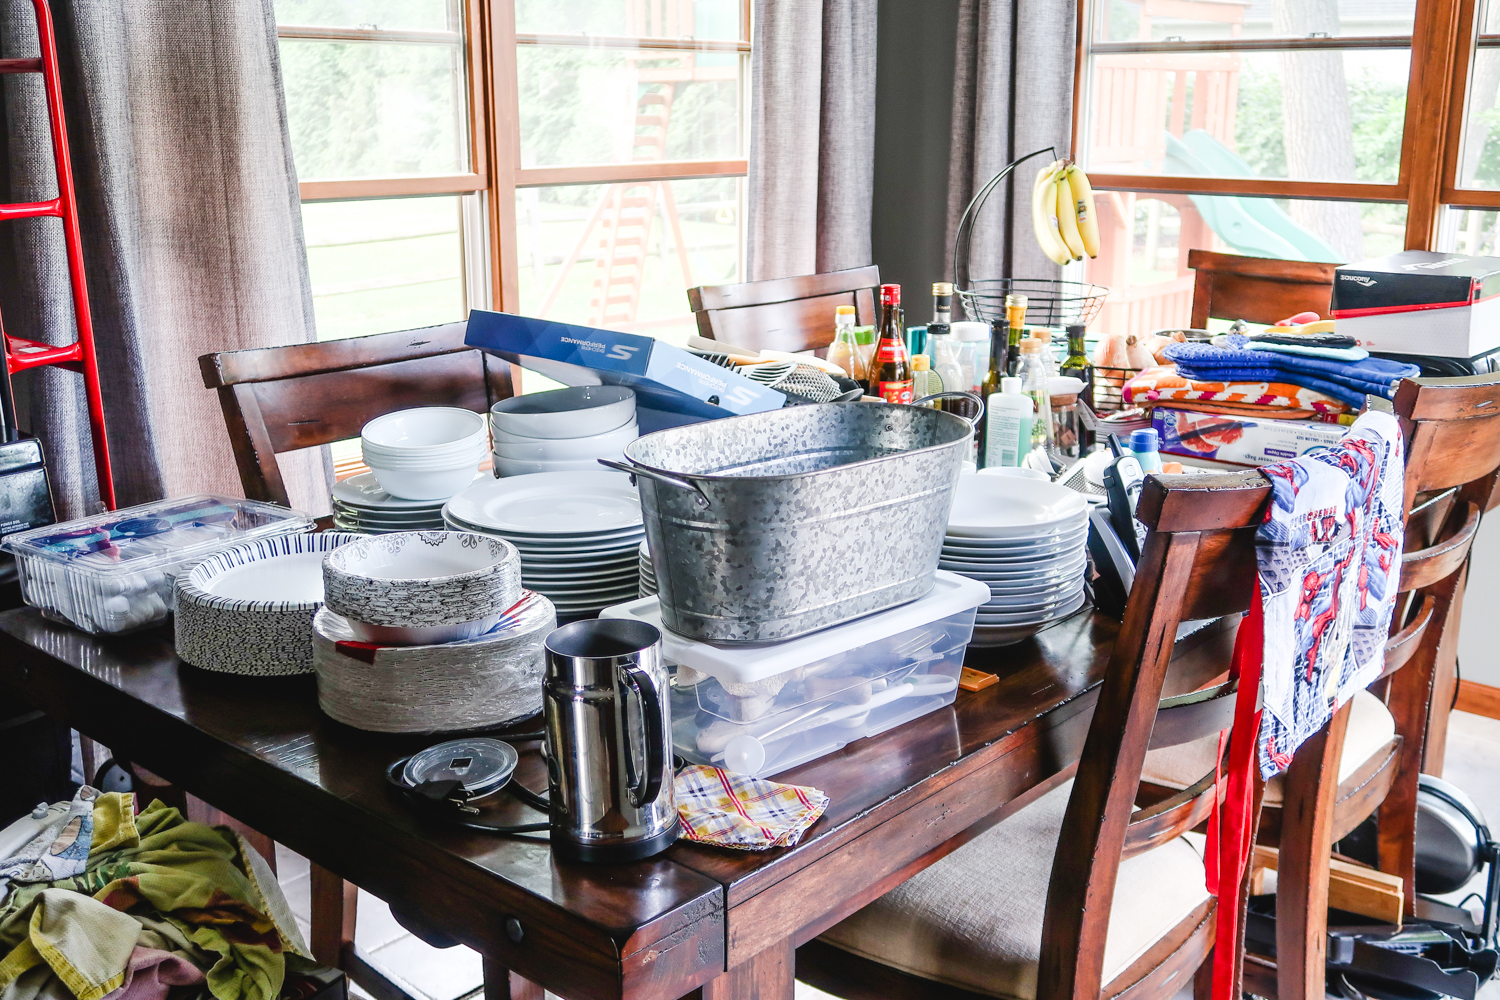
First step – empty the cabinets and move the stove to get ready for countertop measurements. Which resulted in this:
Needless to say, this meant we were eating in our family room for weeks which my kids loved, but made me crazy.
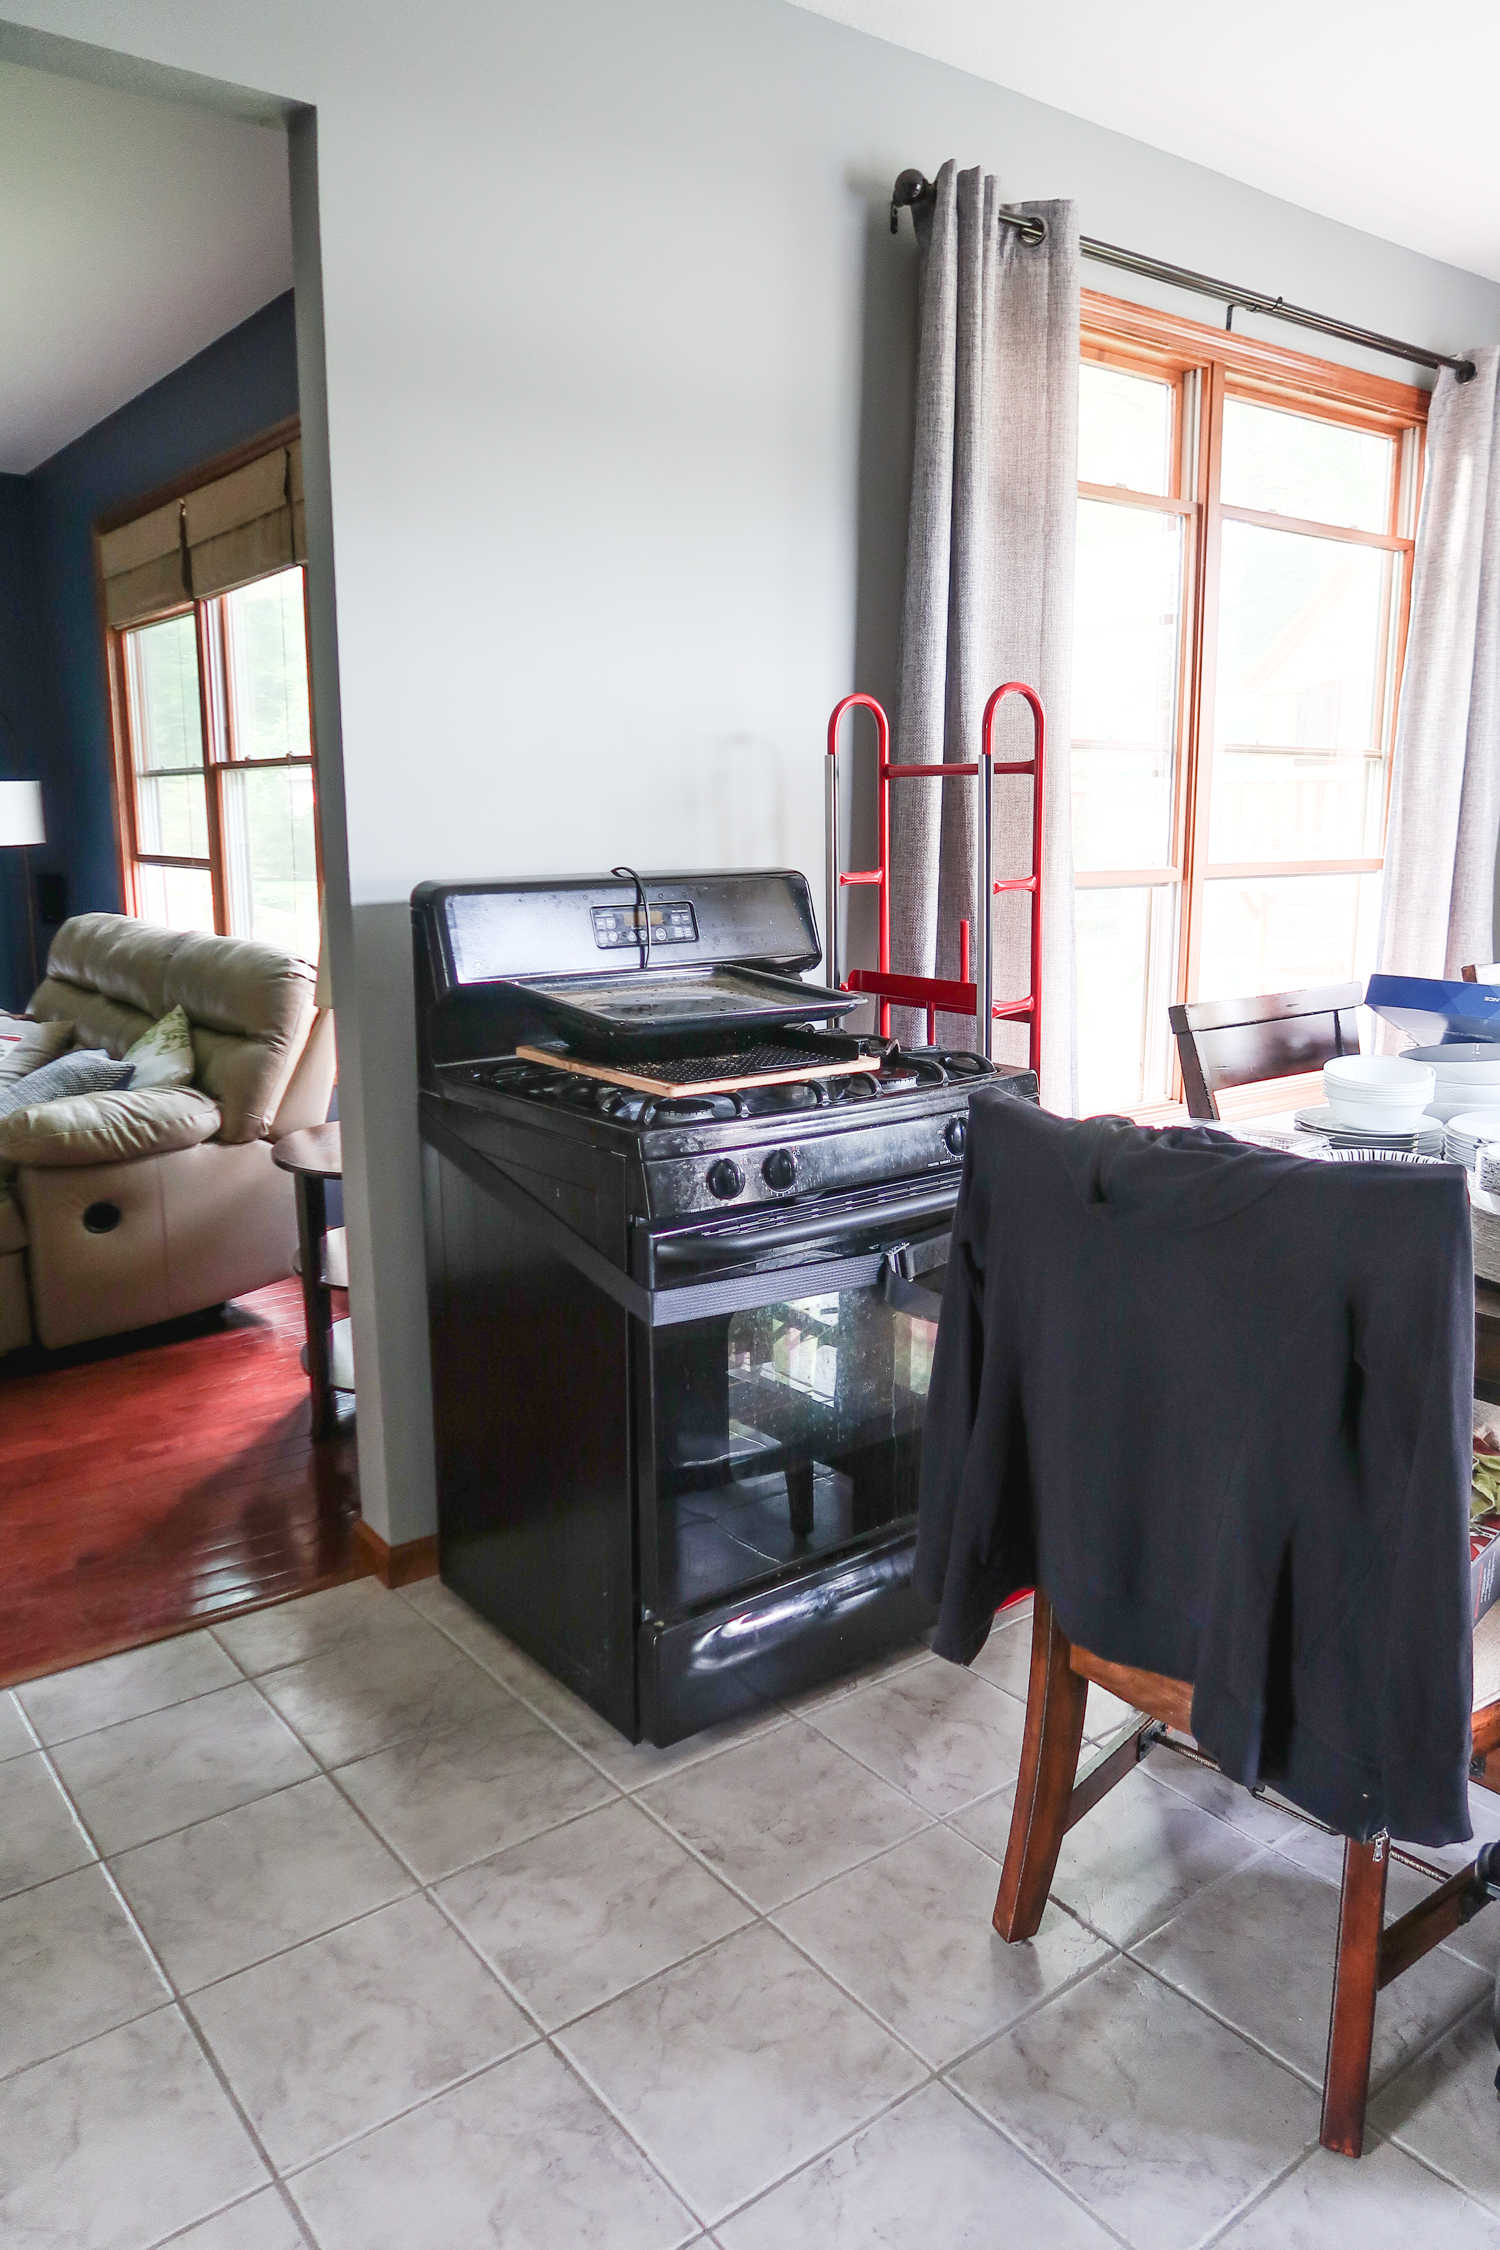
Our old stove lived here for a couple of weeks.
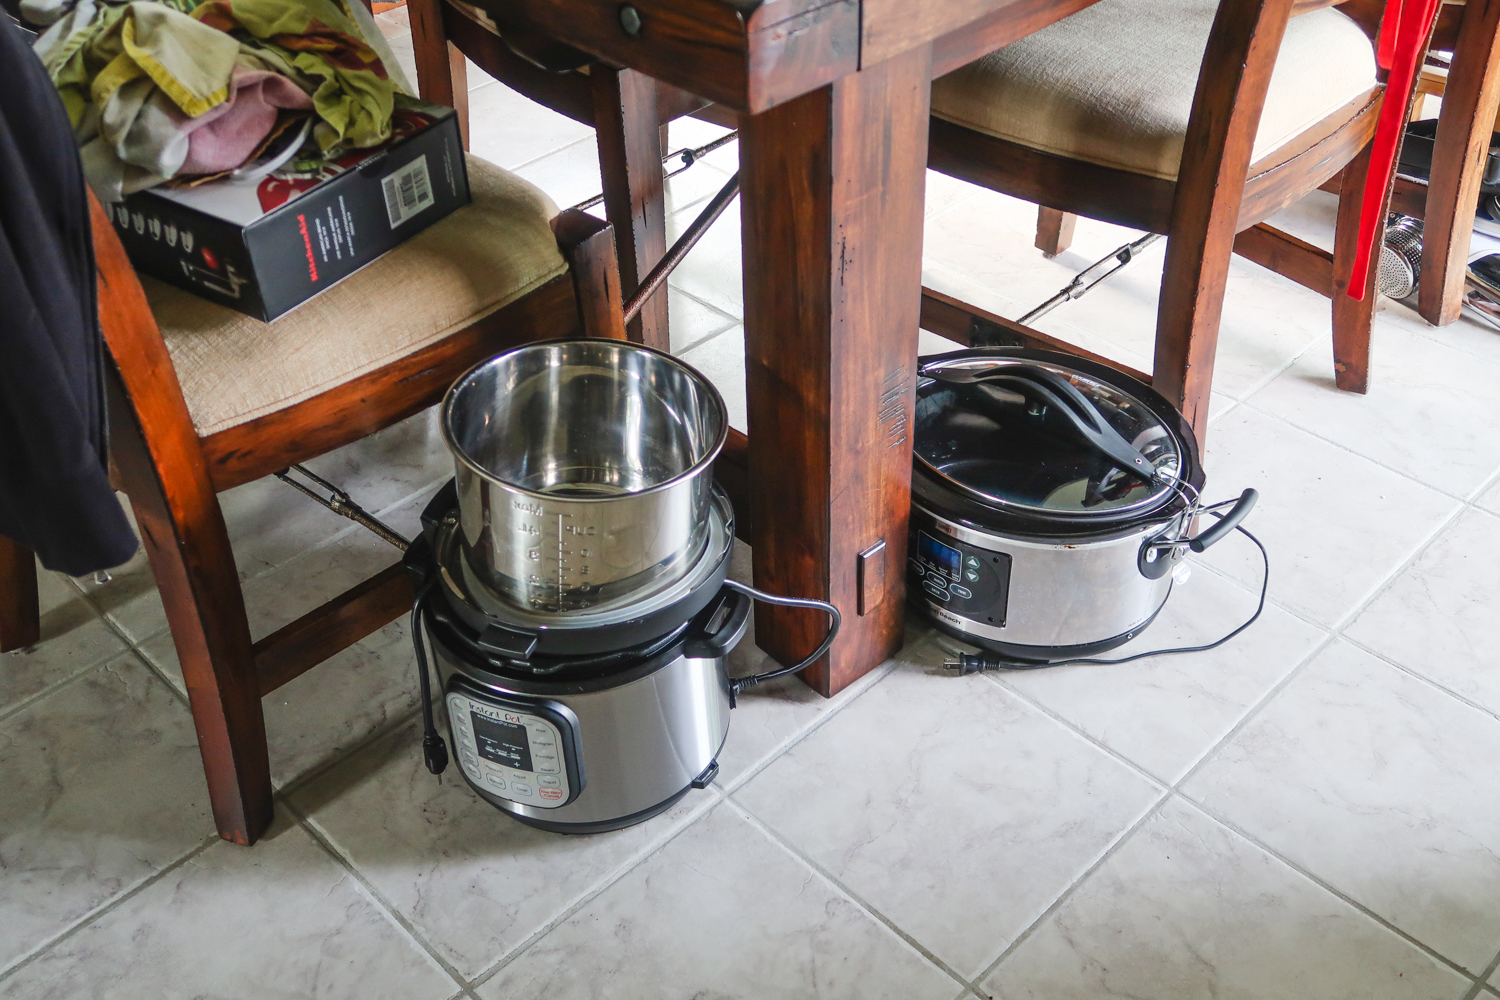
Instant Pot and slow cooker….living on the floor.
Countertops gone! Which means coffee cups needed to sit inside the drawers.
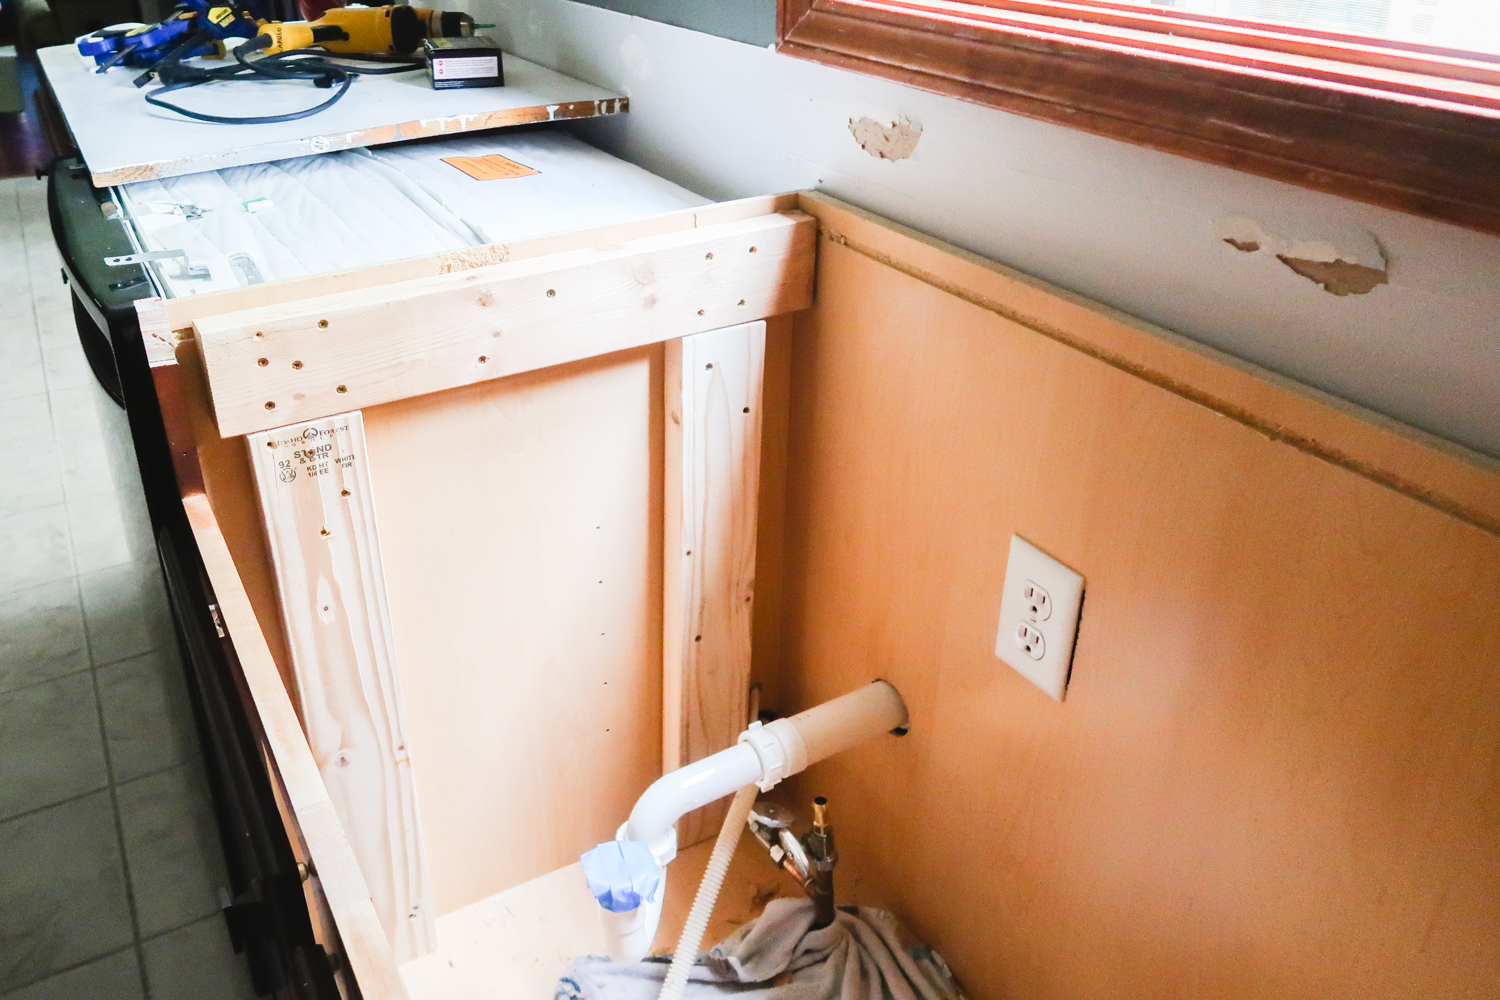
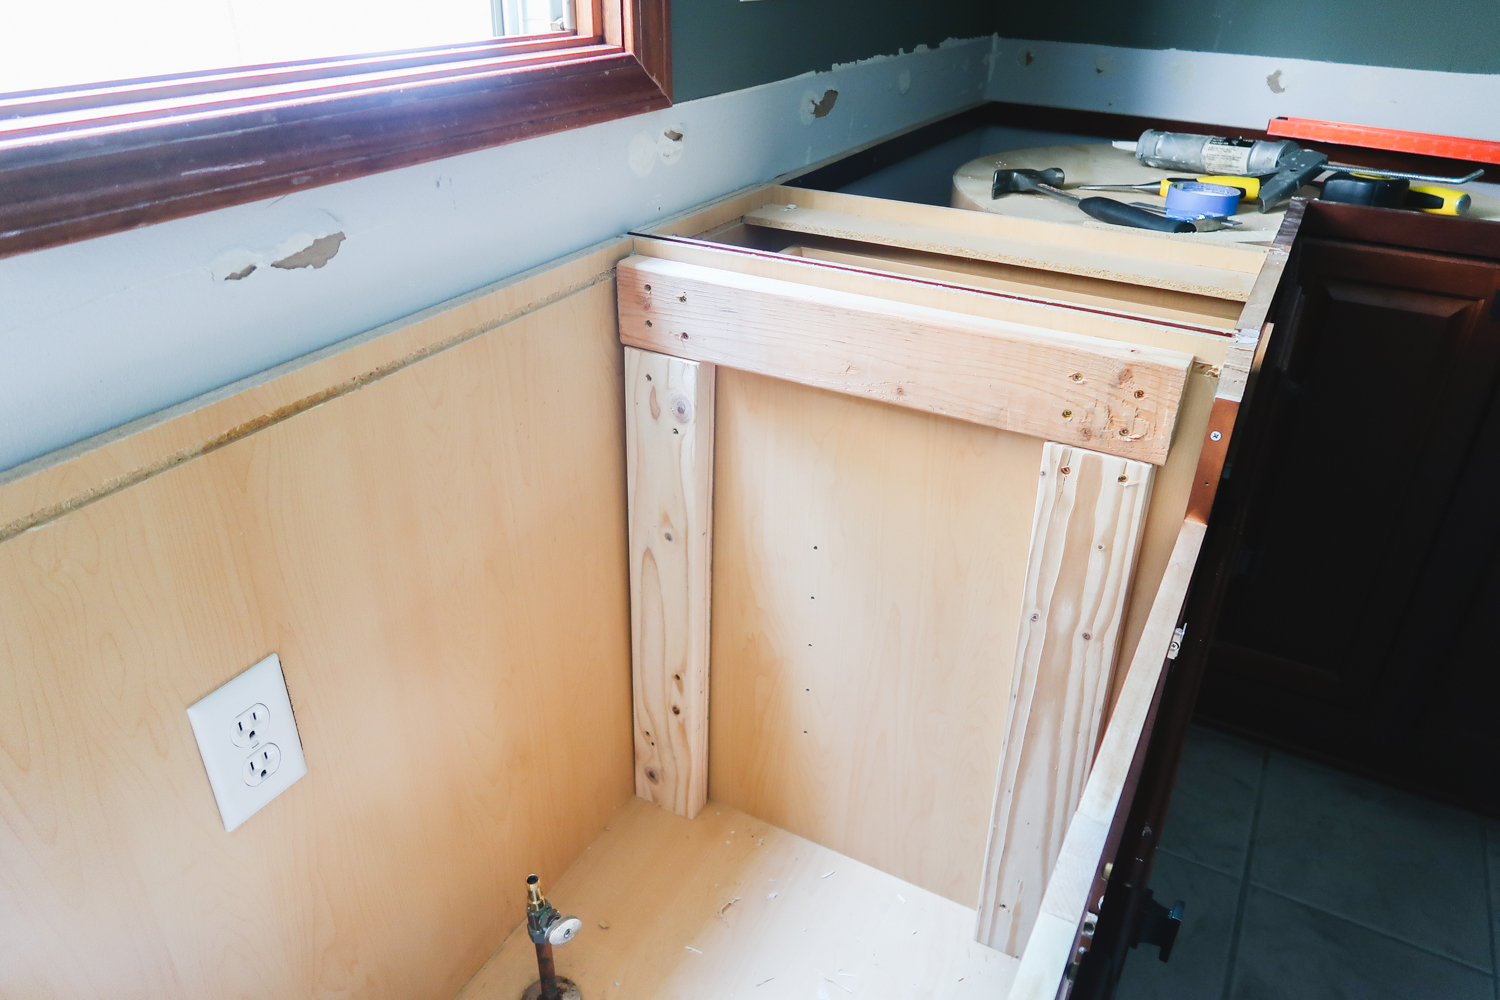
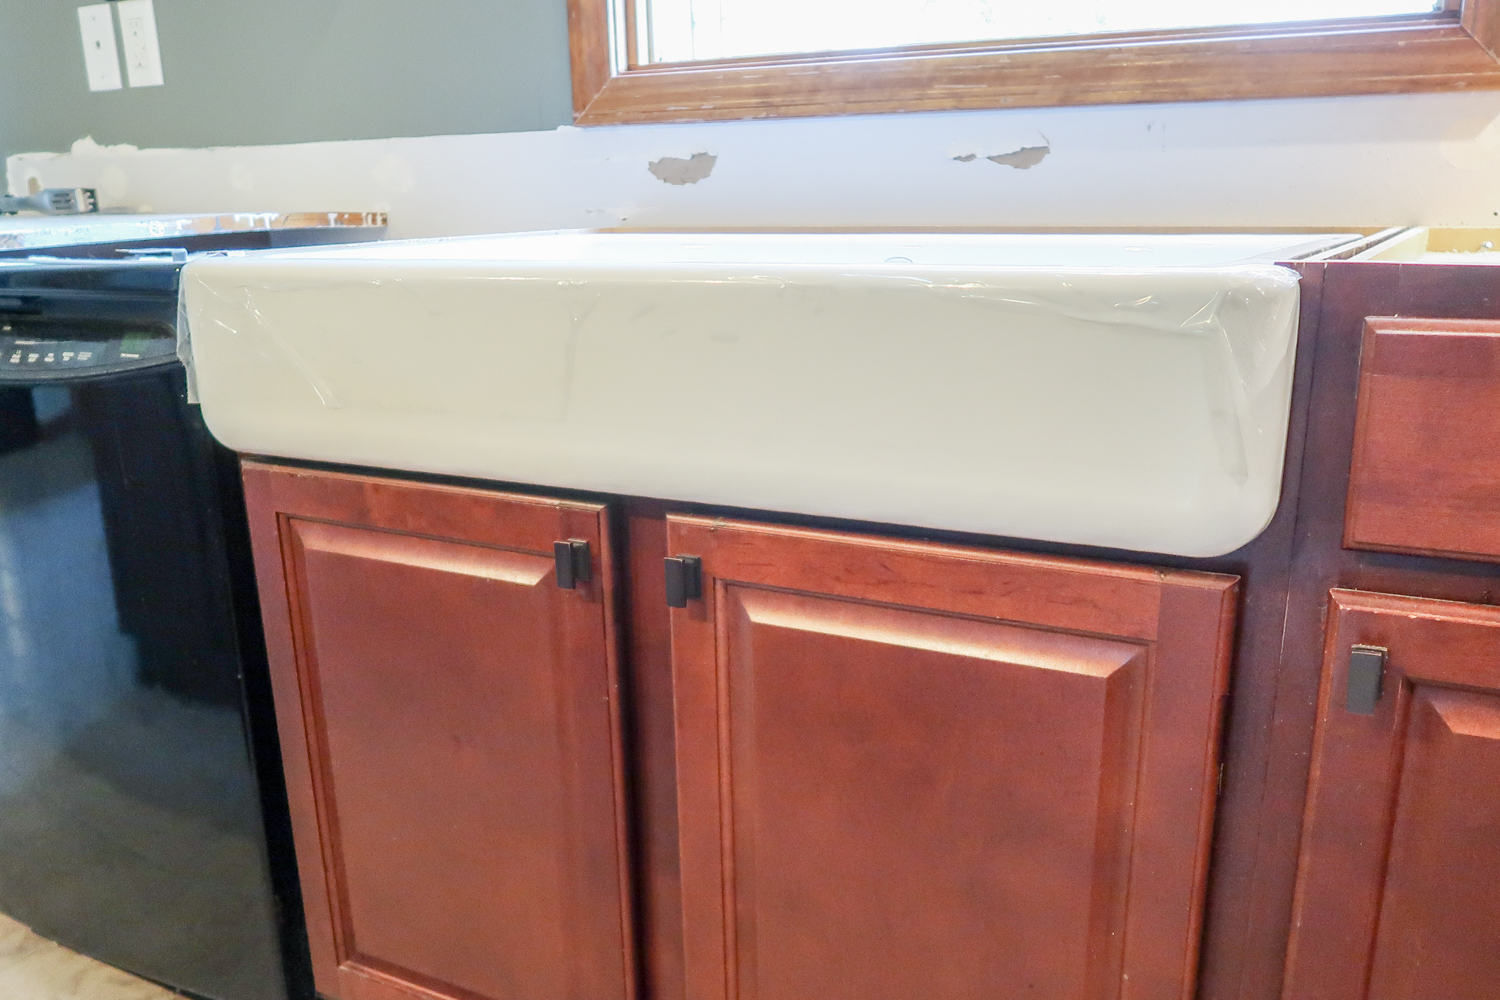
Sink installation started! Our Kohler sink needed a brace built out of 2×4’s which luckily my husband could build because he’s incredibly handy. If you are considering a Kohler Whitehaven sink, just know it involves a little bit of carpentry, but not too much.
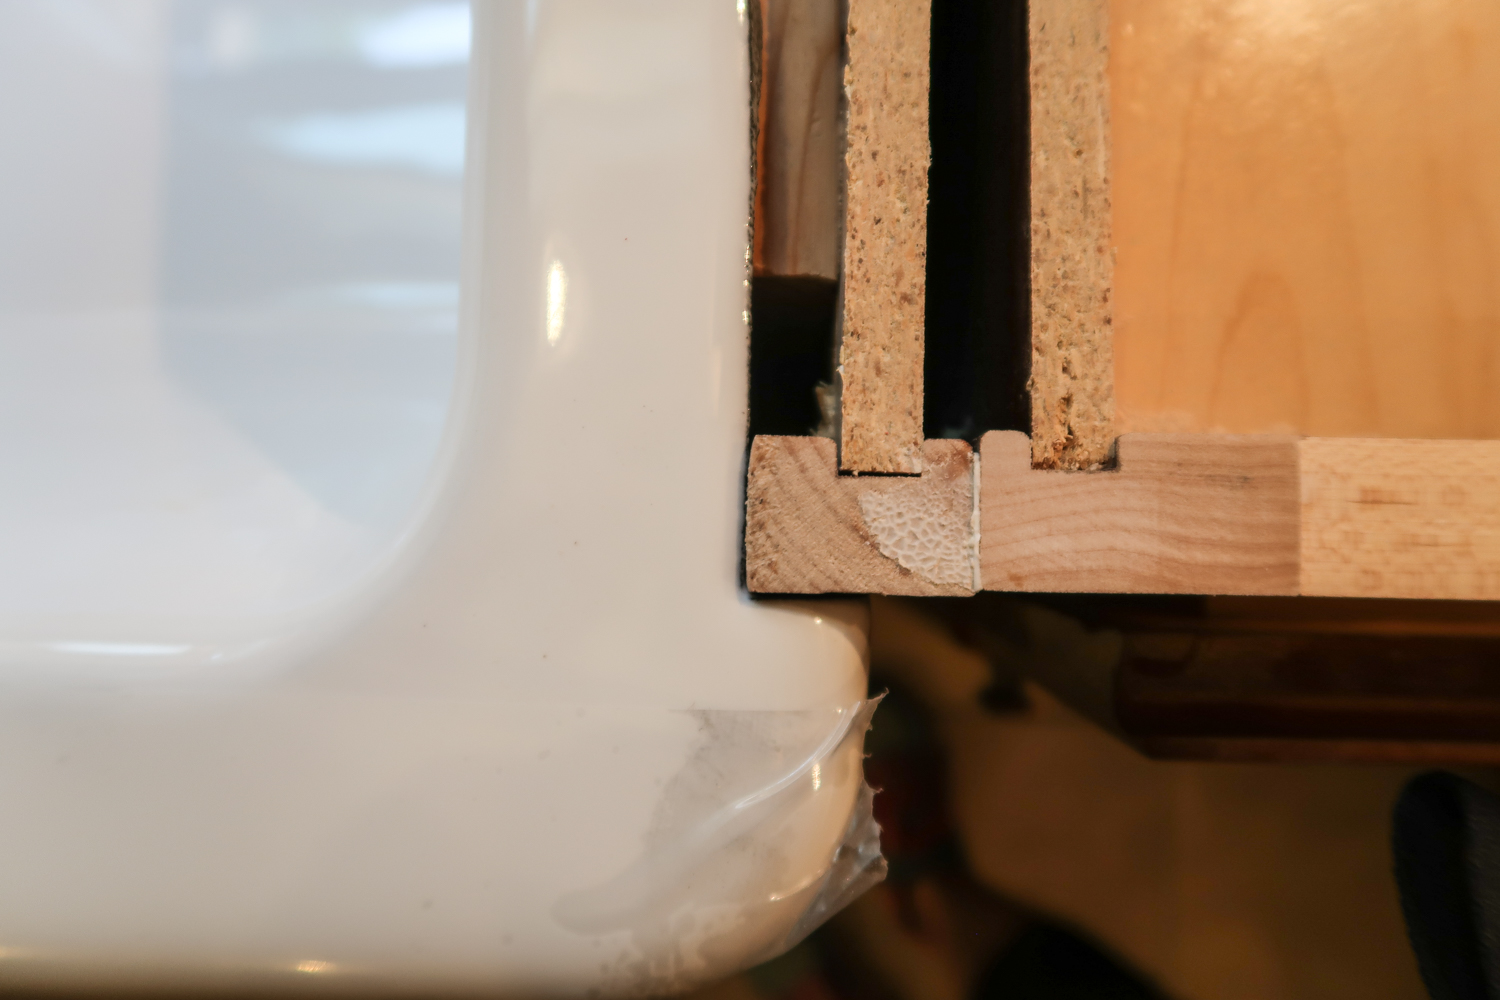
Top view after sink was in place. This sink is designed to cover up any rough cuts when converting the cabinet to fit the sink. I love this feature, it’s very forgiving!
Ta da! Sink is in (although no faucet for a while yet)
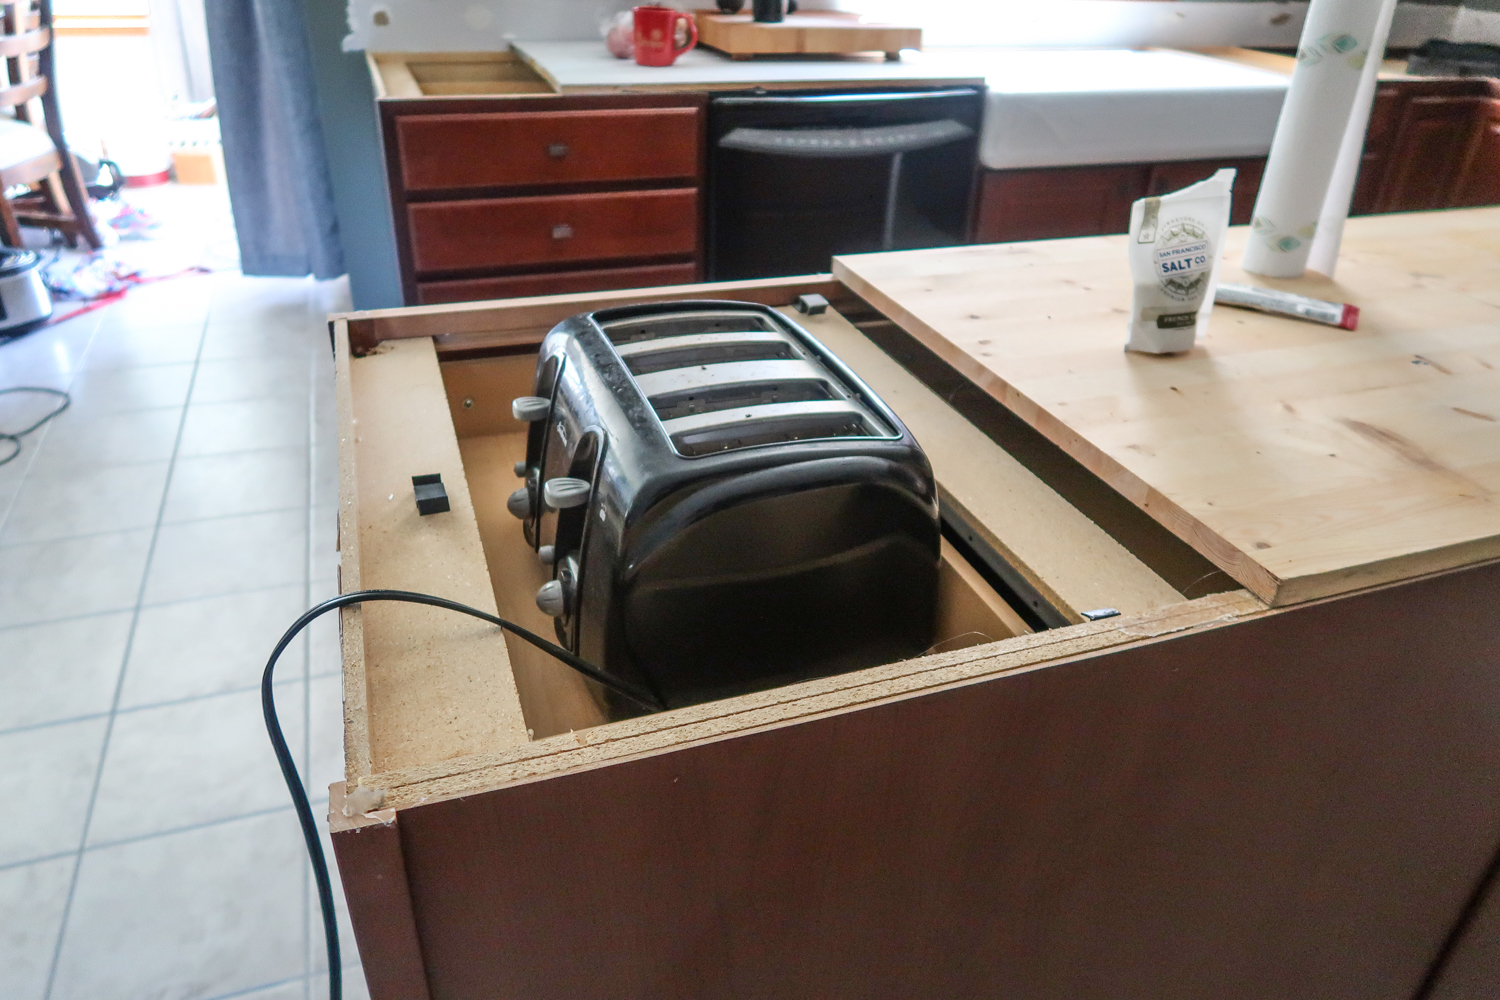
Classy individuals like us keep our toasters in drawers, too. We ended up using some of my photography boards as temporary countertops which was very helpful! Note the slow cooker is still on the ground.
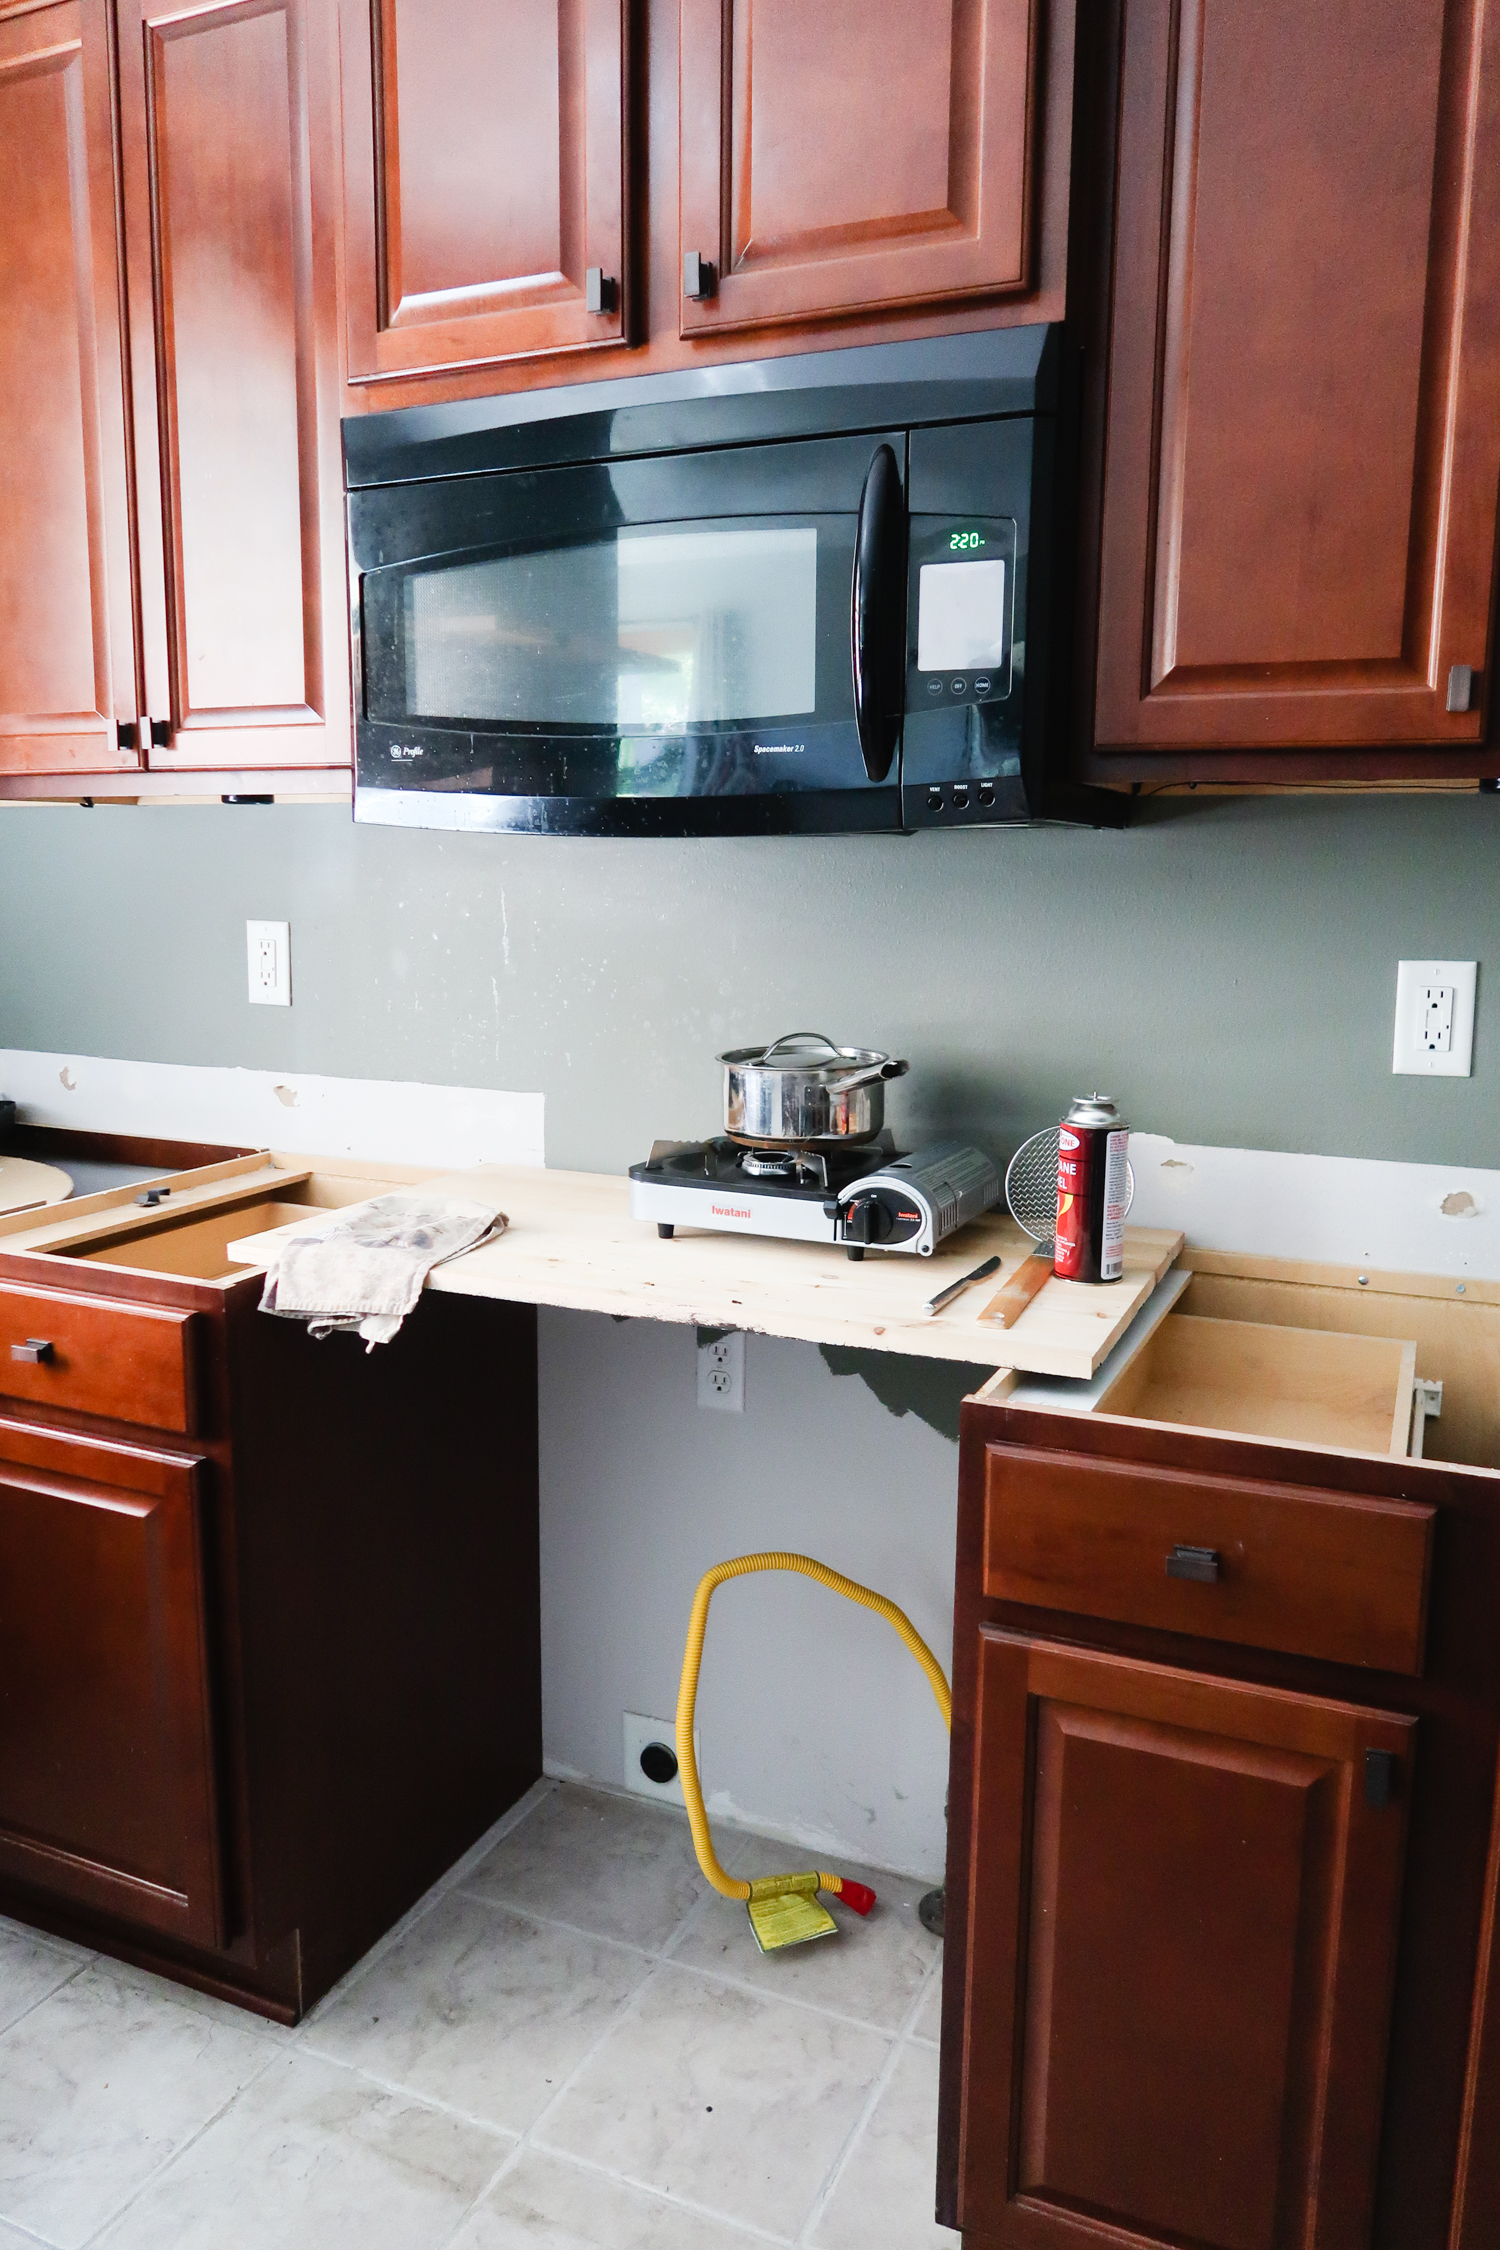
This was my temporary cooktop! Hot plate on a board. Check out all that bacon grease splattered on the wall. That is why I’m loving our new backsplash – so easy to clean!
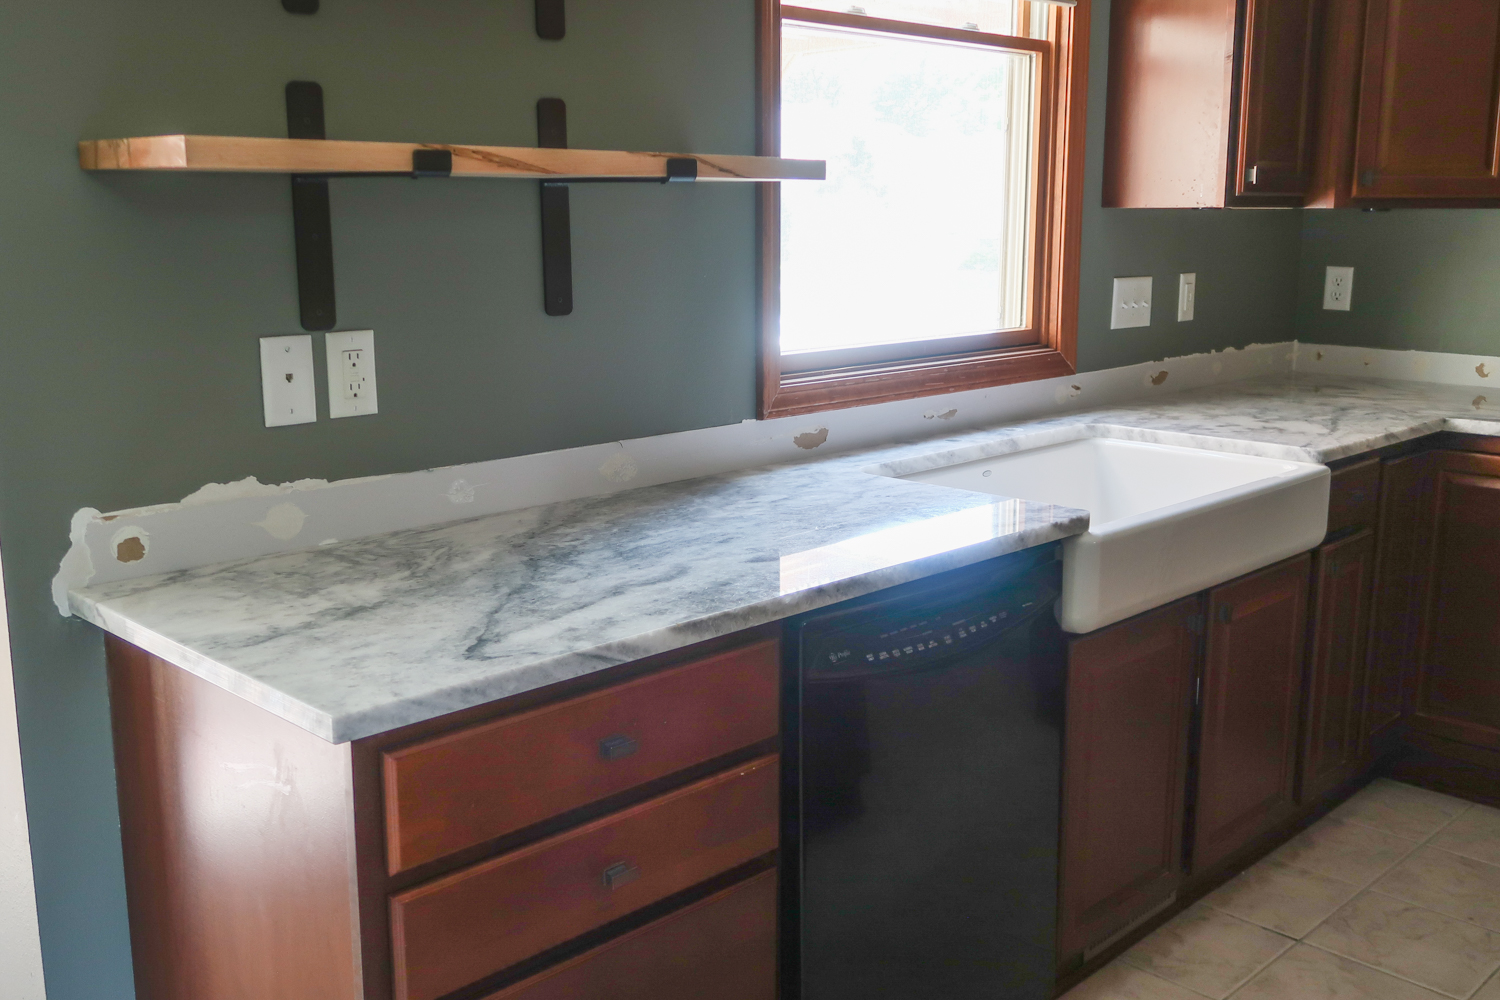
Quartzite counter in place – which brings us to our…
DIY Brick Kitchen Island!
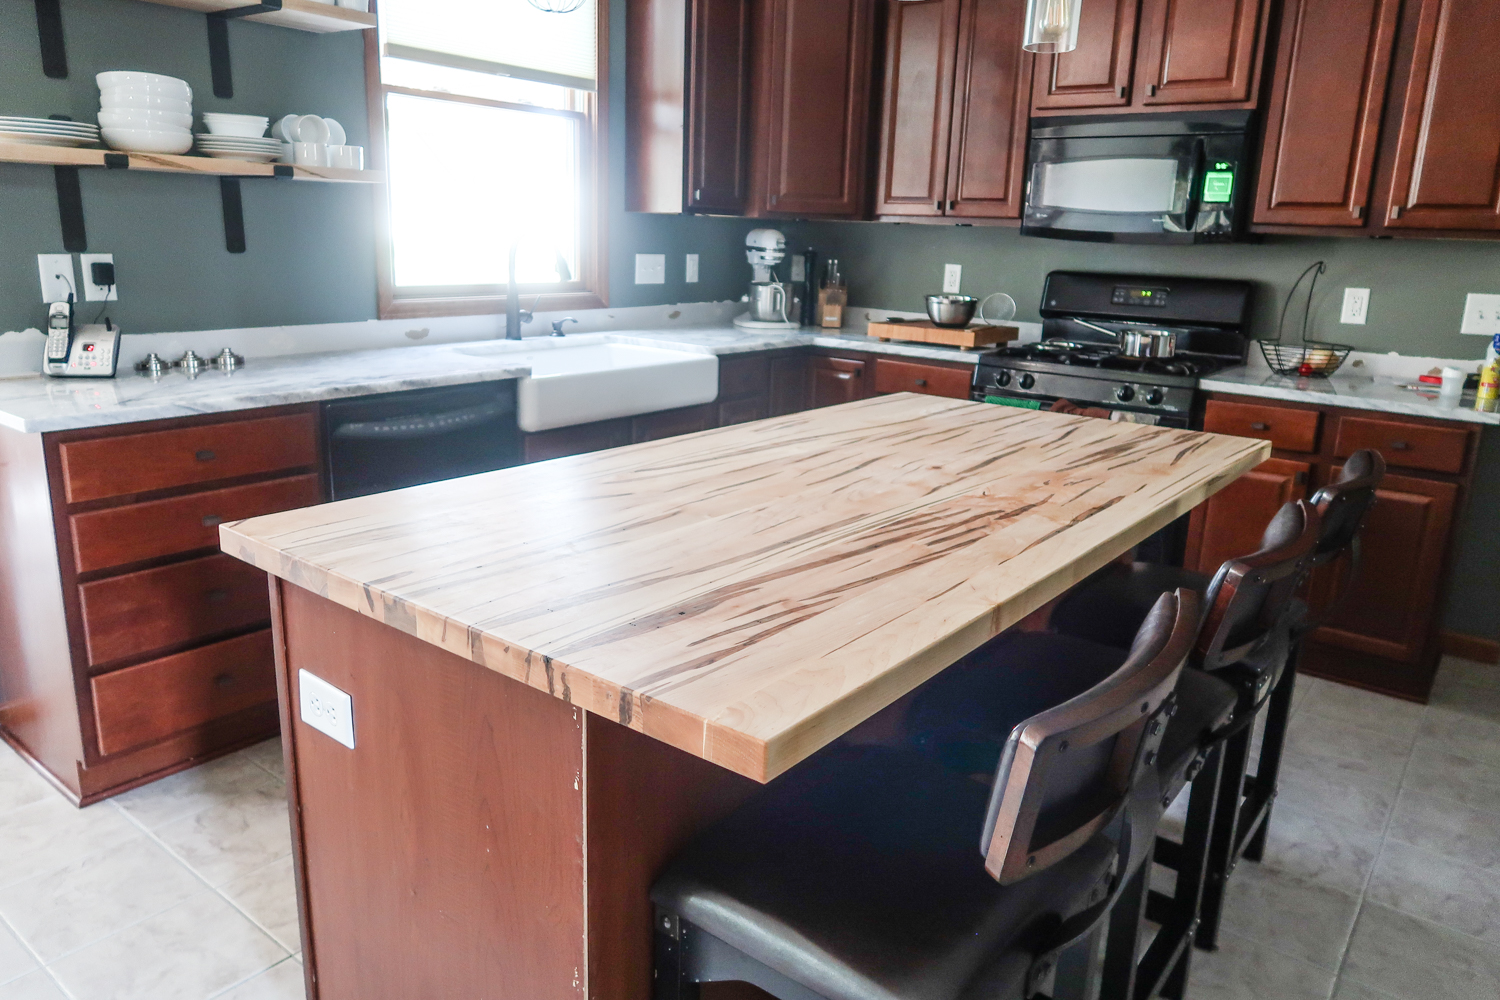
Let’s start with the countertop. We had this top pieced together by a fabulous wood shop/store here in Toledo called KenCraft. They also made our open shelves that we installed after we moved in. Both the shelves and teh countertop were pieced together out of boards of rustic wormy maple. This wood is so freaking stunning! I love the look of the contrasting stripes. It pulls out some of the darker wood of our cabinet, but provides an awesome contrast. KenCraft did a fantastic job with this top and we couldn’t be happier with how it turned out. While they pieced and crafted the board, it was up to us to finish it.
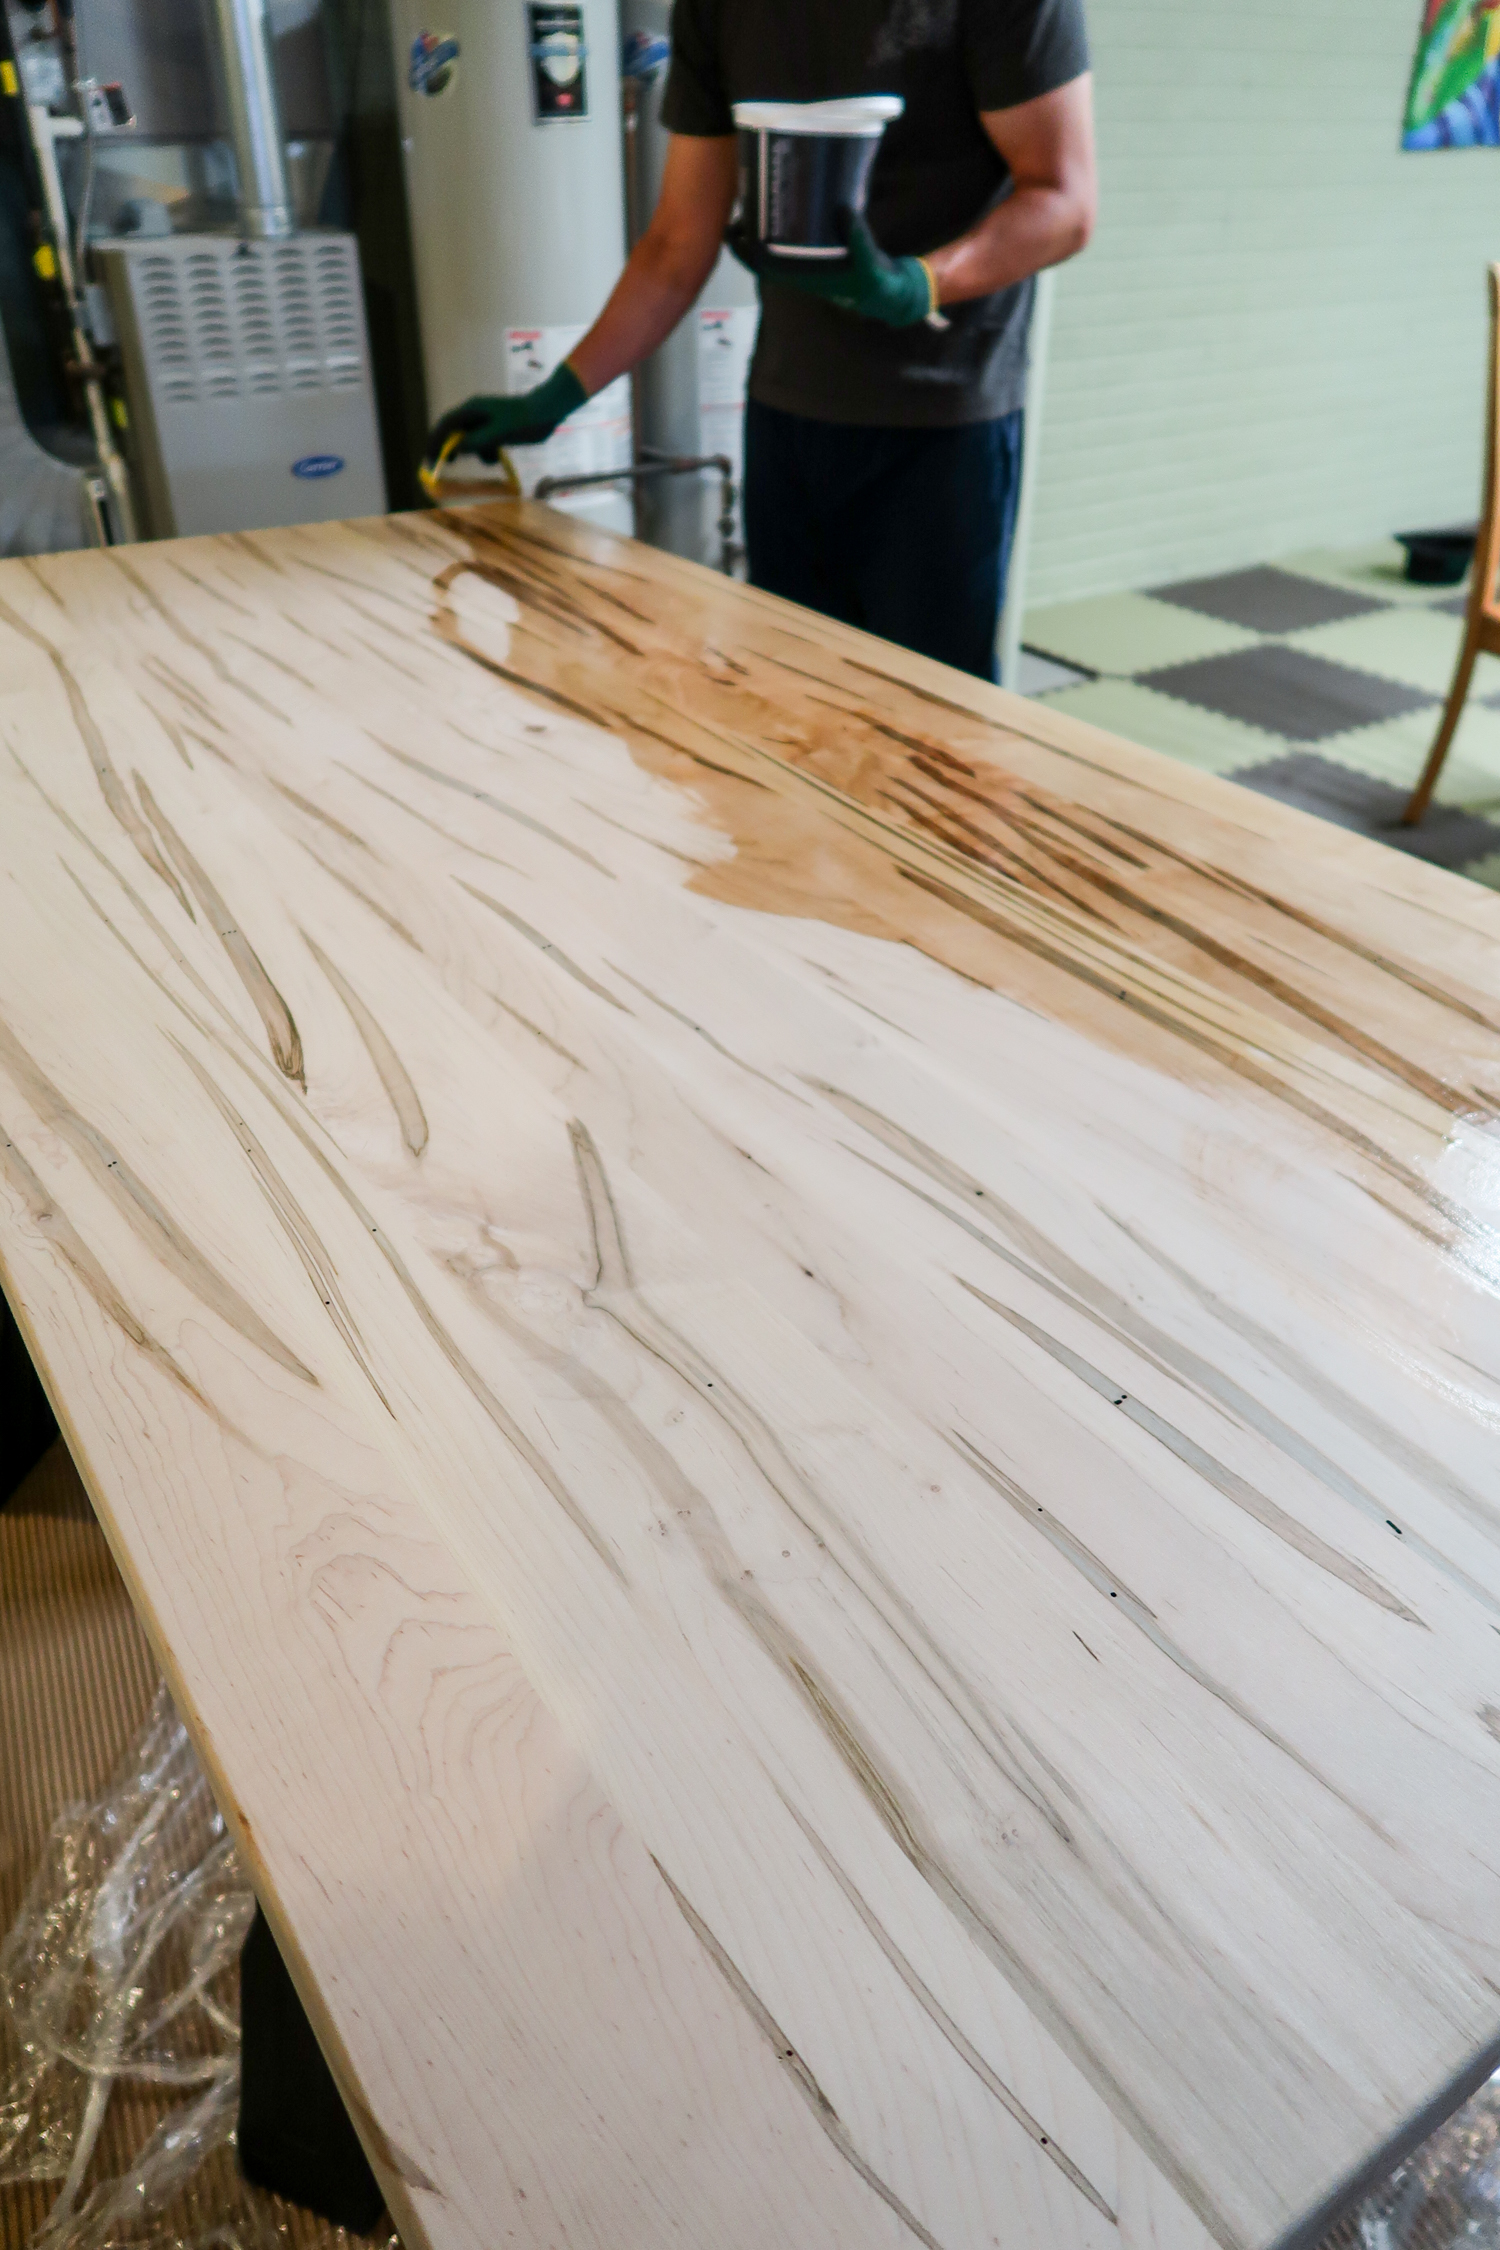
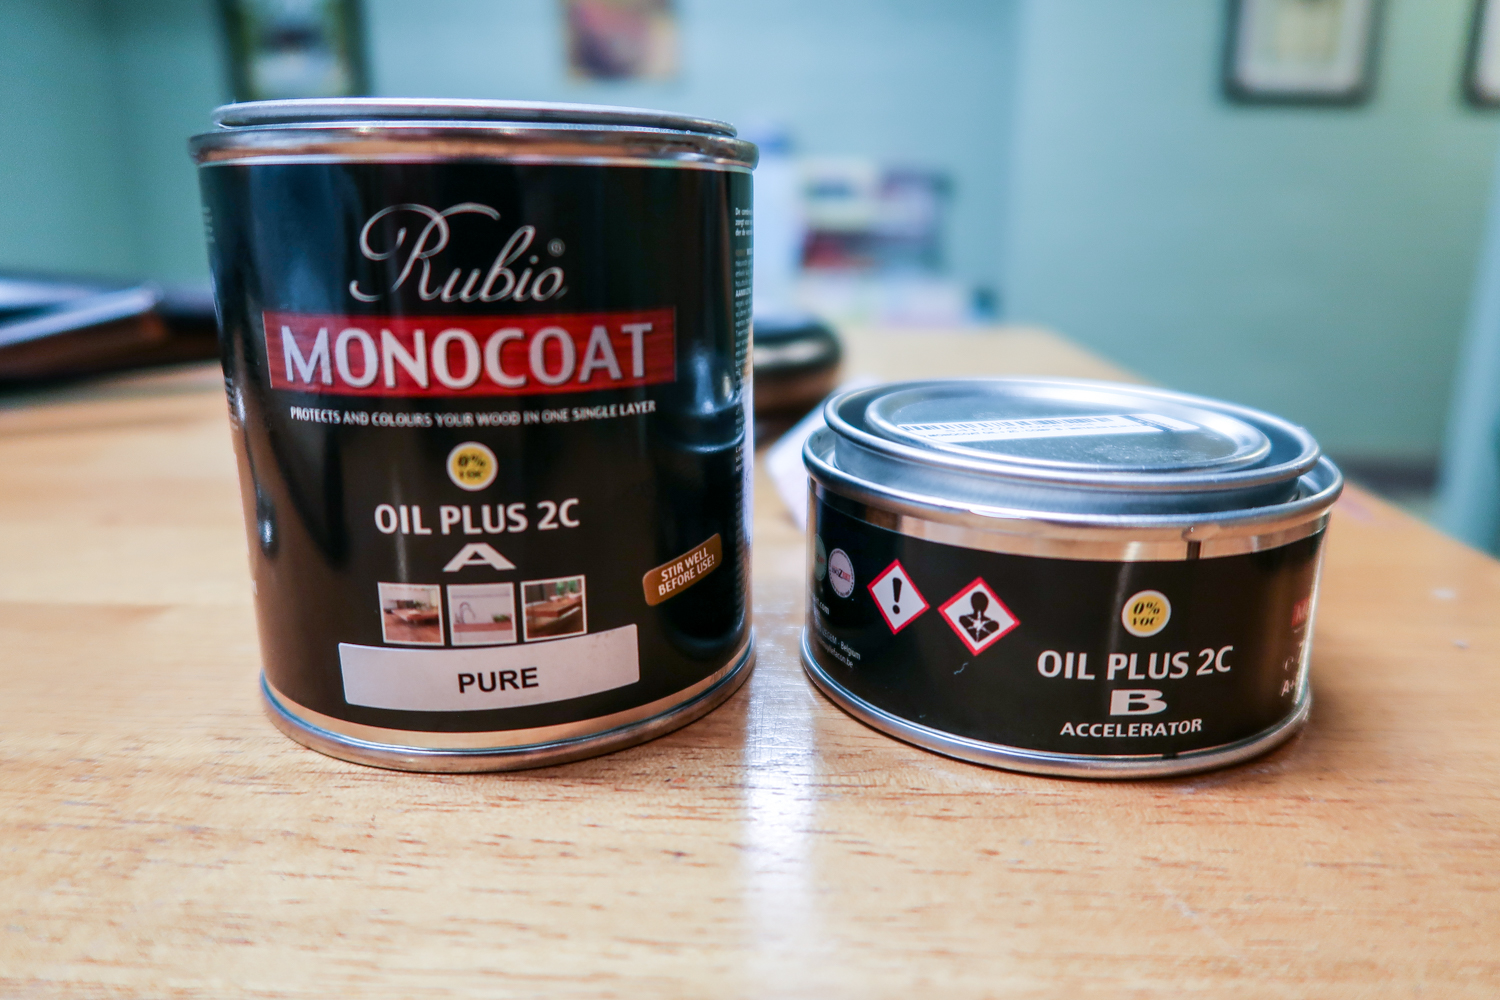
We were not interested in having a thick layer of polyurethane that would make it feel like plastic. We wanted to finish the counter with something protective, but that retained the soft texture of the wood. We had no intention of it being a big cutting board, either. After a ton of research, we came across this great product called Rubio Monocoat. It’s a linseed oil product that you mix a special accelerator (see photo below) that accelerates drying time. From what I have read, traditional linseed oil finishes never fully dry and retain a tacky or damp feel. This product gives the protection and finish of linseed oil, but a very livable texture and finish.
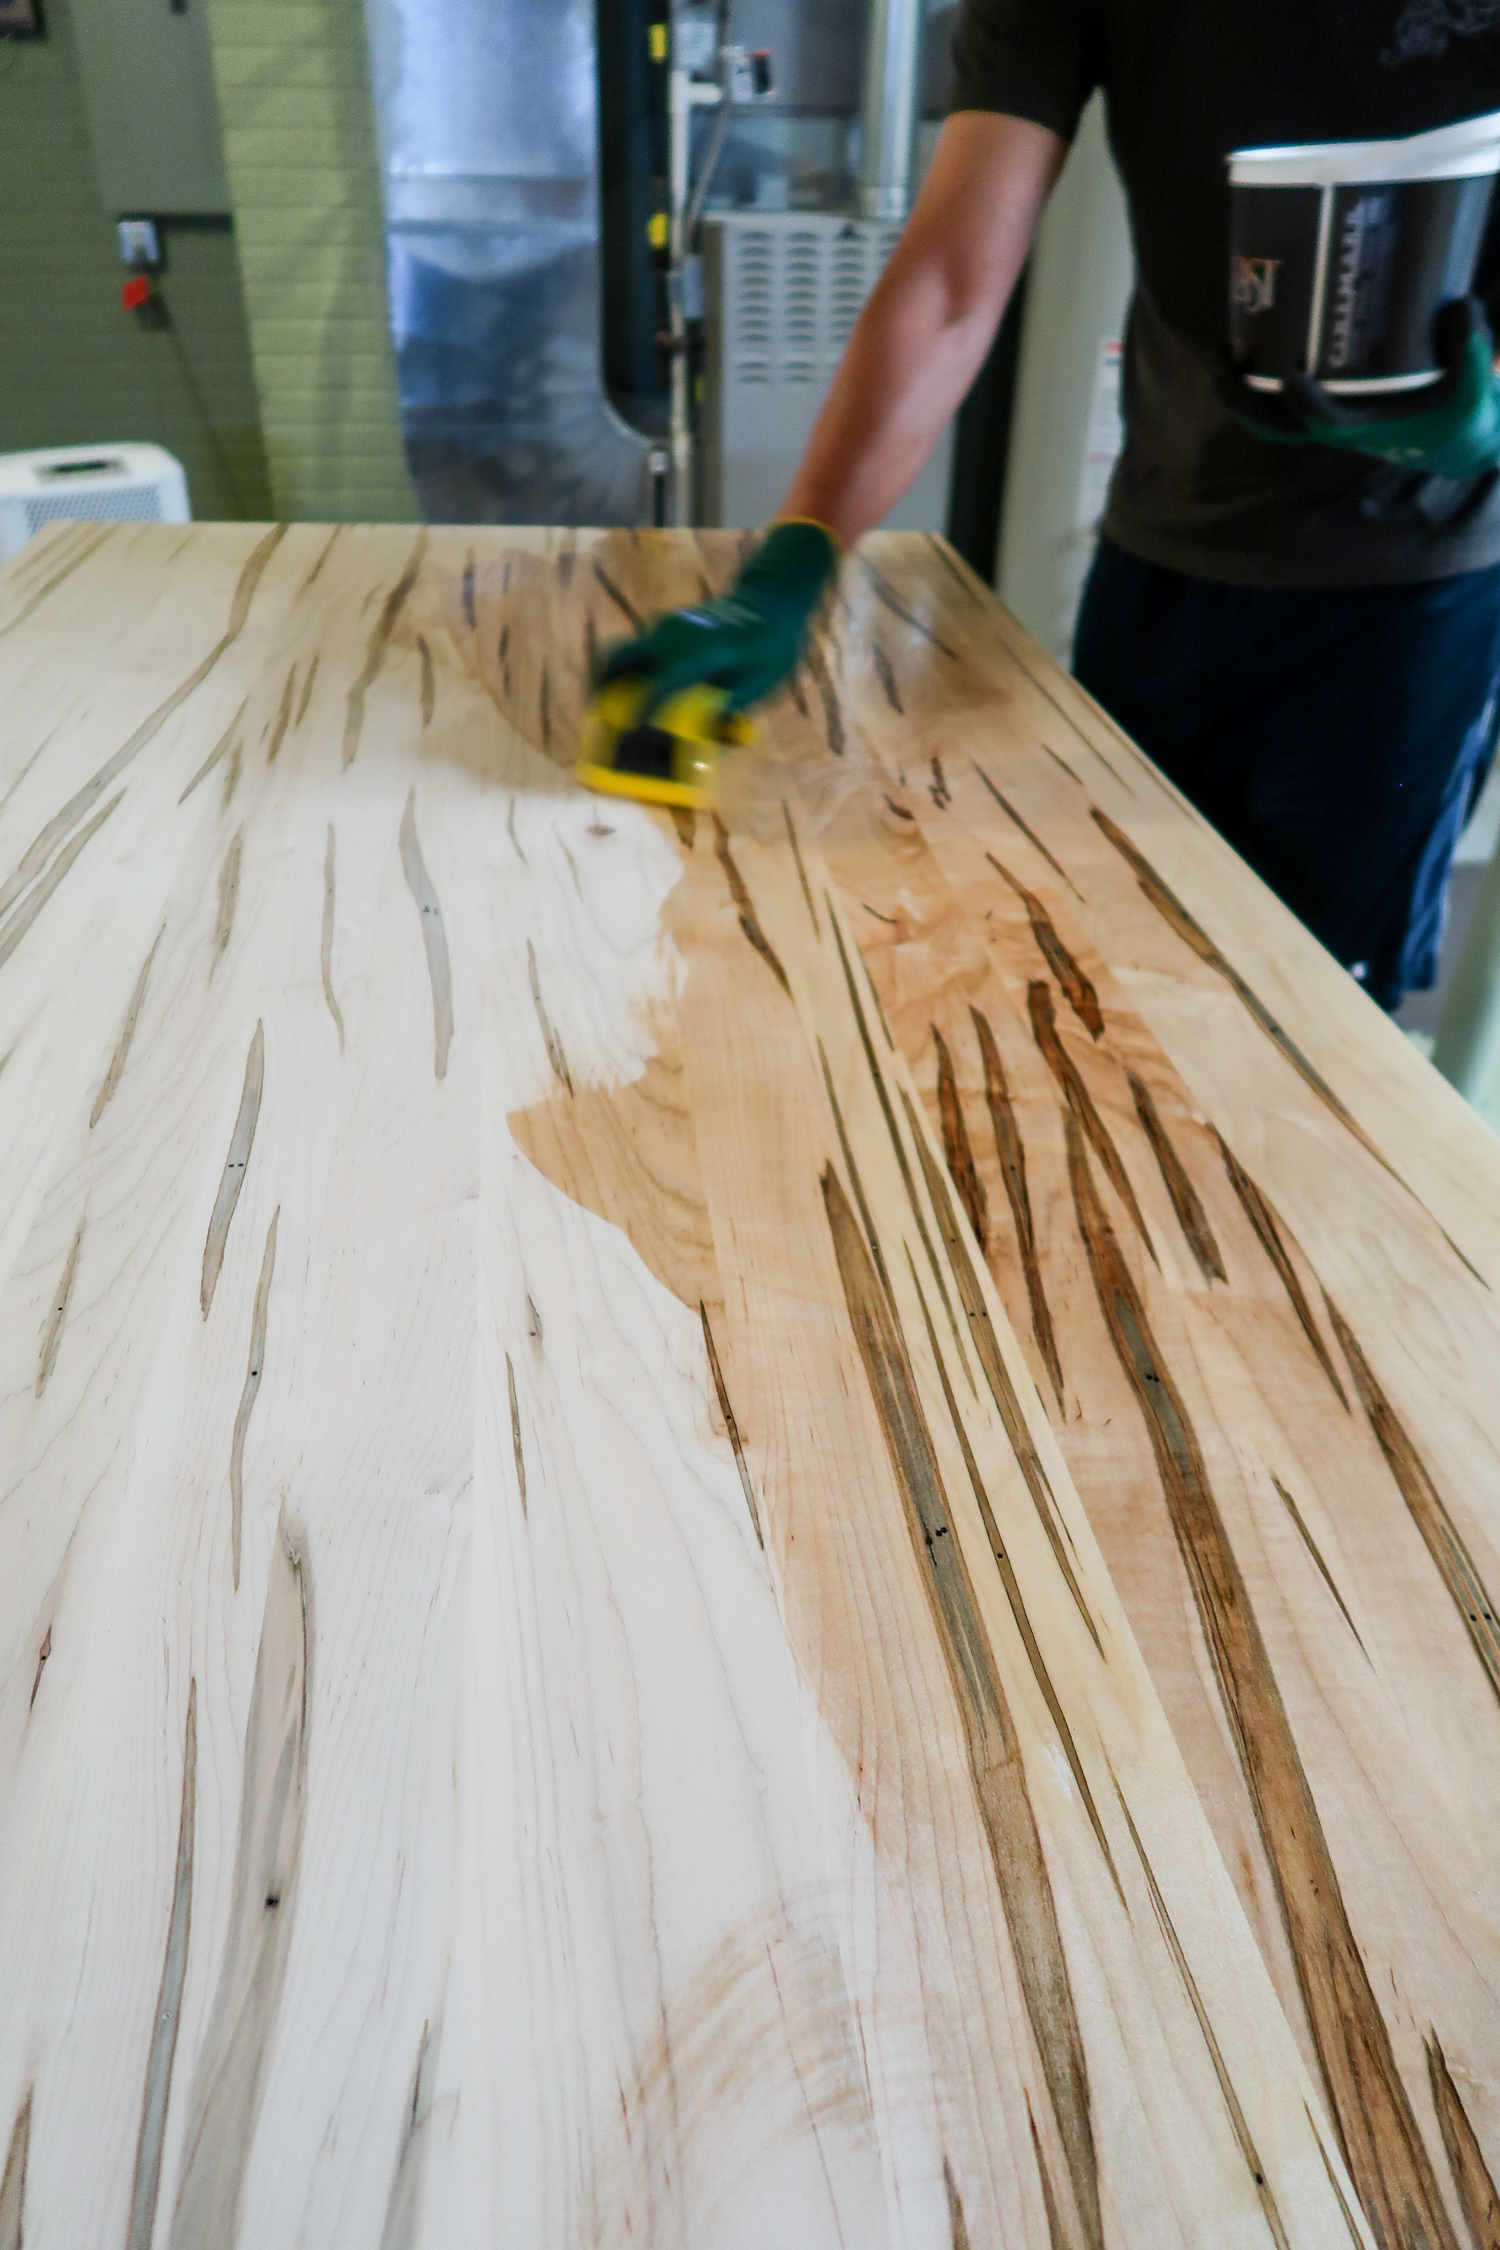
After mixing the two parts together, we wiped it onto the counter, removing the excess. Then the coat had to dry for seven days before we installed it. After the finish dried, it had a little bit of a rough texture that we didn’t understand. A friend of ours who is a fantastic woodworker explained that the fibers teh wood flare up after oiling it and it can be easily fixed by a very light rub down with steel wool. We were very careful with this step because we didn’t want to disturb the finish we just applied, but sure enough, a very light rub down with steel wool had the wood feeling as smooth as butter!
You can see how this finish brings out the color and beauty of the wood. When it came it installation, we used a bit if silicone in a few places and screws in the corners (from underneath). We were careful to keep the screws slightly loose to allow for some flex as the wood settles.
Now it’s time to add the brick!
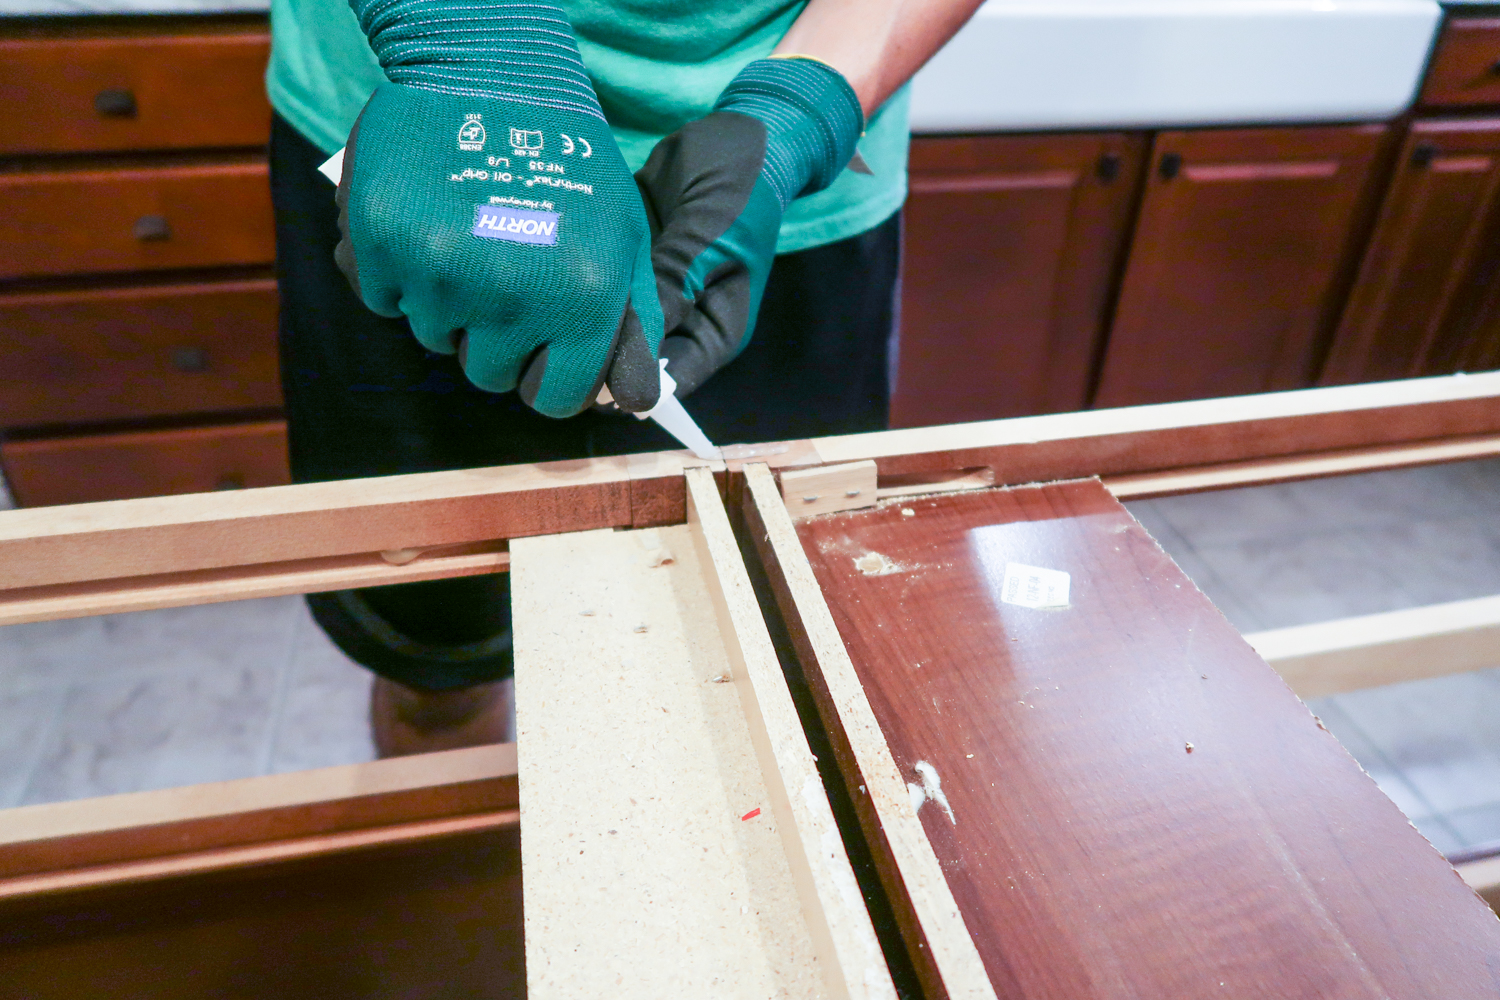
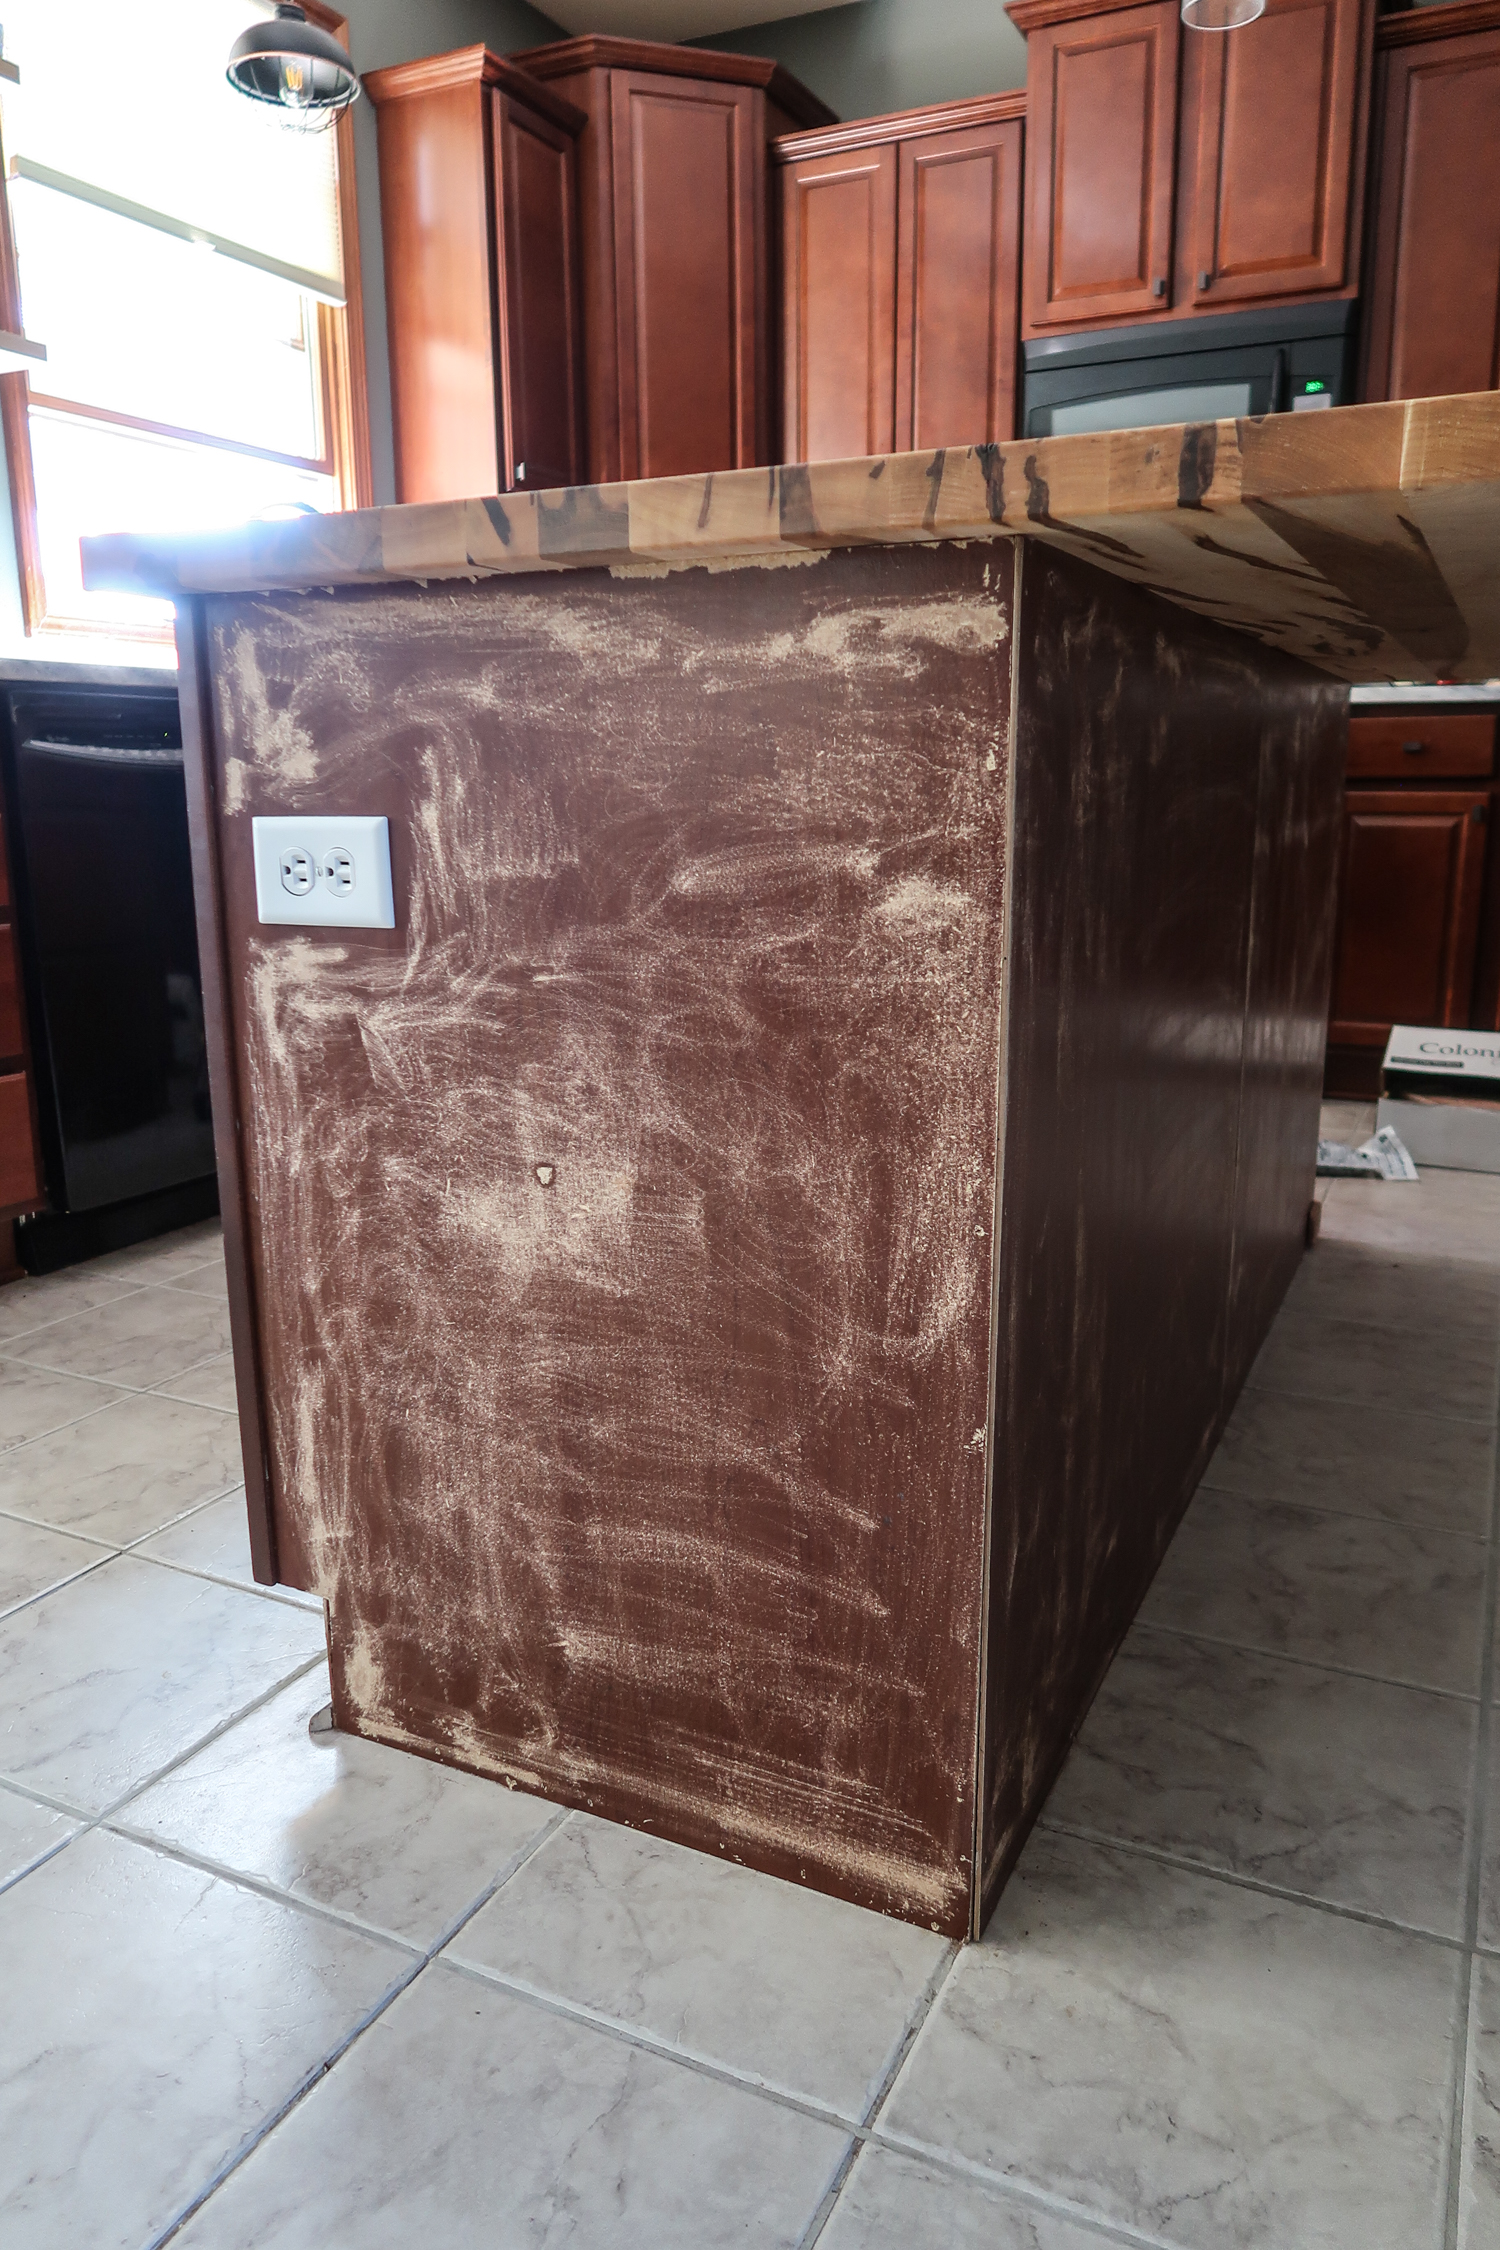
We removed the corner trim pieces as well as the 1/4 round trim along the bottom and gave the entire surface a good sanding.
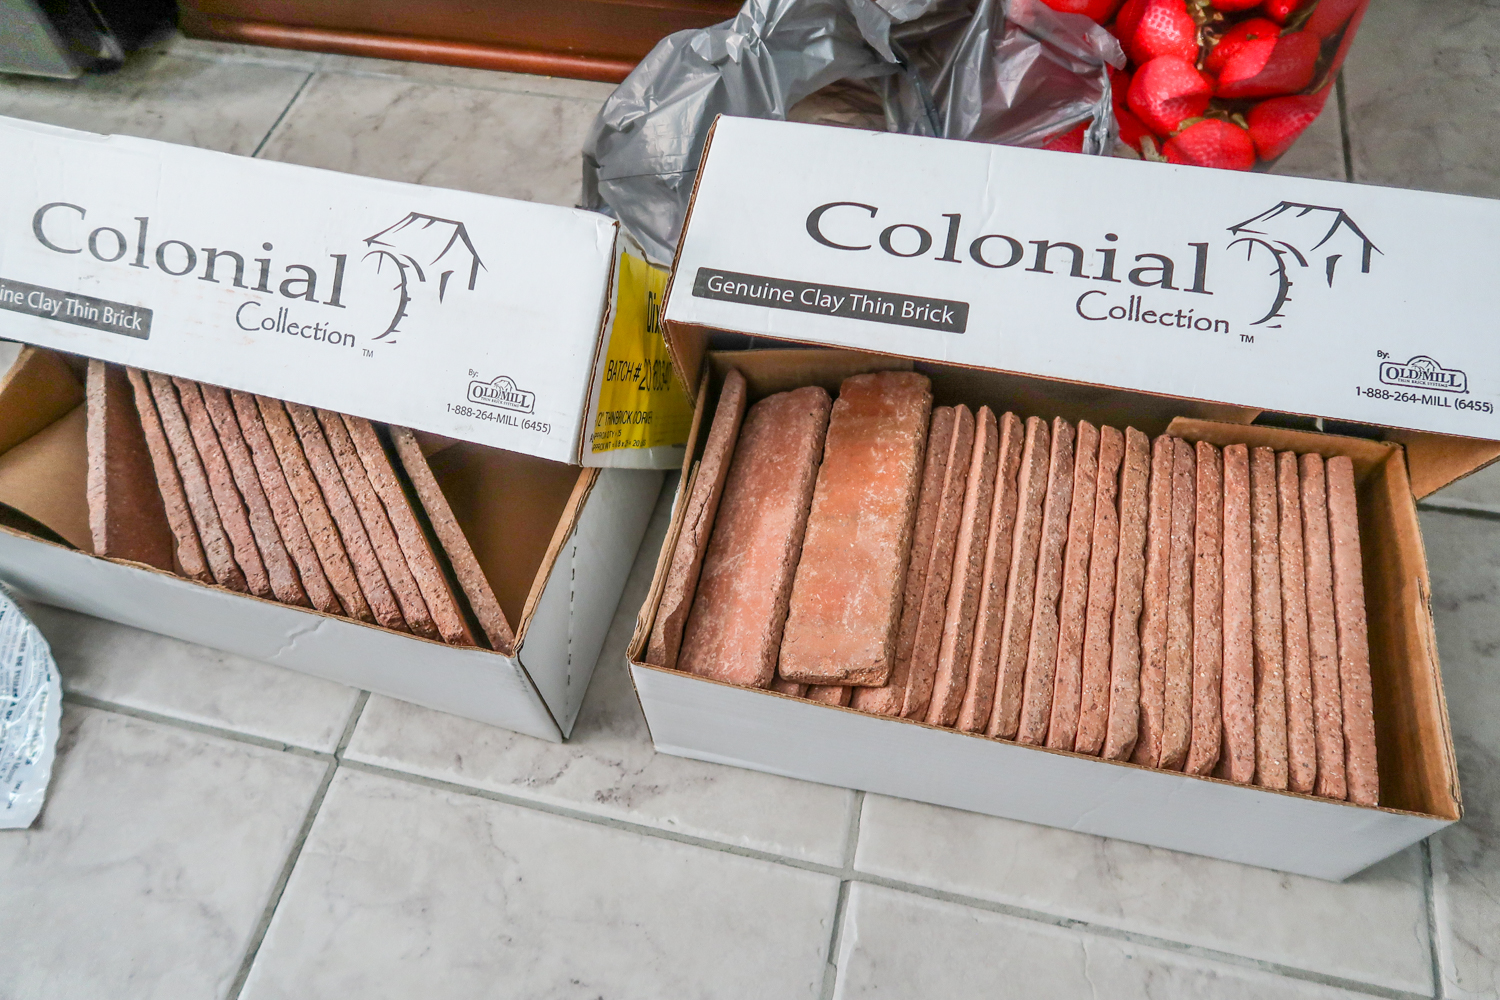
These bricks are actual clay bricks that are sliced thin. They can be applied to a wall or in our case, the sides of our island!
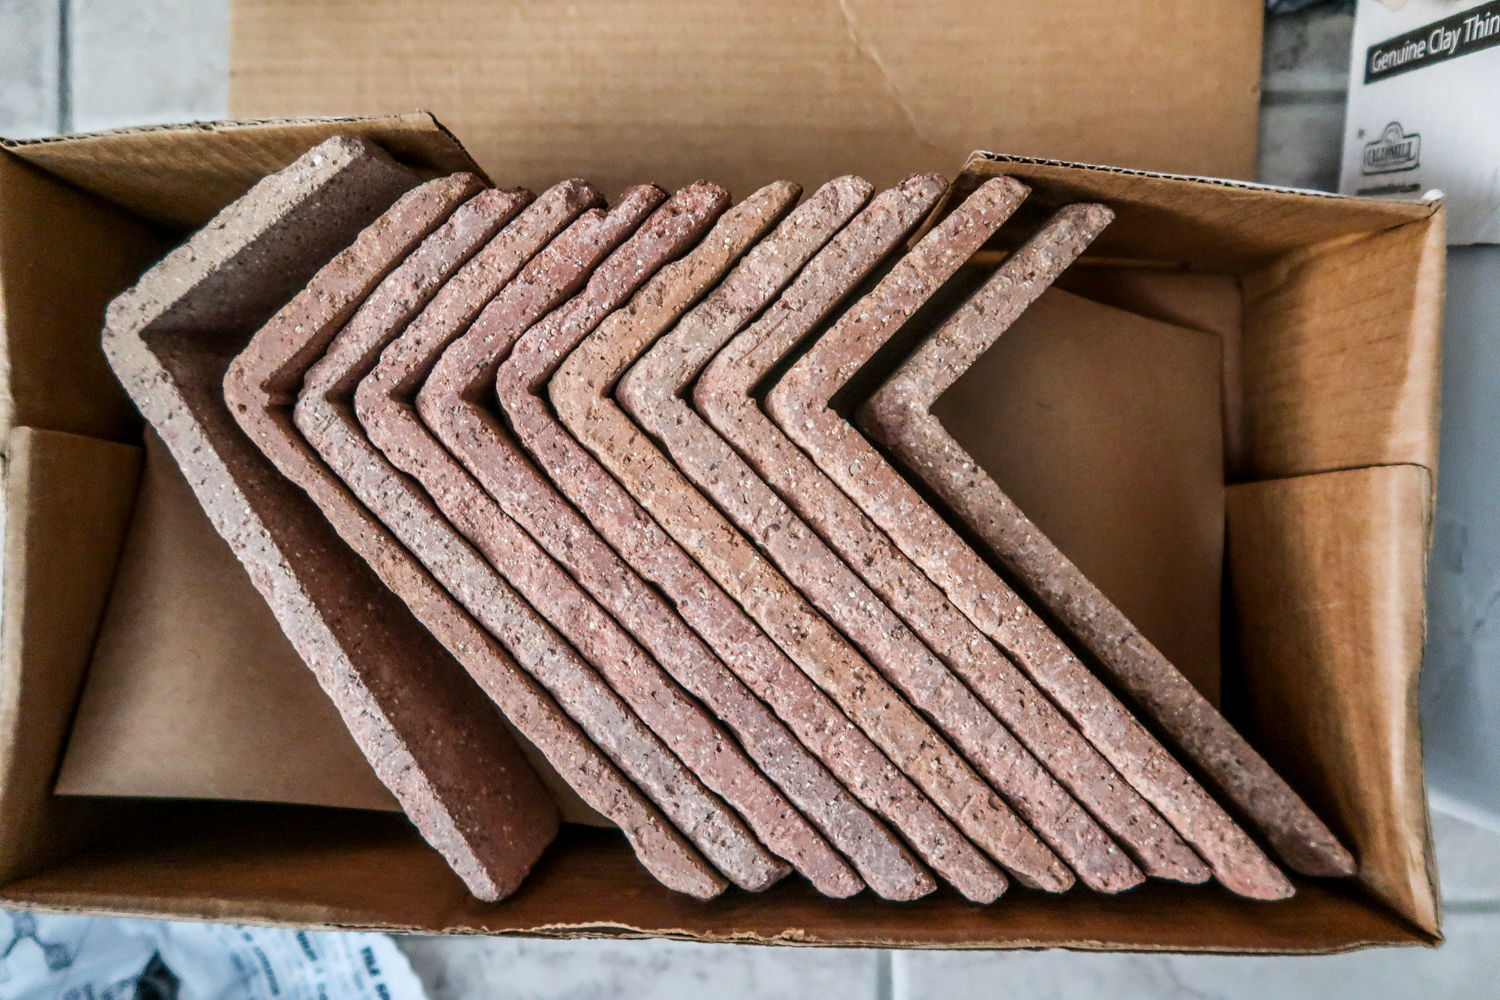
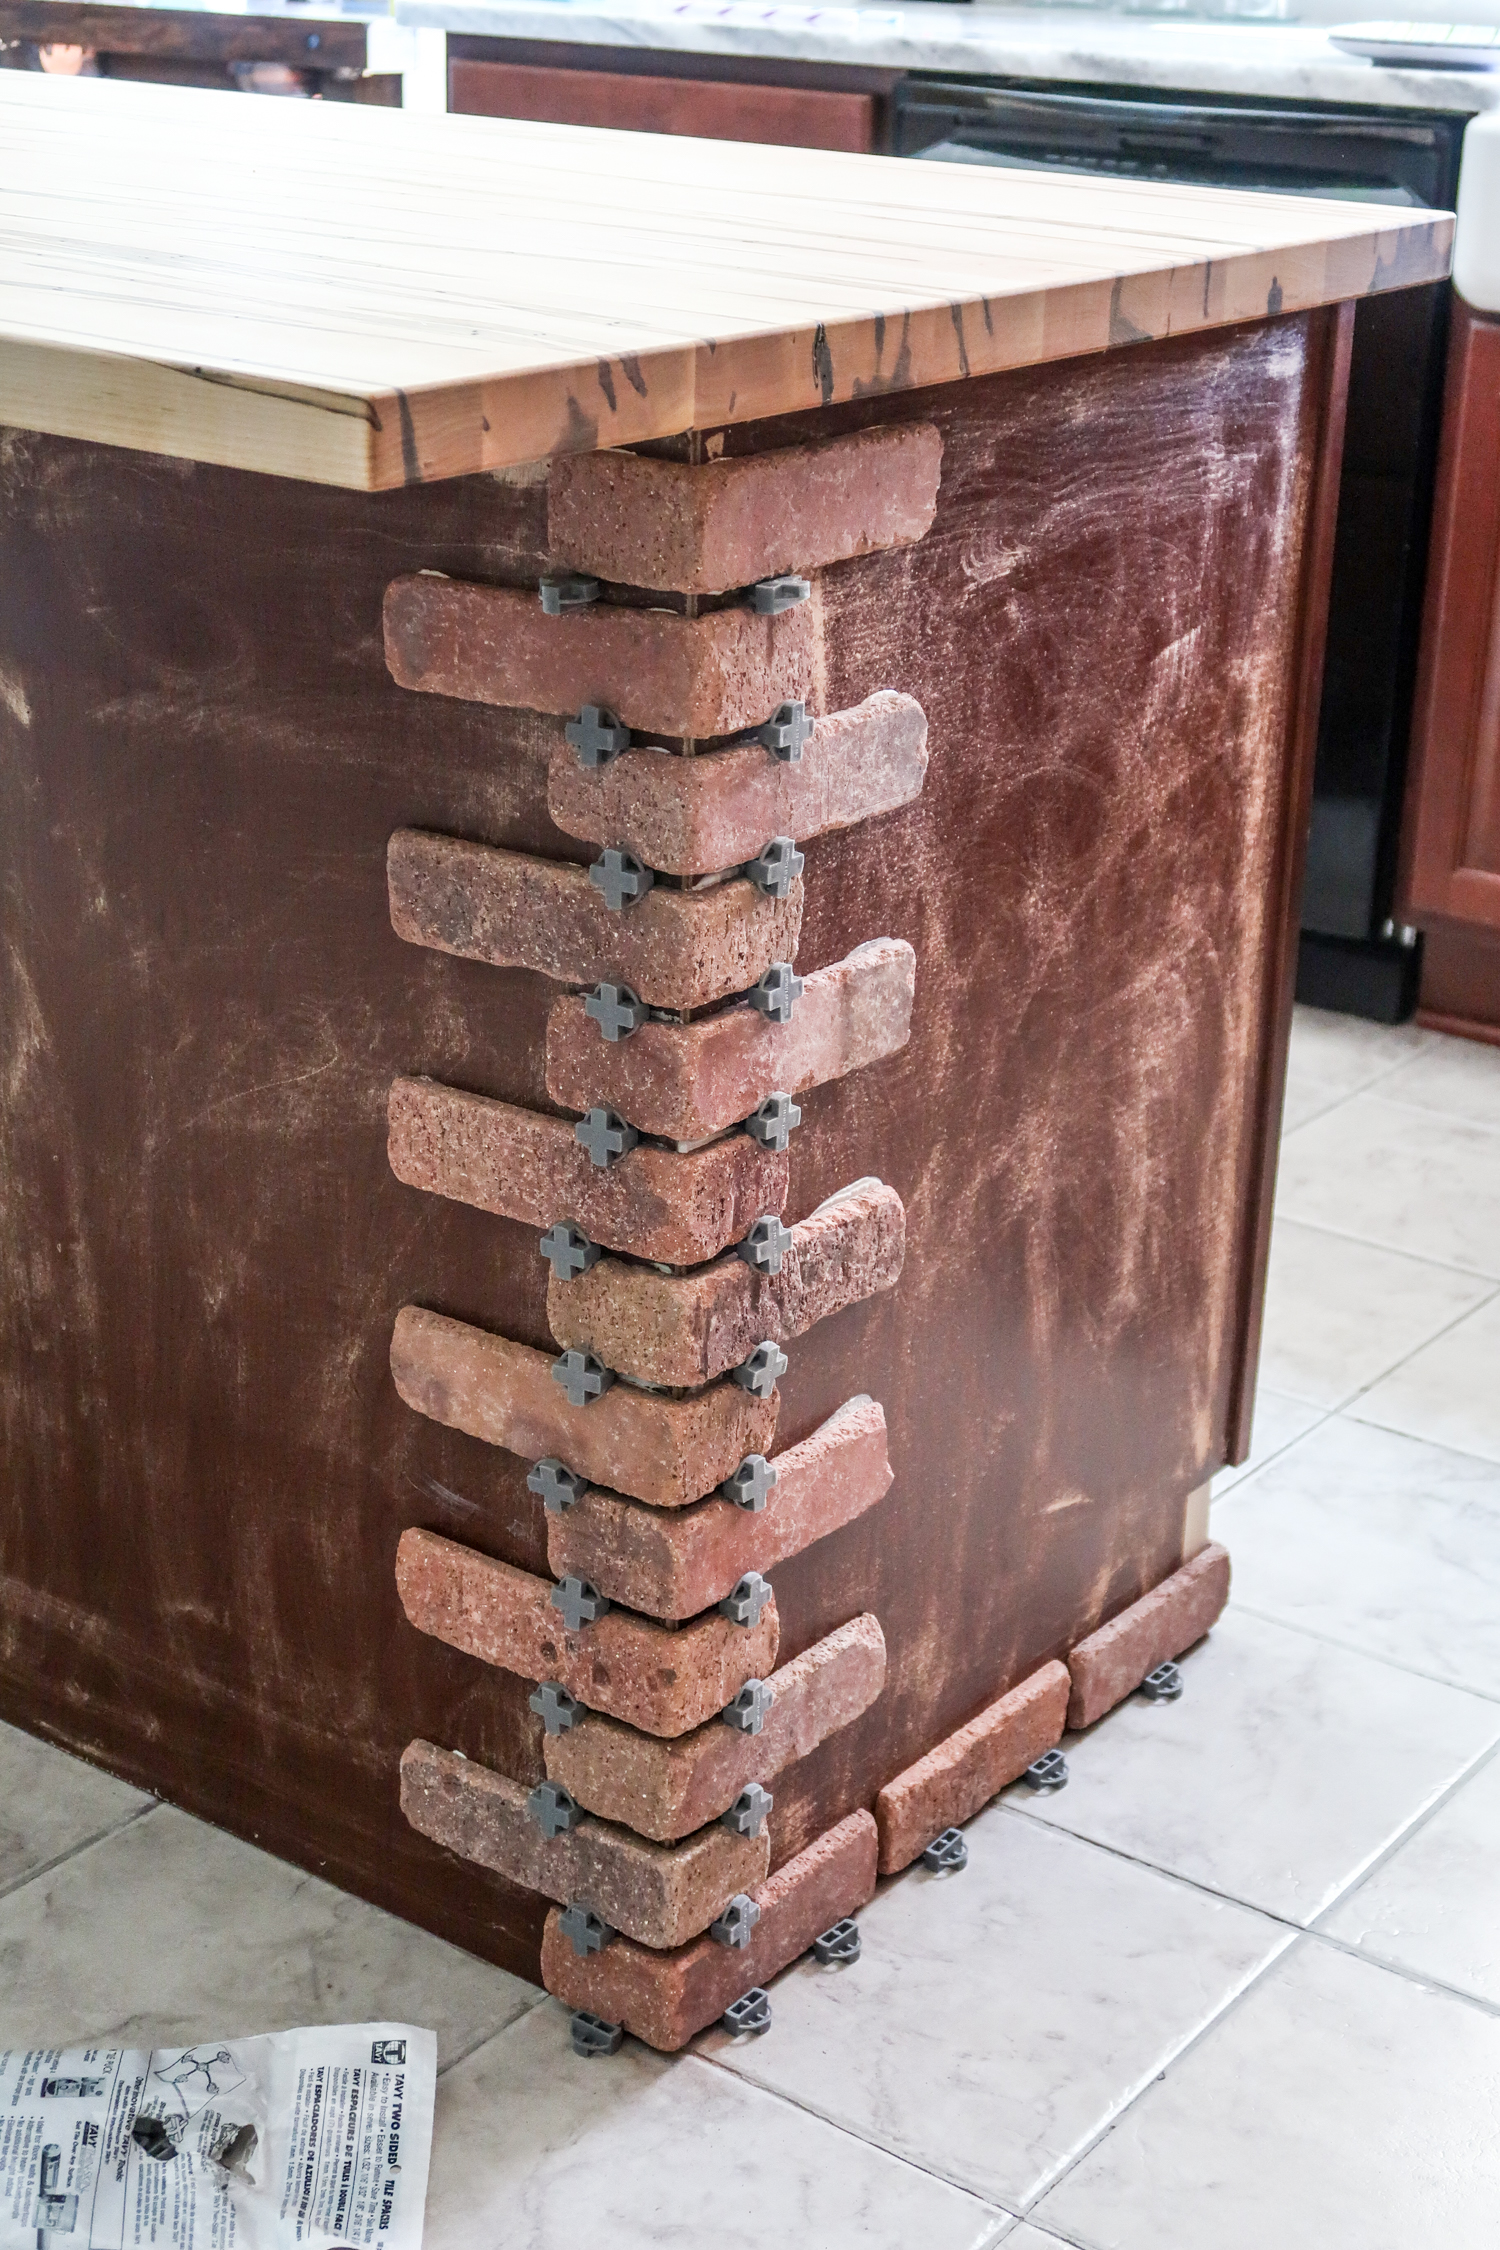
They also come in corner pieces:
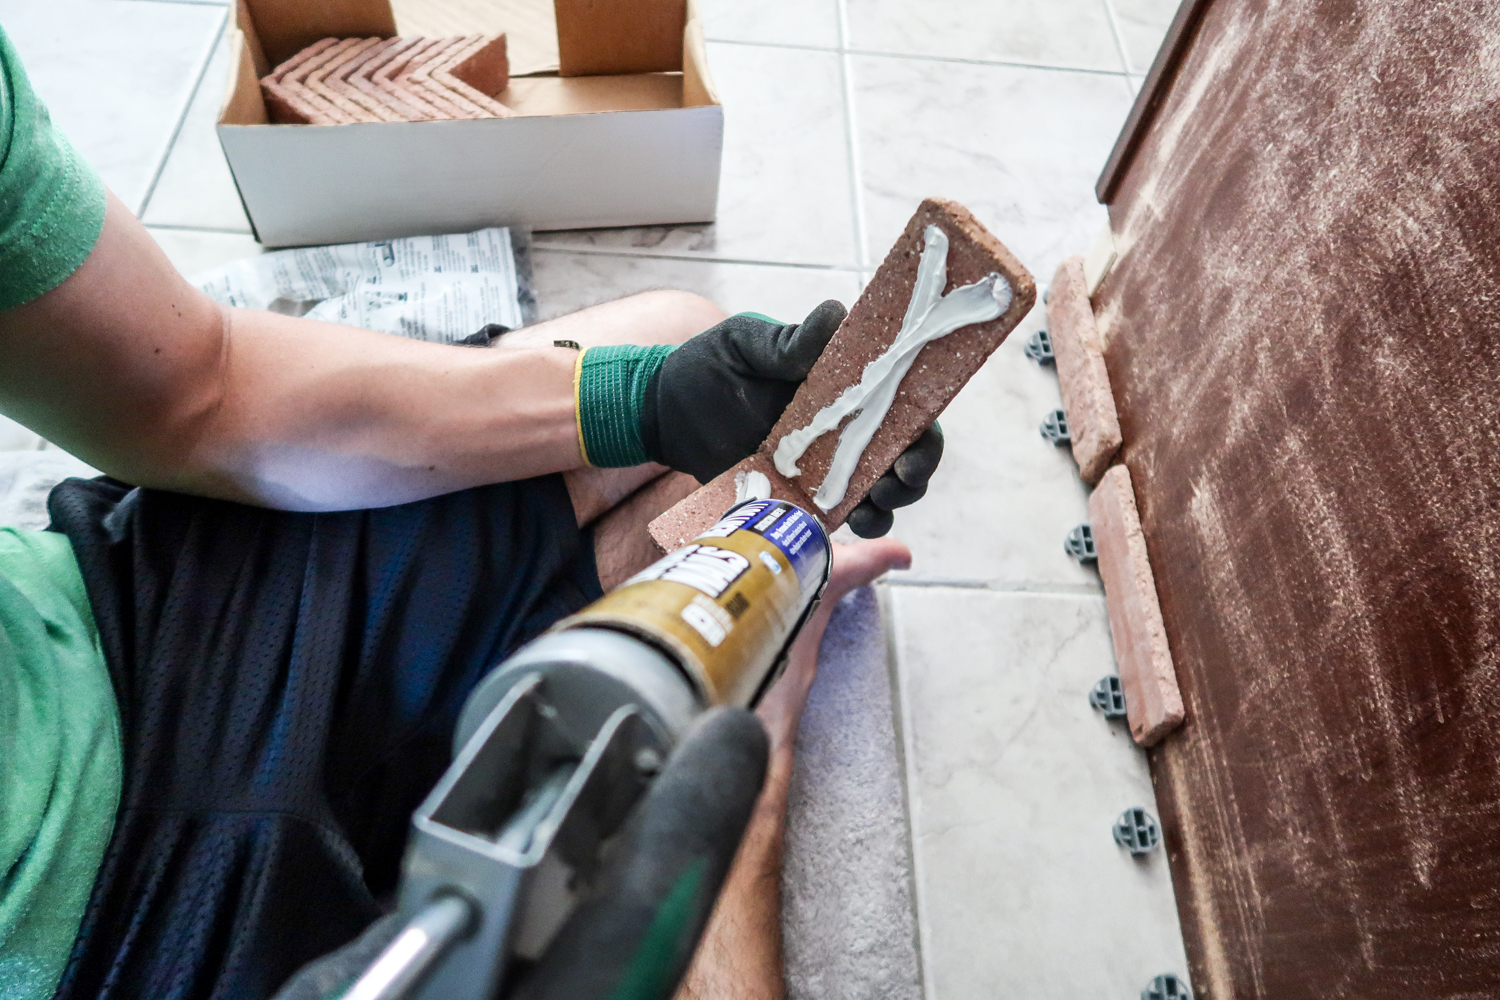
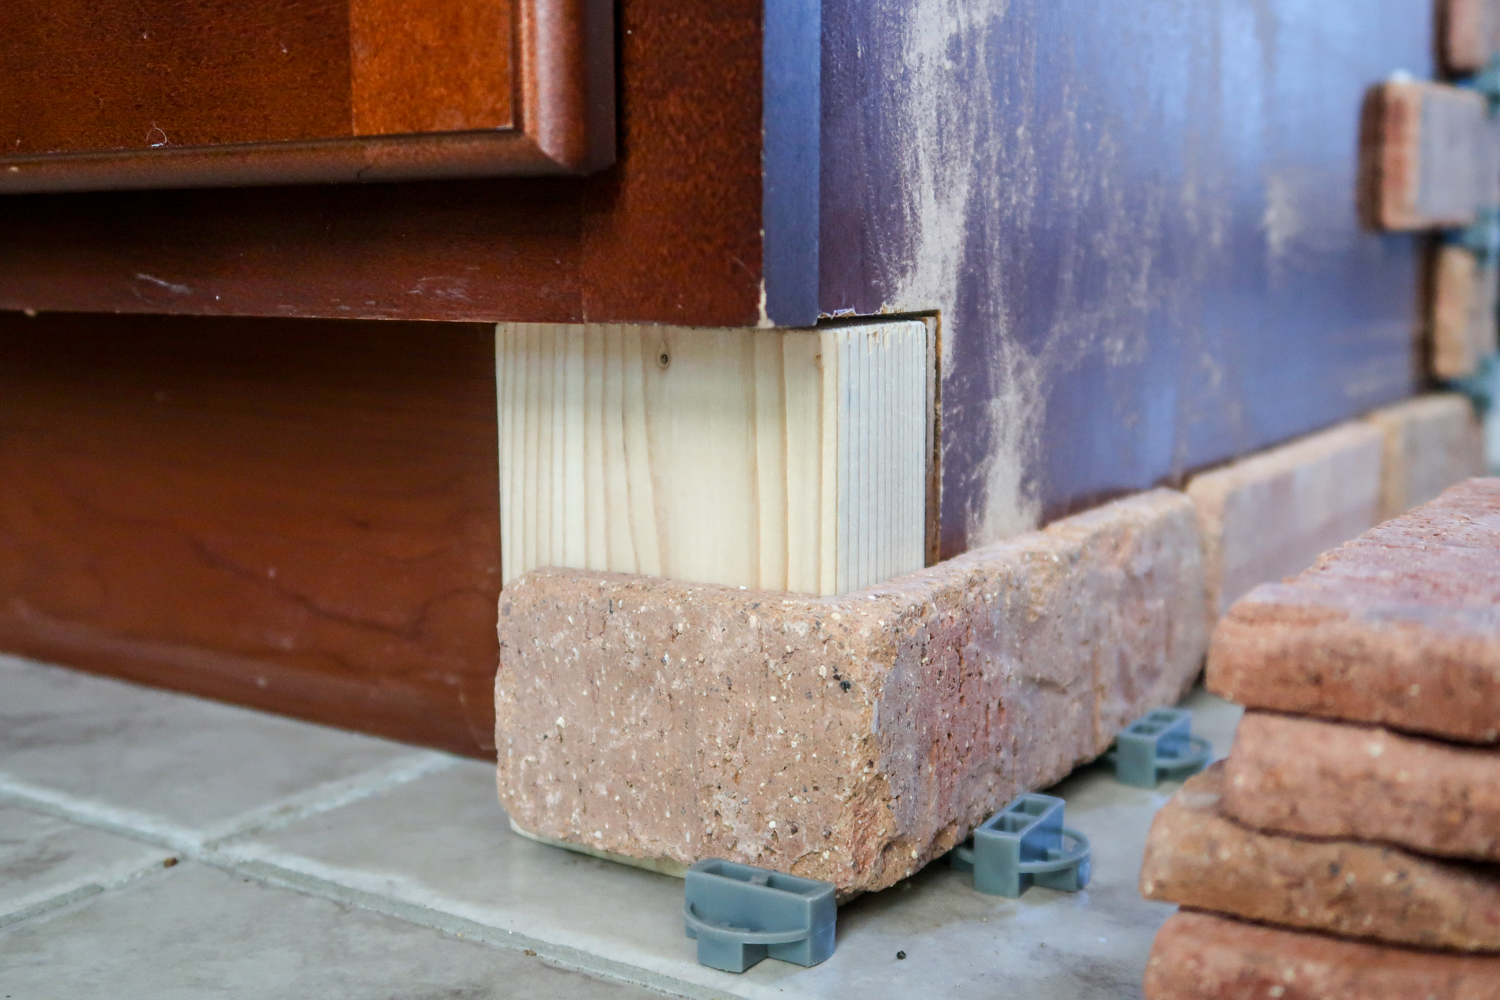
We used liquid nails adhesive and spacers to apply the bricks along the outside of the island.
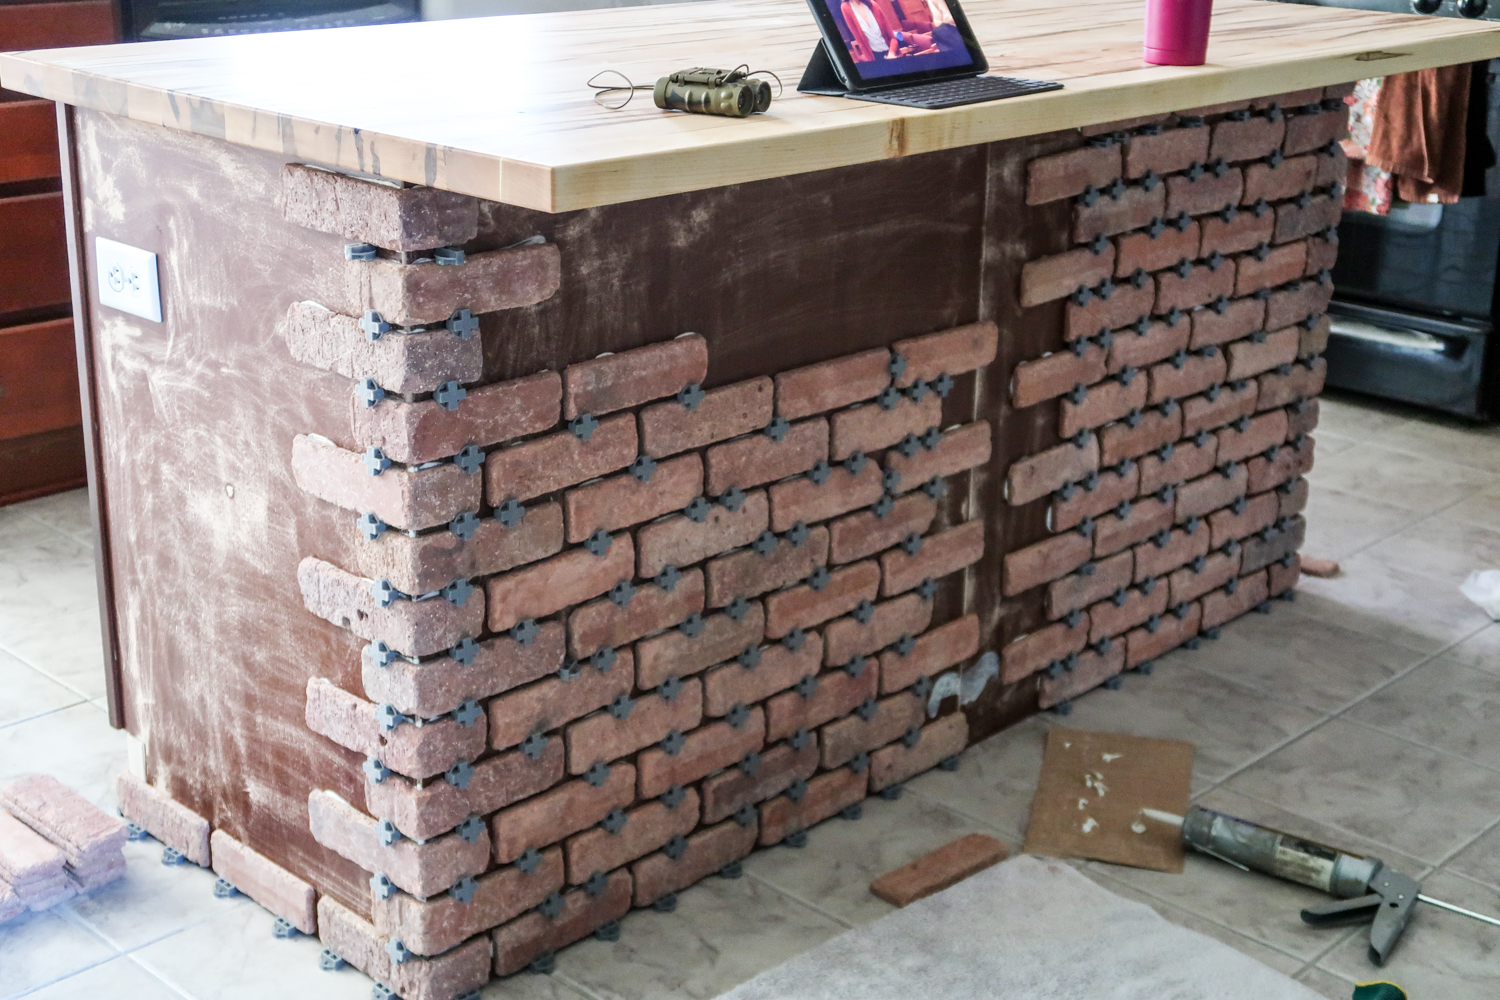
We started with teh corners and worked our way into the center of the back of the island.
As we neared the center of the back of the island, we had to cut some pieces to fit. The shorter bricks along the center are disguised in the pattern of the brick, plus are blocked with our kitchen stools most of the time.
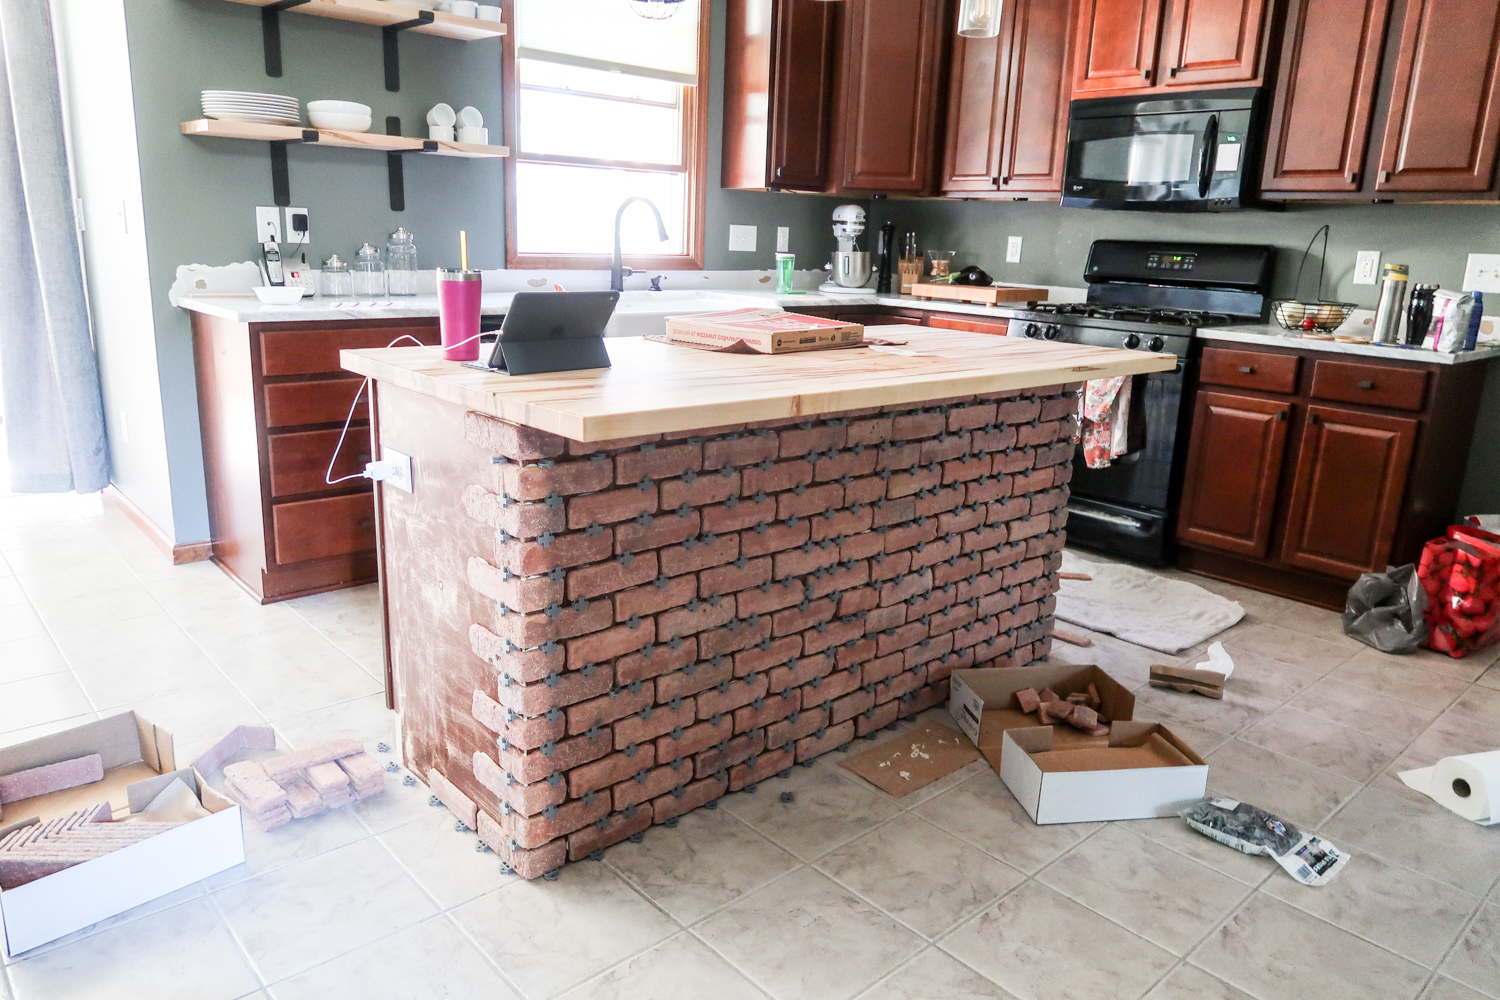
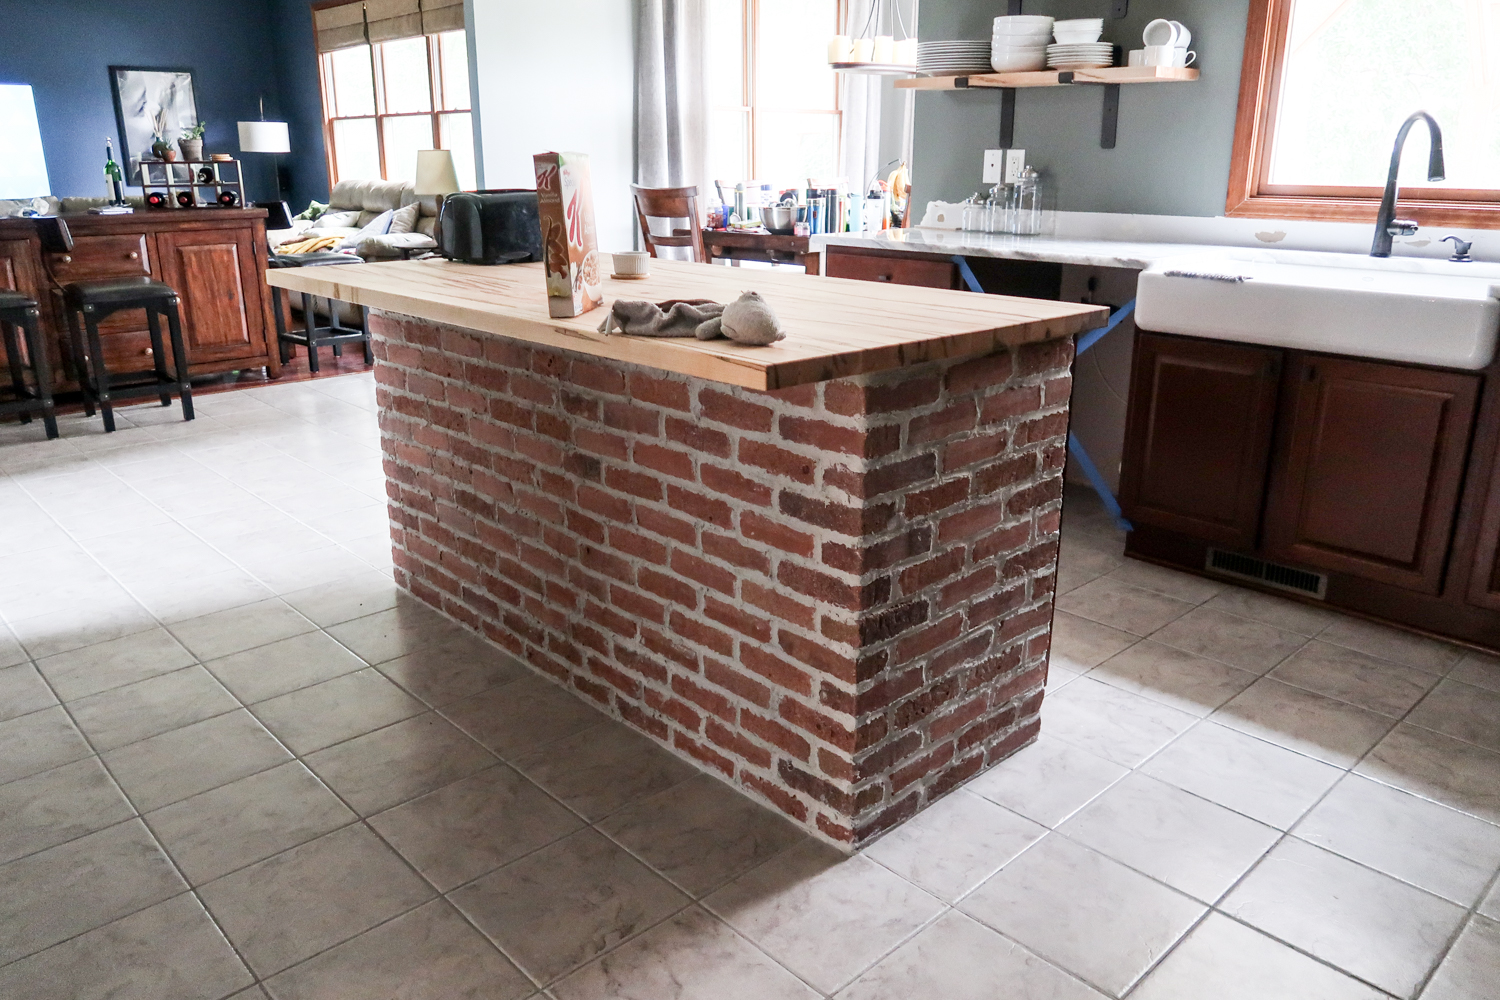
Getting there!
We used a 2×4 to fill in the footer space at the edge. This allowed us to take the brick straight to the floor along the sides and not have to notch out and follow the shape of the cabinet.
I forgot to take photos of the grouting stage, but we used buckets of premixed, sanded grout (from Lowes) and a large masonry ‘piping bag’. After the adhesive dried, I used the piping bag to pipe the presented grout between the bricks. Wearing gloves, I used my fingers to press the grout into the spaces. This was a messy job, but not too difficult. Just time consuming.
It was totally worth it!
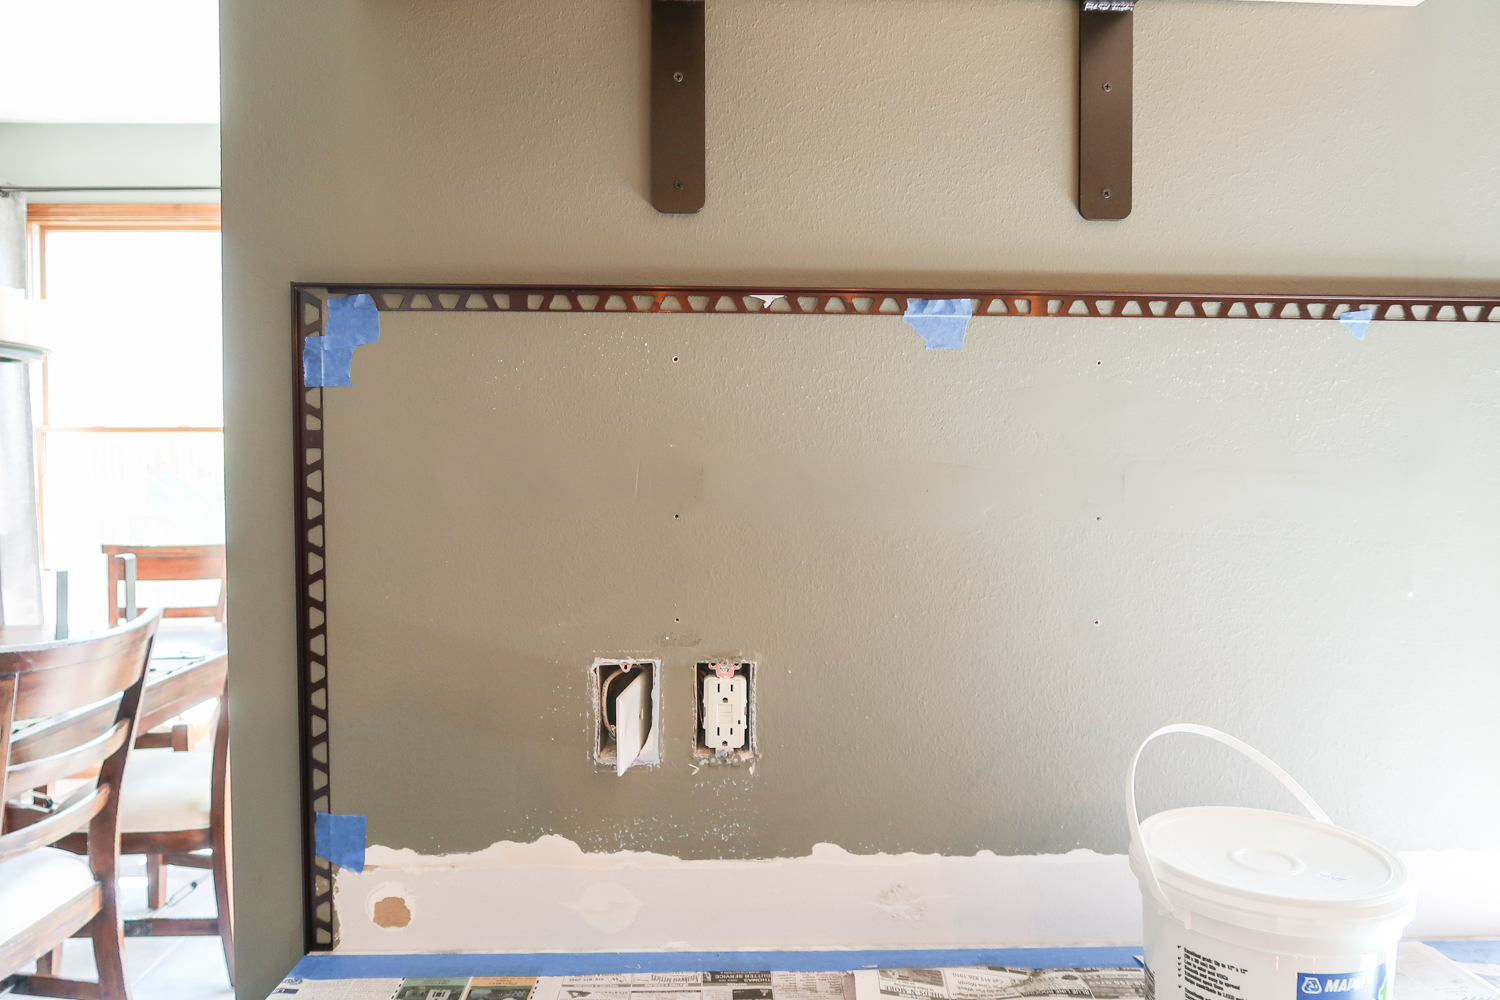
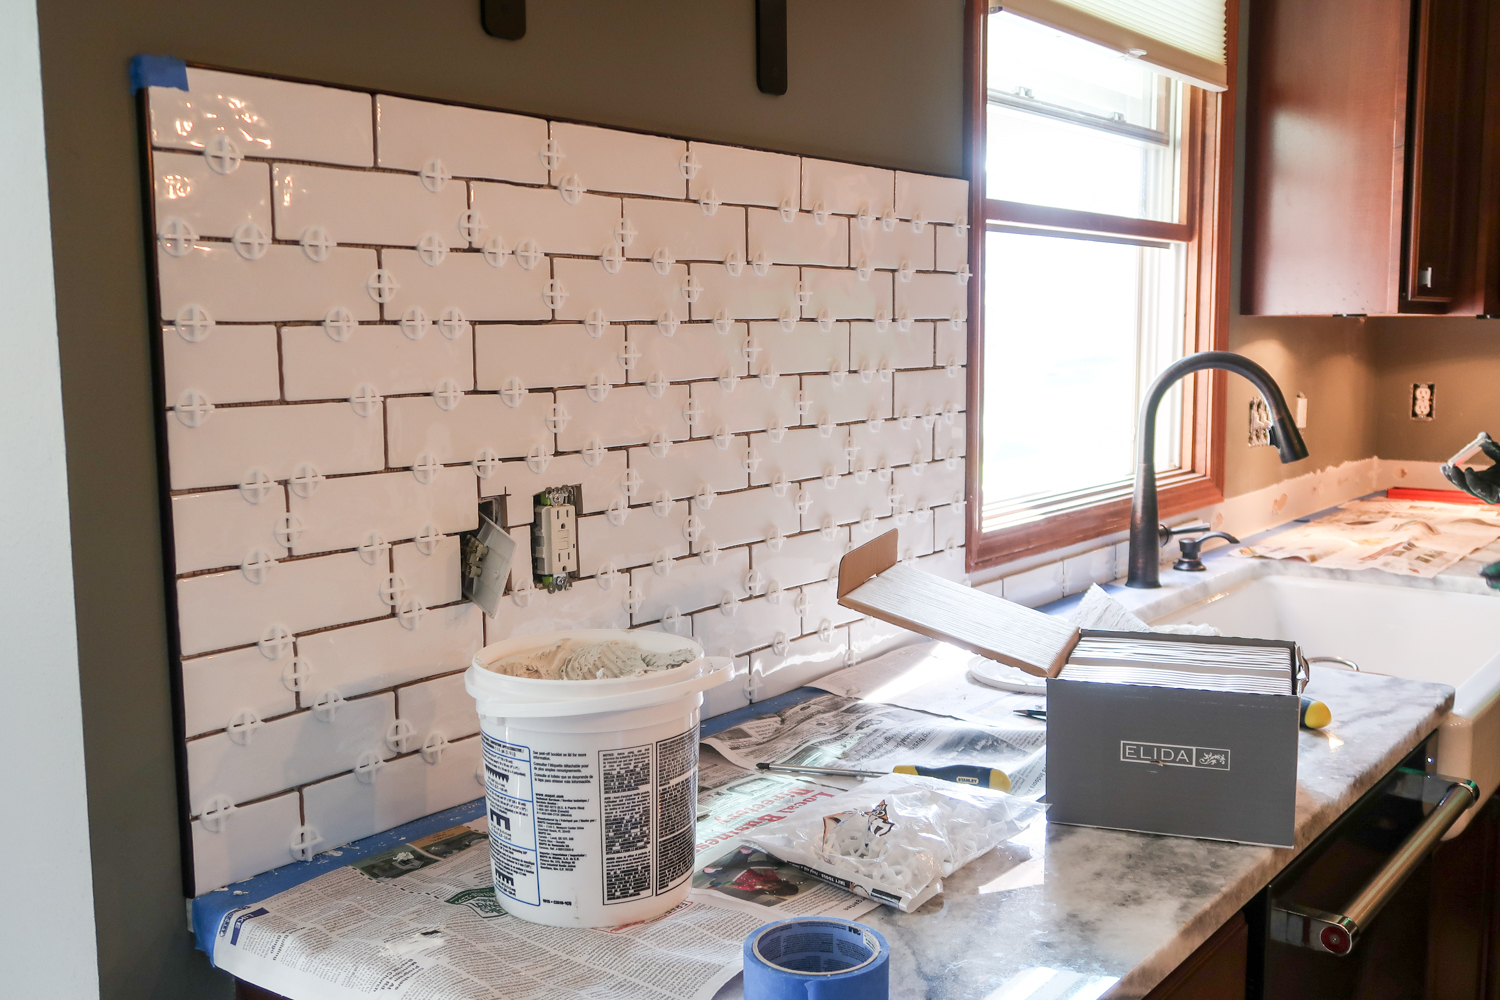
Our last stage of the project was installing our subway tile backsplash, which was another time consuming and intense stages of the renovation. We borrowed a tile cutter from a friend of ours, but you can rent them from hardware stores, as well. Here are a few step-by-step photos of the backsplash process:
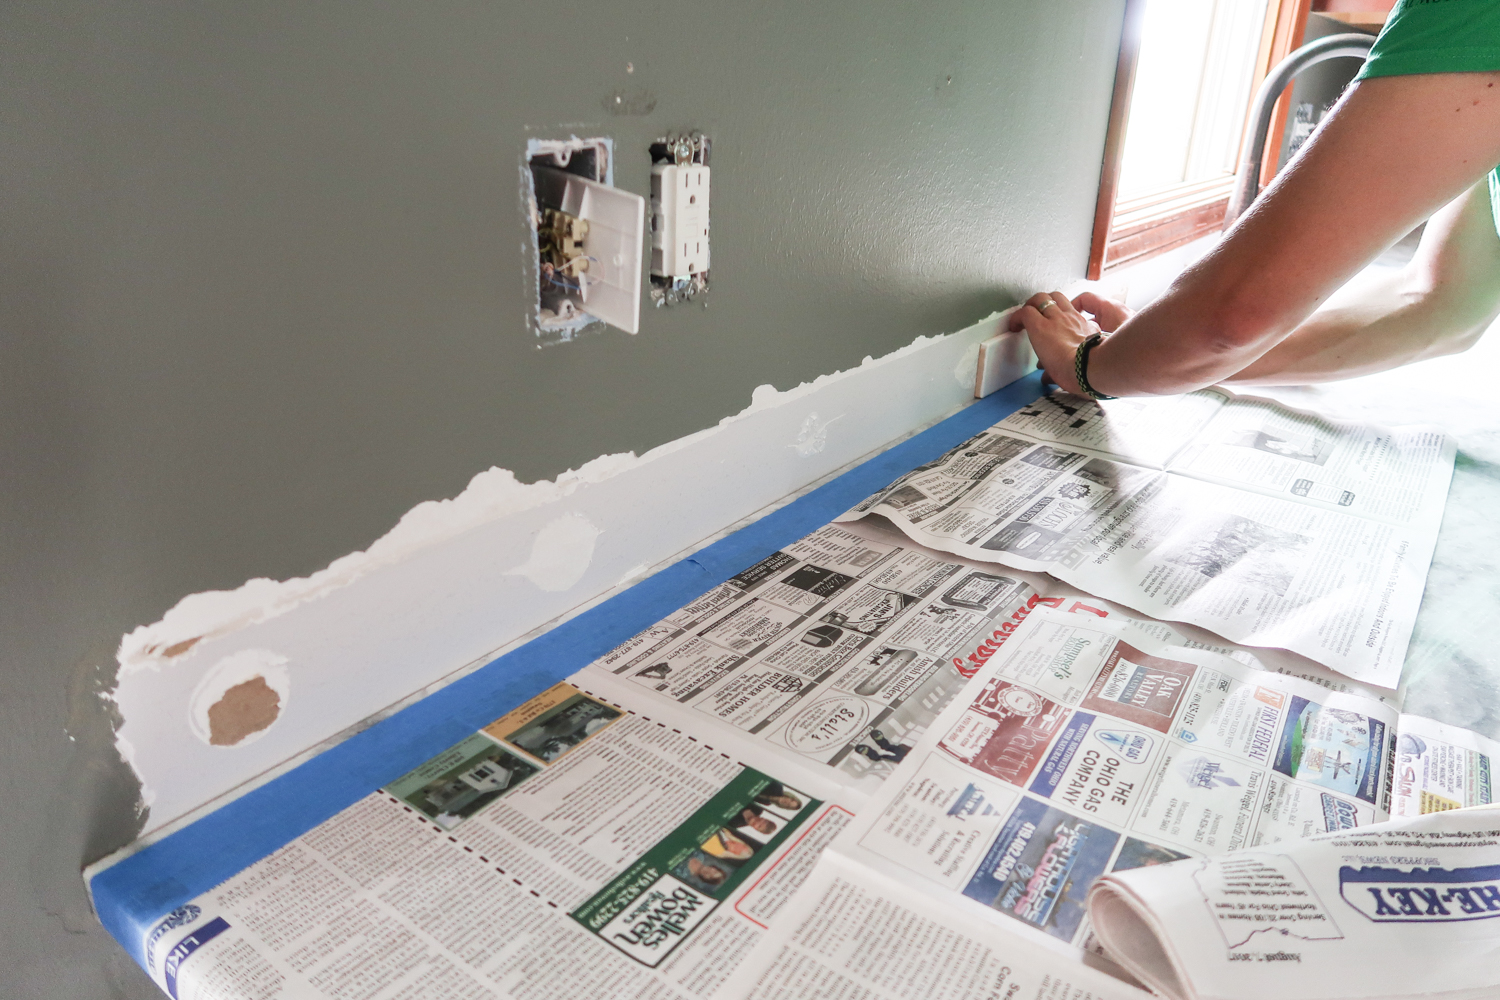
We taped off and covered our countertops to protect them as we worked. After lot of measuring we added the metal edge to outline where our backsplash would go. We needed that around the edge by our open shelves, as well as the end of each area to finish the tile.
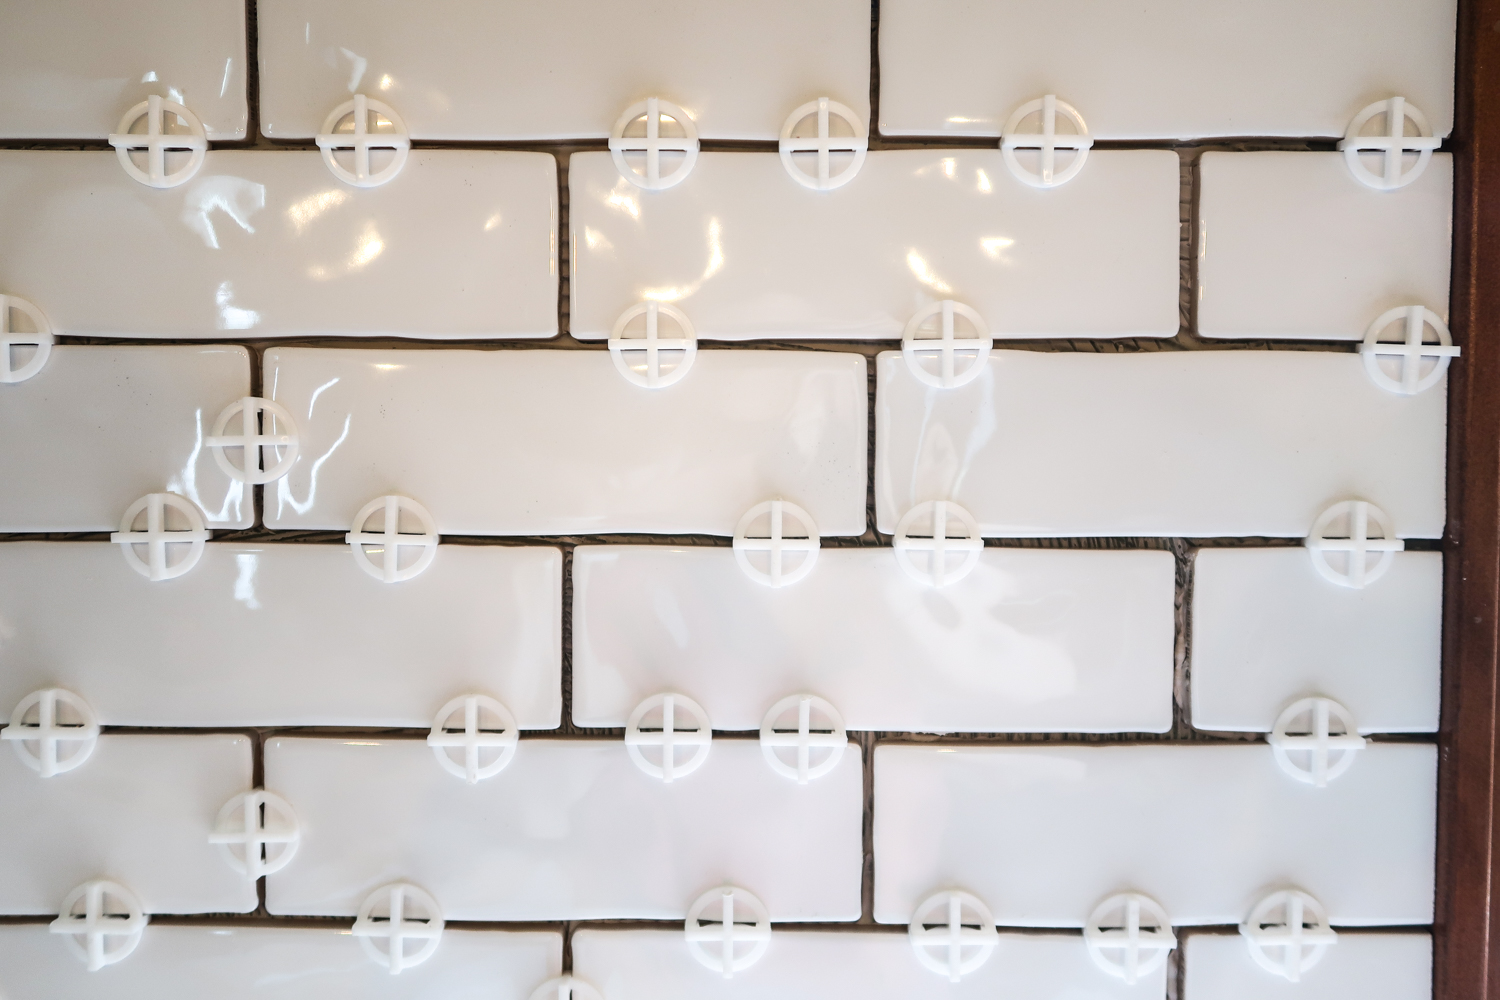
The wonkiness of these tiles (which I love the look of) proved to be trickier to work with than we thought. The irregular spacing between the tile did not hold the spacers well and we were constantly having to put them back in. Not a big deal, but worth noting.
I gave the kids the job of removing all of the spacers before we grouted the tile. They had a little too much fun climbing around and pulling out all the spacers.
All in all, I am thrilled with the results of our kitchen renovation! I can’t wait to share more photos and videos in our new space.
Happy Friday!
xoxo Emily


I am addicted to reading about DIY renovation projects. LOL. Great details about the tile install. Kitchen looks great. Curious if you ever scrape your knees/clothes on the rough brick when sitting at the island ?