
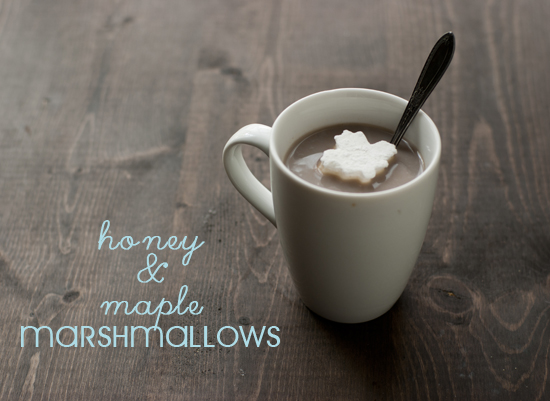
honey & maple marshmallows
For as long as I can remember I have had a hidden not so hidden obsession with Martha Stewart – or Martha as I like to call her. Because we’re on a first name basis obviously. At least we are in my head. I have had a subscription to her magazine ‘Living’ since my early twenties. I just recently – to avoid being nominated by my family to be on an episode of “Buried Alive” – got rid of years of back issues of my ‘Marthas’. I love my ‘Marthas’. I love flipping through their pages, looking at the elegantly photographed food, homes and decorating ideas. It simply makes me smile.
One of my favorite photos and recipes of all time was a recipe for Marshmallow Snowflakes. The photo drew me in with it’s bright color, repetitive circles, and their simple adorableness. They were perfection.
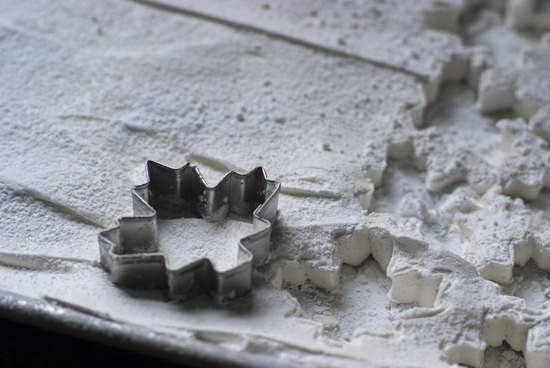
Well, I needed to make them immediately. I searched high and low for a sweet snowflake shaped cookie cutter – and remember that this was before this time of cutesy cookie cutters in every store – and came up with one dinky little snowflake cookie cutter. It wasn’t perfect. It wasn’t like Martha’s, but gosh-darnit, I would make it work.
Now this was about 9 years ago and I was still in college and living at home with my parents. This, however, was an enormous perk because – besides living rent free – I had unlimited access to my parents’ kitchen, and a mom who was extremely tolerant and supportive of my need to cook and craft things at random. Even better, she often got into it with me.

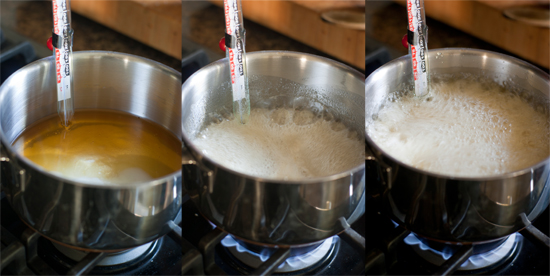
I had never made anything that had involved a candy thermometer before, and frankly was a little intimidated. Turns out, it’s pretty simple. Just watch, wait, and for the love of Pete don’t walk away to chat on the phone.
Well, it worked! The marshmallows turned out sweet and creamy and the perfect little accompaniment to a cup of cocoa. Little floating islands of happiness.
I have held this recipe in my head for a long time (clearly) and always think about it when the days begin to get shorter, the air gets crisper, and the need for a cup of cocoa becomes un-ignorable.
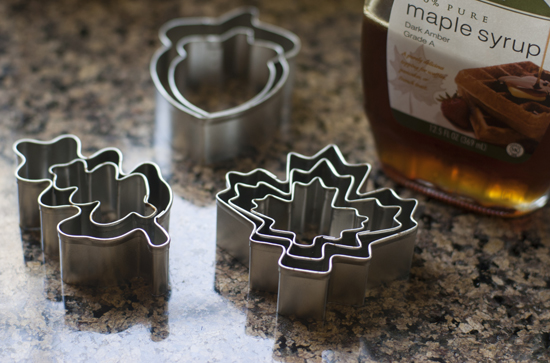
Martha’s snowflake version is perfection and I recommend that you try them anytime you want a little fancy in your cup. I, however, began thinking about a fall version of these sweet treats. I picked up this amazing set of Autumn cookie cutters a few years back, and have been dreaming up a maple marshmallow ever since. What is more Fall than leaves? Maple leaves. Maple syrup. My idea began to snowball.
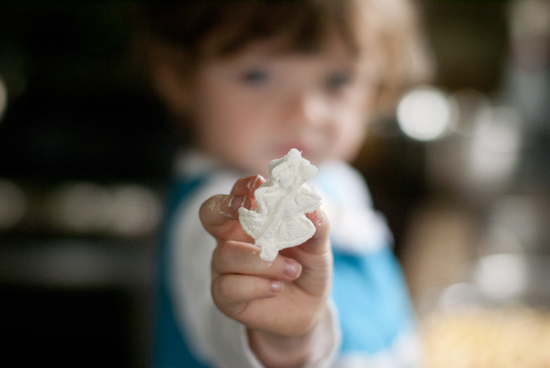 |
| I snuck in an oak leaf, just to see if you were paying attention |
In my version I swapped the light corn syrup for honey and used maple syrup in place of the vanilla extract. The honey gives an incredibly aromatic floral quality to the marshmallows. Feel free to use corn syrup in yours if you don’t groove on honey. Either way they are a killer marshmallow and will be certain to perk up any cup of cocoa. Just don’t forget to invite me over if you make a batch.
 |
| homage to Martha |
Honey and Maple Marshmallows
Prep Time:10 minutes
Cook Time:4 hours
Total Time:4 hours 10 minutes
Ingredients
Directions
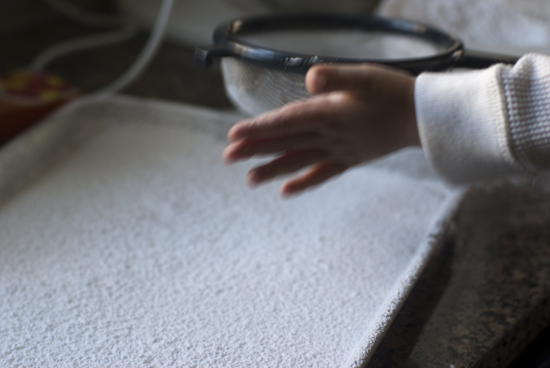
Spray a large rimmed baking sheet with non-stick cooking spray. Generously dust sheet with confectioners’ sugar. Set aside.
In the bowl of an electric mixer combine gelatin and 1/3 cup of cold water. Let stand for 5 minutes.
In a medium saucepan, add sugar, honey, salt and 1/3 cup of water. Stir and bring to boil over medium-high heat. Swirl pan occasionally and heat until a candy thermometer reads 238°, about 5 minutes. Remove pan from heat. Allow to cool for 1 minute.
With the mixer on low, whisk the gelatin mixture (with whisk attachment) and gently stream in the sugar mixture--slowly and along the side to avoid splattering (sugar mixture can be transferred to a very heat proof large measuring cup with spout to allow for easier pouring). Gradually increase the speed to high, and whisk until the mixture is very thick, white and nearly tripled in volume, about 10-12 minutes. Reduce the speed to medium and add the maple syrup. Whisk until combined, about 30 seconds.
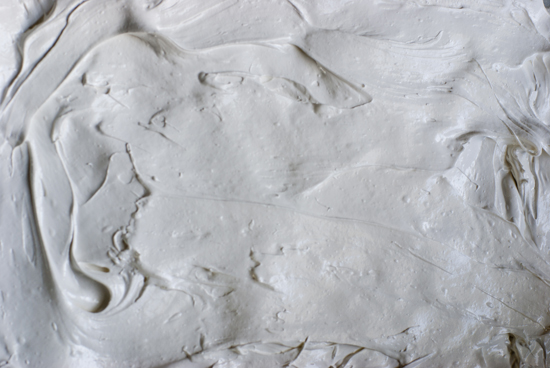
Using a spatula, spread marshmallow mixture onto prepared baking sheet. Dust top of mixture with confectioners’ sugar. Allow the mixture to sit, uncovered at room temperature until firm, at least 3 hours or overnight.
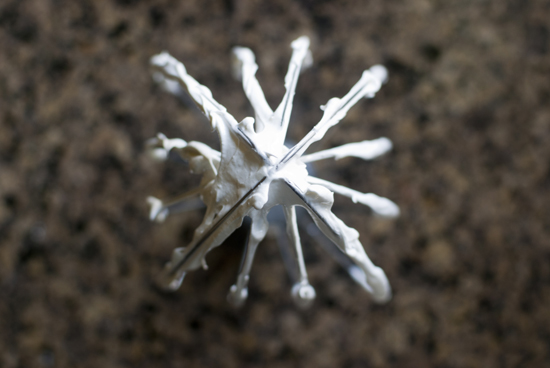
Lightly spray maple leaf cookie cutters with non-stick spray, and cut out marshmallows. Marshmallows can be used immediately or stored in an air tight container for up to 1 week.
Spray a large rimmed baking sheet with non-stick cooking spray. Generously dust sheet with confectioners’ sugar. Set aside.
In the bowl of an electric mixer combine gelatin and 1/3 cup of cold water. Let stand for 5 minutes.
In a medium saucepan, add sugar, honey, salt and 1/3 cup of water. Stir and bring to boil over medium-high heat. Swirl pan occasionally and heat until a candy thermometer reads 238°, about 5 minutes. Remove pan from heat. Allow to cool for 1 minute.
With the mixer on low, whisk the gelatin mixture (with whisk attachment) and gently stream in the sugar mixture--slowly and along the side to avoid splattering (sugar mixture can be transferred to a very heat proof large measuring cup with spout to allow for easier pouring). Gradually increase the speed to high, and whisk until the mixture is very thick, white and nearly tripled in volume, about 10-12 minutes. Reduce the speed to medium and add the maple syrup. Whisk until combined, about 30 seconds.
Using a spatula, spread marshmallow mixture onto prepared baking sheet. Dust top of mixture with confectioners’ sugar. Allow the mixture to sit, uncovered at room temperature until firm, at least 3 hours or overnight.
Lightly spray maple leaf cookie cutters with non-stick spray, and cut out marshmallows. Marshmallows can be used immediately or stored in an air tight container for up to 1 week.
-3")
Here’s a tip that might save you from some dangerous burns. When you’re boiling sugar, you can’t stir it because it triggers the crystalizing process. Some recipes, like yours, have you swirl the pan. If you’re startled by a kid or clumsy like me, it could be a quick trip to the ER. Other cookbooks say to use a wet pastry brush to wash down the sides. A little better, but not great. But Eileen Talanian’s book (called Marshmallows) has an easier solution. You take a well fitted lid and cover it tightly for a few minutes. The steam rises, condenses on the inside of the cover, then trickles down the sides, washing them as it goes. It works REALLY well.
Also, you might want to add something about how honey & maple syrup can boil up *SURPRISINGLY* high, so unless you want to be scrubbing boiling sugar off of your stove, use a bigger pot than you think you really need.
I’ve made 100% honey and 100% maple syrup flavored marshmallows for a kid who was allergic to cane sugar. Really yummy, but with a somewhat overwhelmingly strong flavor. I like your way better and it’s cheaper, too!
That’s a great tip, Sandra! Thank you! I have burnt, spilled, tripped and just plain made a mess more times than I can count in the kitchen, so any safety tip is welcome. Thanks so much for stopping by!